⛏️ XDC Underground — Digging & Building
Everything inside a tunnel system is built from one repeating unit: the cube. This guide explains how to grow your tunnels, what each part costs, and how the building controls work. If you haven't yet, read The Tunnel System first for how to dig and enter the base.
The cube
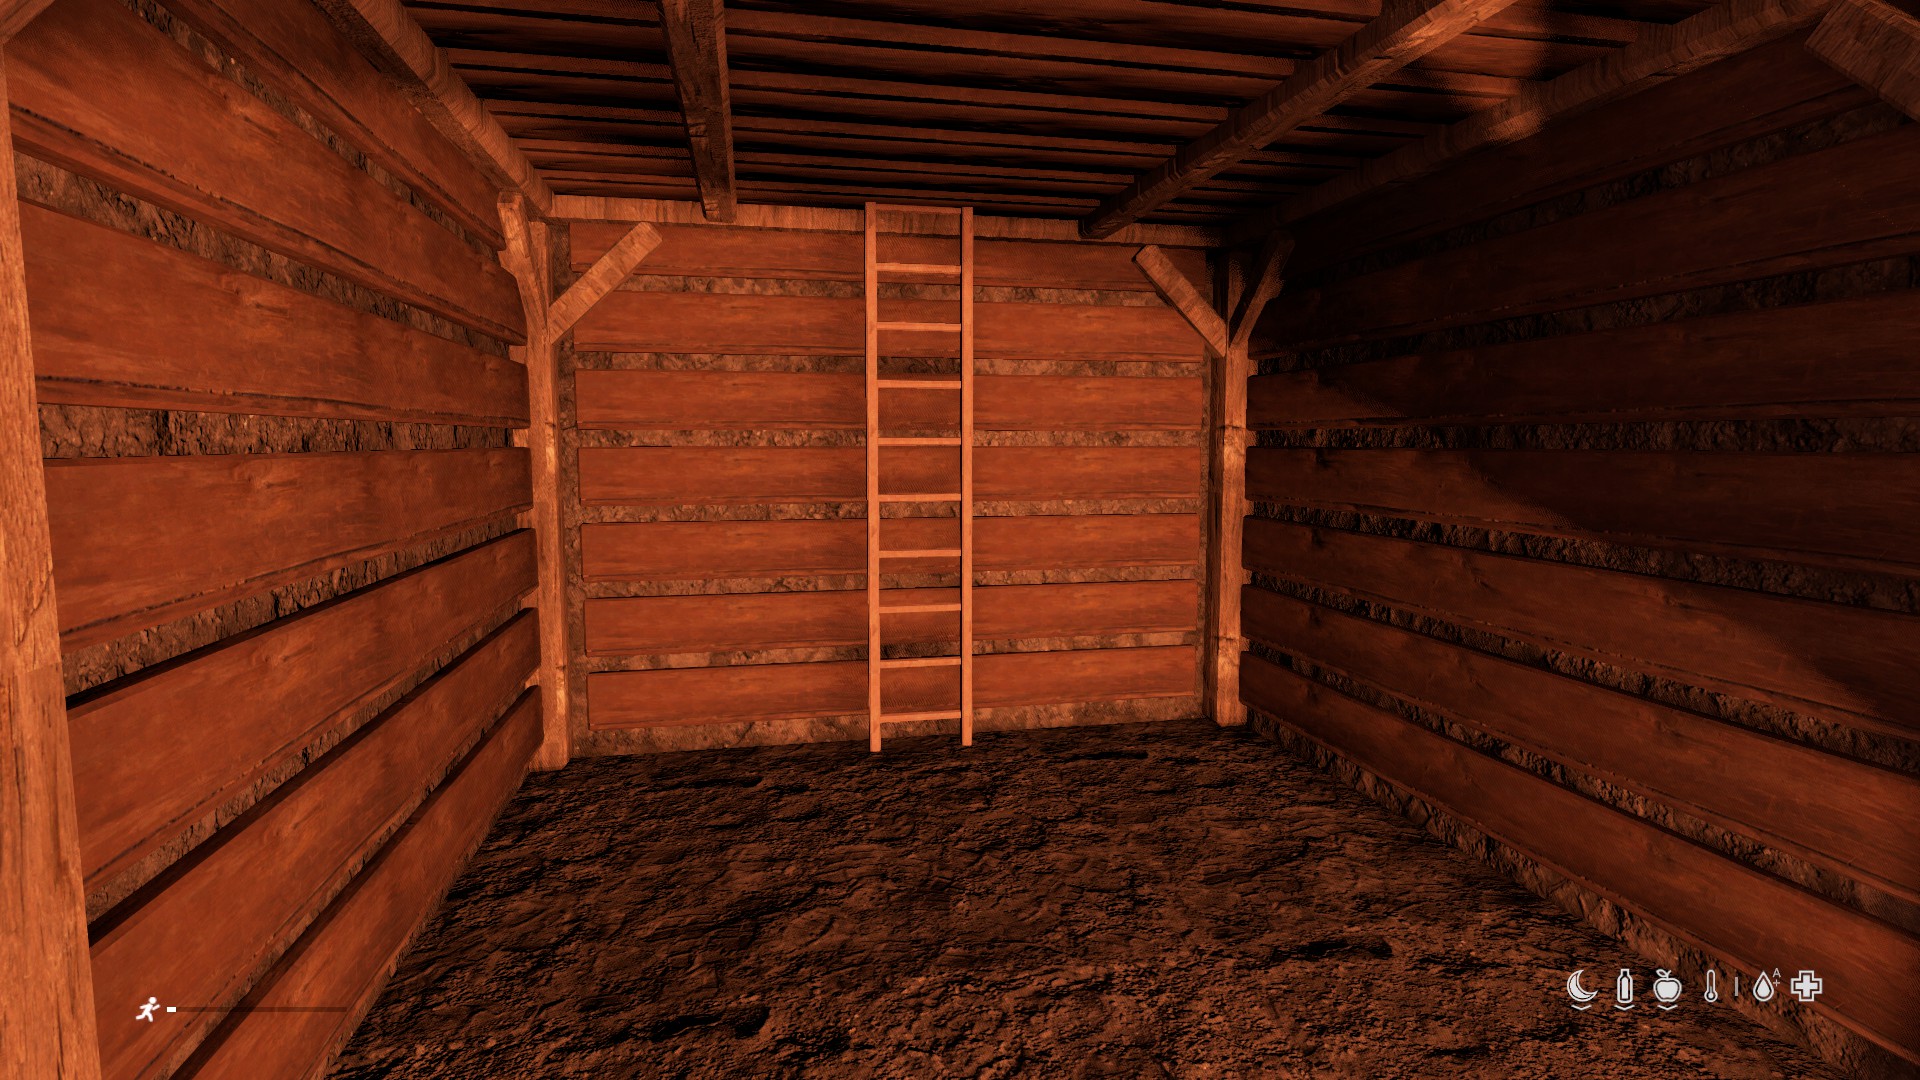
When you step inside for the first time you're standing in a cube — a space about 4 m × 4 m, with a core (the floor and frame that hold everything up) and Tier 1 timber walls on all four sides. A tunnel base is simply a chain of these cubes joined together, all on one flat level.
Each cube has three parts you deal with:
- The core — the cube's supports. Every cube has one, and its tier (T1, T2 or T3) sets the ceiling for everything else in that cube.
- Walls — one per side. A side is either built (a wall of some tier), earth (bare exposed dirt), or open (a passage into the next cube).
- The ladder — only in the entrance cube. It's your way out.
Growing the tunnel
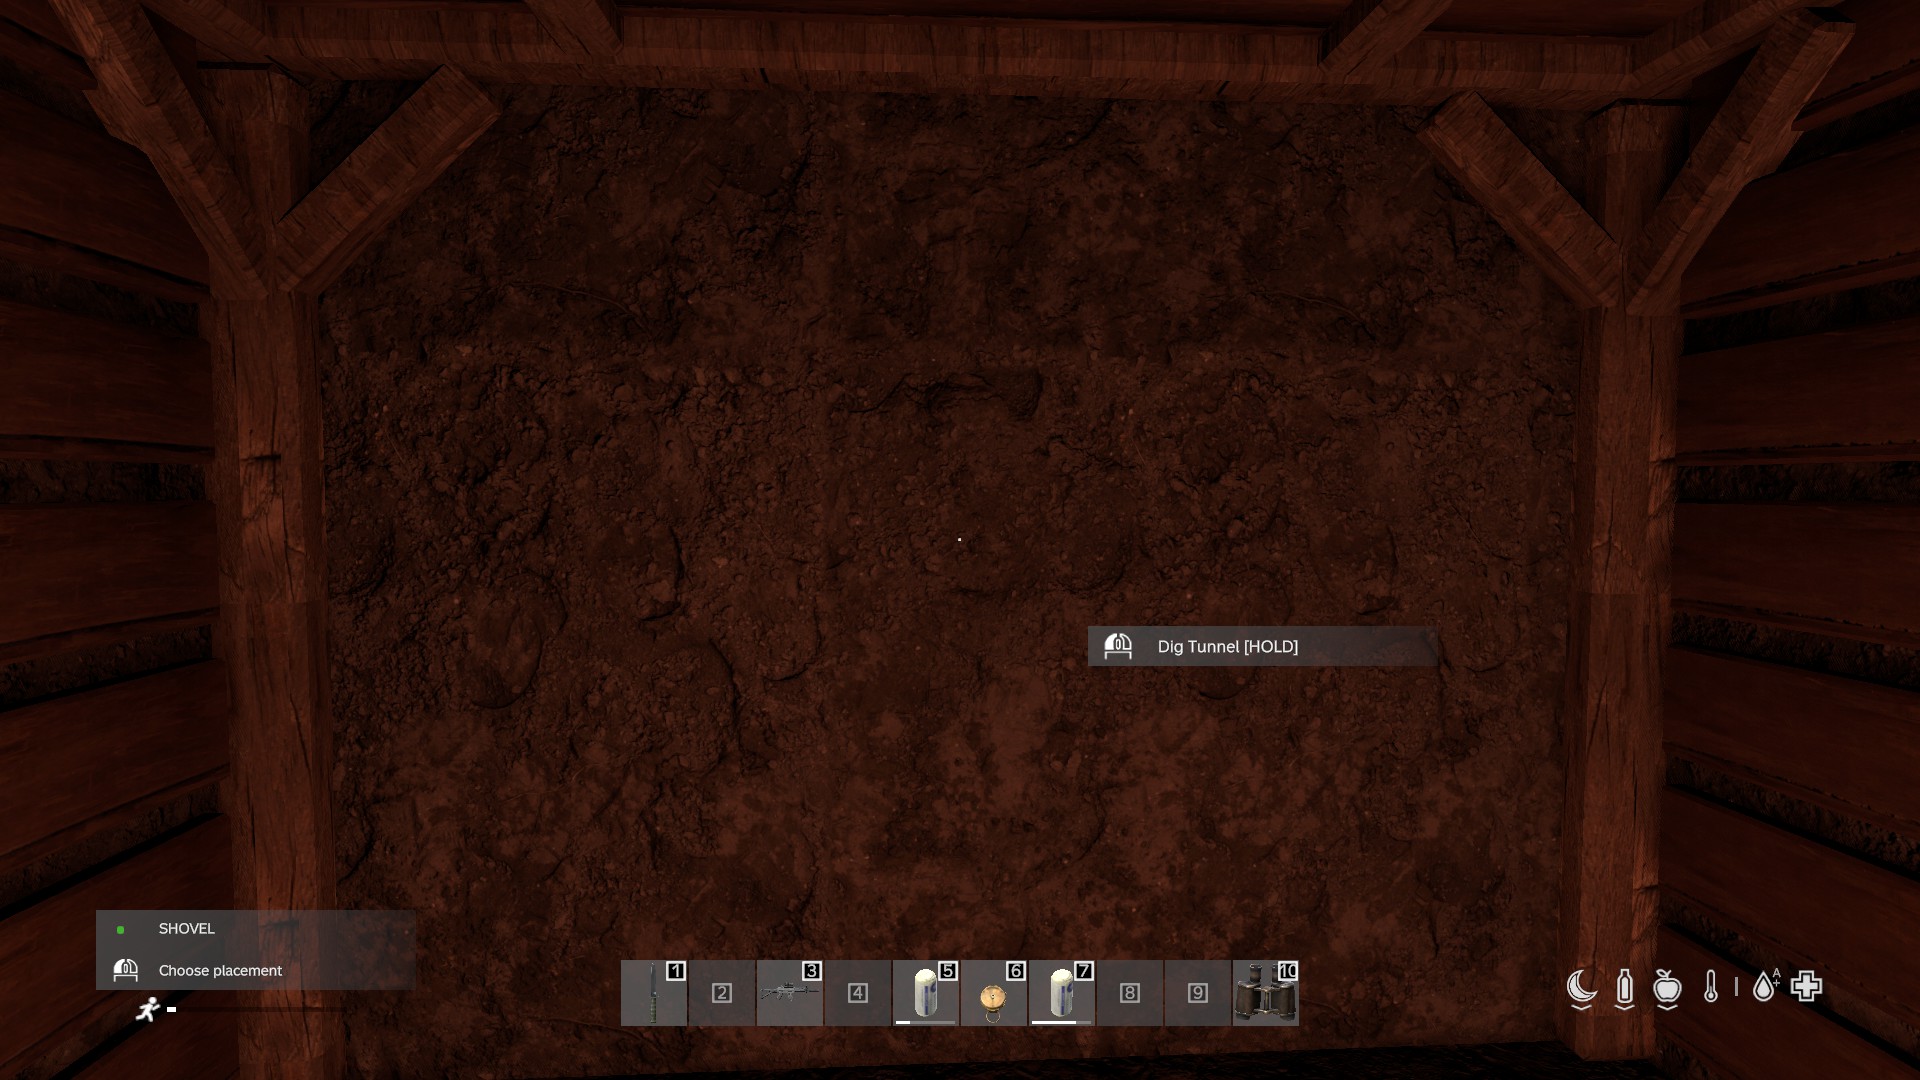
Extending your base is a three-step loop:
Then repeat from whichever cube you want to expand.
⚠️ Wall two sides before you dig on. A cube with an intact core and at least two built walls counts as fully supported, and digging from it carries zero cave-in risk. Digging from a cube with open earth all around — especially several cubes out from your last supported one — is how people get buried. Every dig tells you its risk: white is safe, yellow is a gamble, and a red "UNSTABLE GROUND" warning means wall a side first or dig from somewhere better supported. See the Getting Buried guide for what happens if you ignore it.
What you can't dig into
- You cannot dig up or down. Tunnels are strictly horizontal. That means you can't make a second exit from inside — the only way to a second entrance is to dig a new hatch 60 m+ away and tunnel the two systems together.
- Bedrock — some ground is solid rock and can't be dug through. Go round it.
- The edge of the map.
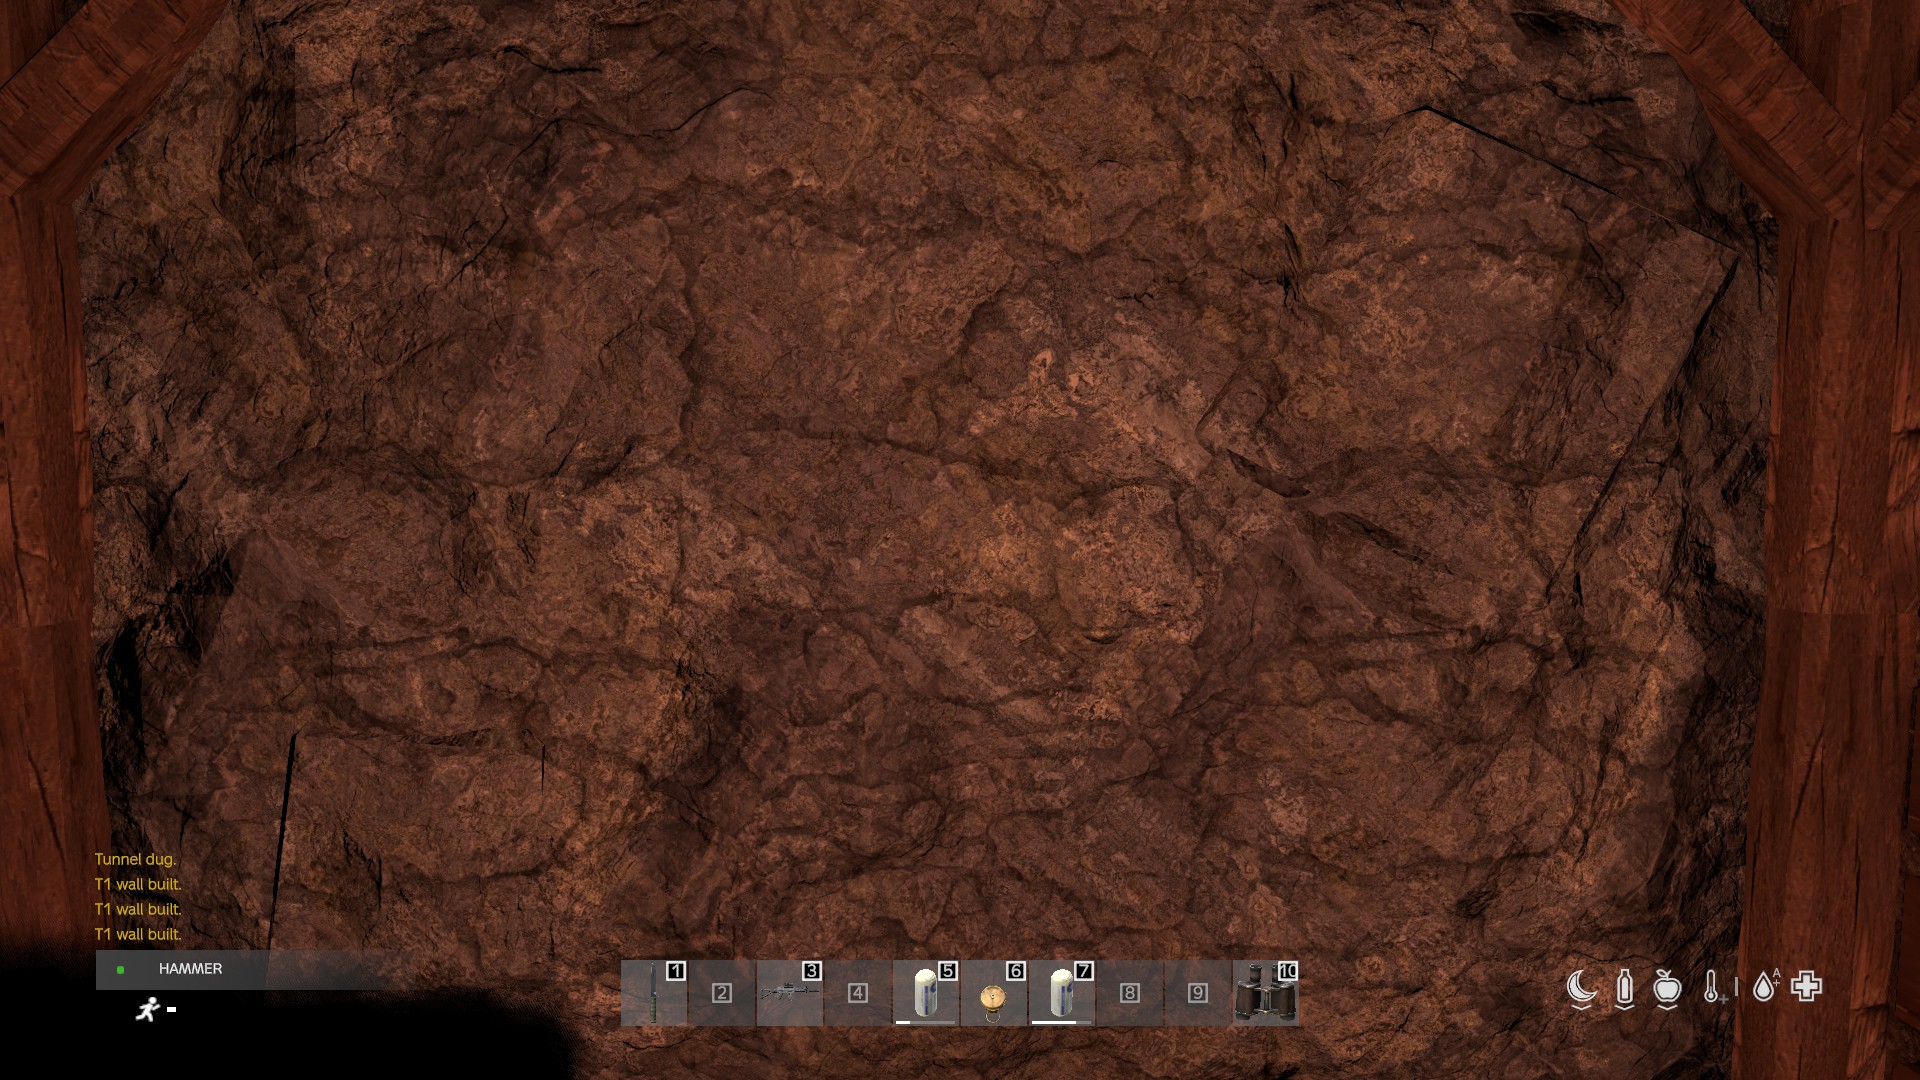
- Another tunnel system — if you dig into someone else's base you'll break through into their cube if their side is open earth, or hit the outside face of their wall if it's built. You can't dismantle a wall from the outside; it has to be destroyed. More on this in Stability, Raiding & Collapse.
Tiers
Cores go T1 → T2 → T3 (timber → timber and metal → concrete). Walls go T1 → T2 → T3 → T4, where T4 is the vault wall. A few hard rules:
- A wall can never be higher tier than its core — the core sets the ceiling. To take a wall higher, raise the core first; that lifts the ceiling but does not upgrade the walls themselves.
- Upgrading a core leaves every wall exactly as it was — each keeps its own tier and HP — and restores the cube's strength to full at the new tier. You then upgrade (or remove and rebuild) each wall individually up to the new core tier. Walls no longer ride up with the core.
- There is no T4 core. T3 concrete is the top for a cube; T4 is a per-wall reinforcement.
- T4 needs a T3 core and a T3 wall already in place — you reinforce a concrete wall into a vault wall; you can't jump from T2.
- Upgrading a wall can go one tier at a time, or — if you can afford it — straight to the core tier in a single step (e.g. a T1 wall in a T3 core jumps to T3). When a jump is possible it's the default/top option, with the one-tier step just below it for when you're still saving up. You never need to dismantle first: the game works out the difference and refunds any excess.
What things cost
Costs mirror our rebalanced BBP costs — a wall of a given tier costs the same as a large BBP wall of that tier, and upgrading a core to a tier costs the same again. Full BBP numbers are in the Building Costs guide.
Walls (build from scratch on an earth face or an open side)
Tier 1:  28 Wooden Planks, 48 Nails
Tier 2:  28 Wooden Planks, 64 Nails, 6 Metal Sheets
Tier 3:  12 Wooden Planks, 16 Nails, 4 Concrete Bricks, 2 Mortar Mix
Core upgrades
T1 → T2:  28 Wooden Planks, 64 Nails, 6 Metal Sheets
T2 → T3:  12 Wooden Planks, 16 Nails, 4 Concrete Bricks, 2 Mortar Mix
Wall upgrades in place (the difference, with the excess from the old tier refunded)
T1 → T2:  6 Wooden Planks, 26 Nails, 6 Metal Sheets
T2 → T3:  4 Concrete Bricks, 2 Mortar Mix  — refunds 10 Planks, 35 Nails, 5 Metal Sheets
Tier 4 vault wall (needs a T3 core and a T3 wall)
4 Vault Plate Panels, 3 Vault Support Bands, 4 Vault Triangle Braces,
4 Vault Plate Supports, 6 Metal Sheets
Vault door (needs a T3 core, an open side, and a BBP Build Permit)
16 Armour Plates, 1 Vault Door Wheel, 1 Vault Door Hub, 8 Vault Door Spokes
+ 1 BBP Build Permit (consumed)
The vault parts and armour plates are new materials made by cutting plates out of plate carriers and casting them in a smelter — see the Lighting & Vault Materials guide. T4 is incredibly strong, but a single vault wall works out at around 40 armour plates of steel, and a vault door about the same, so it's a serious investment.
Materials: no slots, no big backpack needed
This is a big change from BBP and the old hatch. Inside the tunnel system you never attach materials to slots. When you build, upgrade or repair, the game takes materials first from your inventory, then from the ground within about 2.5 m of you. That means you can drop a pile of metal sheets or concrete bricks at your feet and build straight from the pile — no large backpack required.
- The check is all-or-nothing: if you're short, nothing is taken and you're told exactly what's missing and how much it found (for example "Build this wall needs: 28 Wooden Plank (found 12), 48 Nails (found 3).").
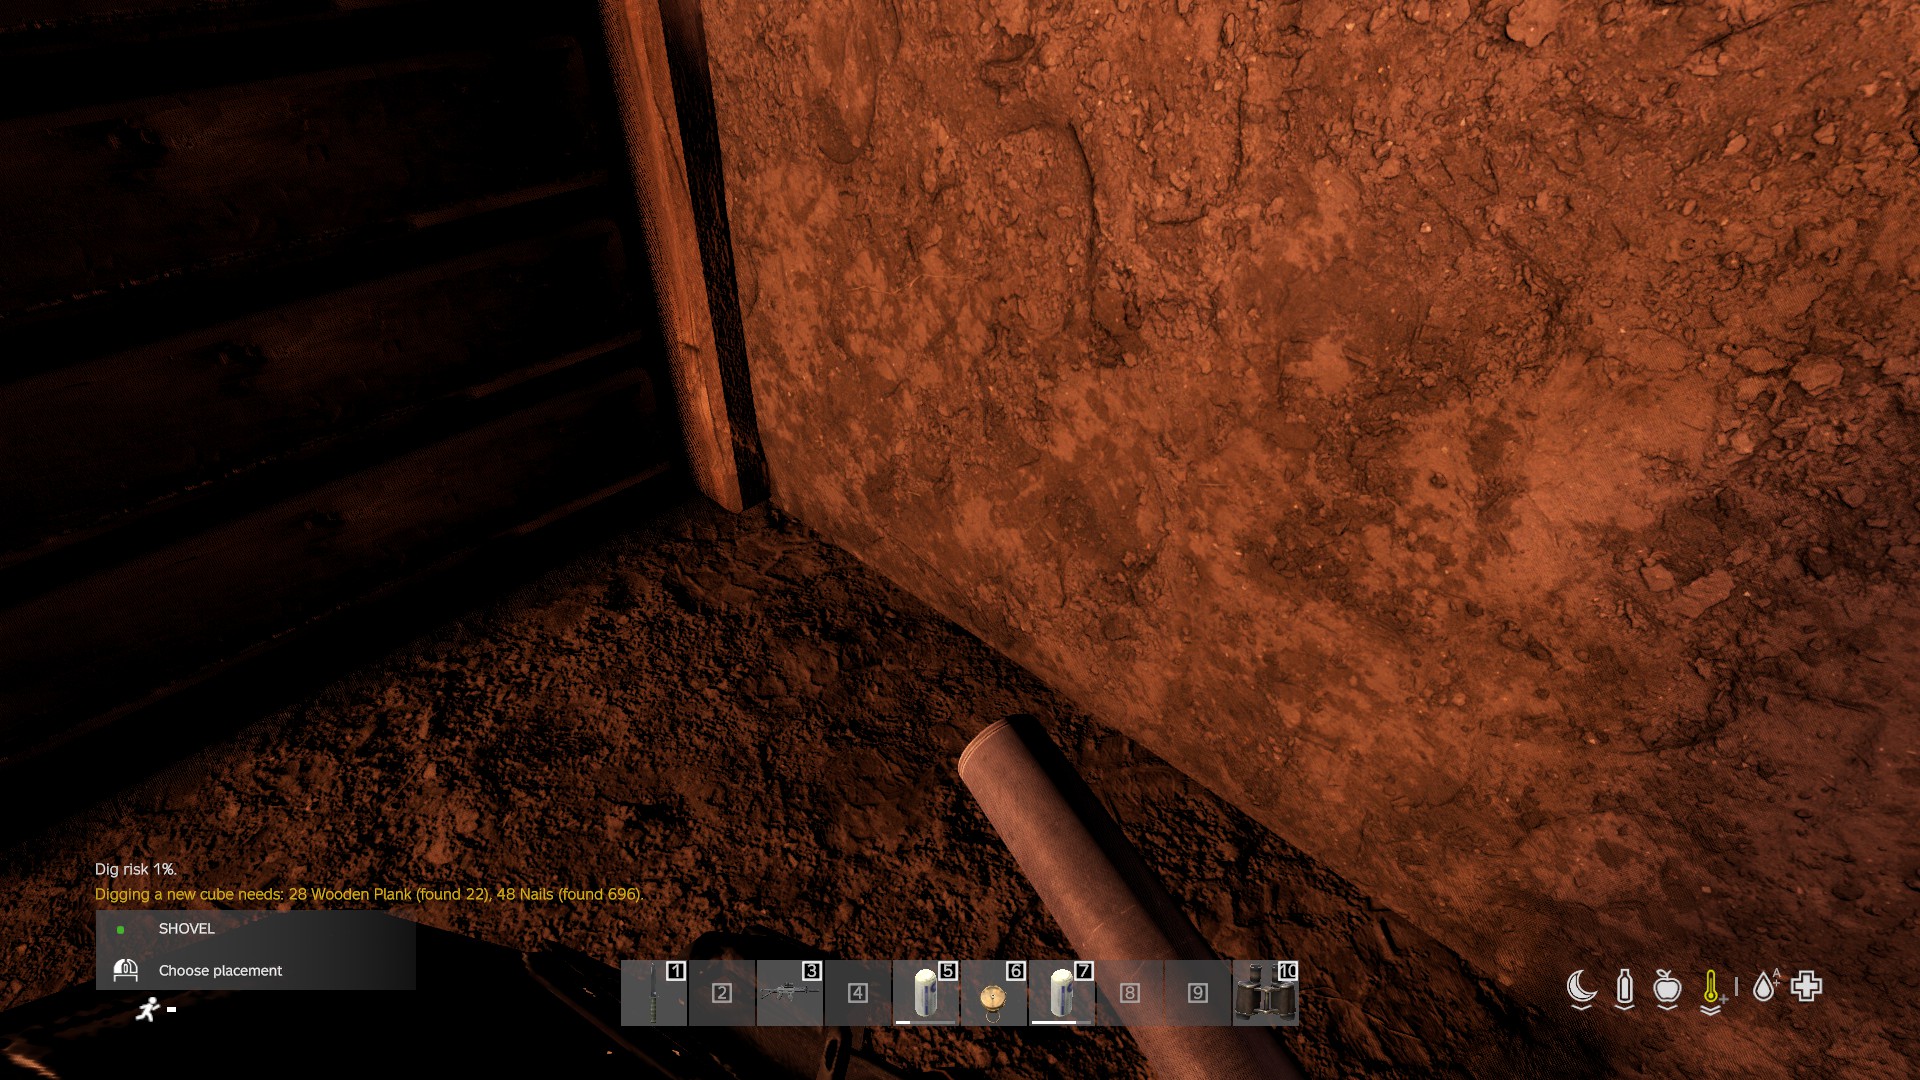
- Only loose items on the floor count — things inside a crate or a dropped backpack don't.
- Refunds work the same way in reverse. When you dismantle, materials go straight into your inventory (topping up existing stacks first) and anything that won't fit drops at your feet. You get back 80% of what a wall cost.
(The only place slots are used at all is the dig site on the surface when you build the hatch.)
Building controls
Take a hammer, hatchet or meat tenderiser in your hands. There are two ways to pick what to build:
1. Look at the face you want to build on. Aim at a bare earth wall and you'll get Build T1 Wall / Build T2 Wall / Build T3 Wall (only the tiers your core allows and you can afford). Aim at a built wall and you'll get Upgrade Wall to T2/T3 or Reinforce Wall to Vault as appropriate.
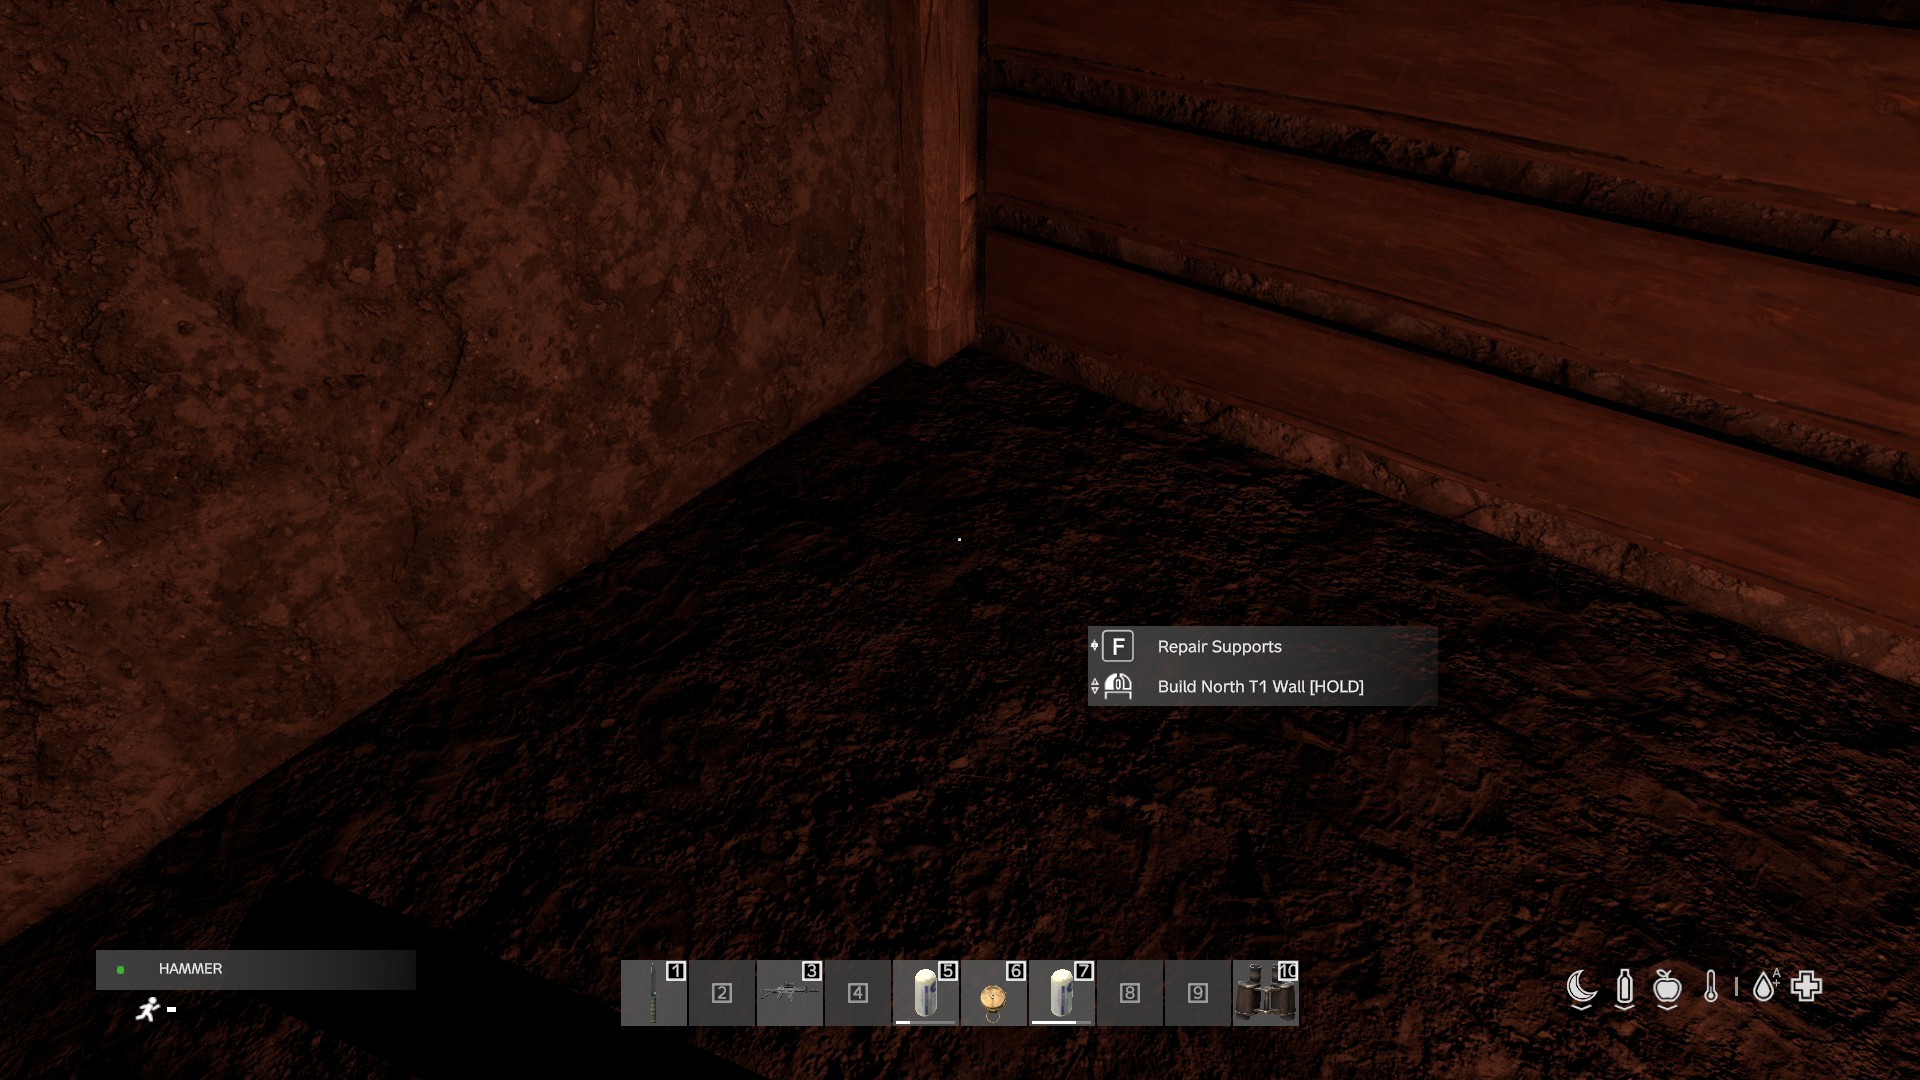
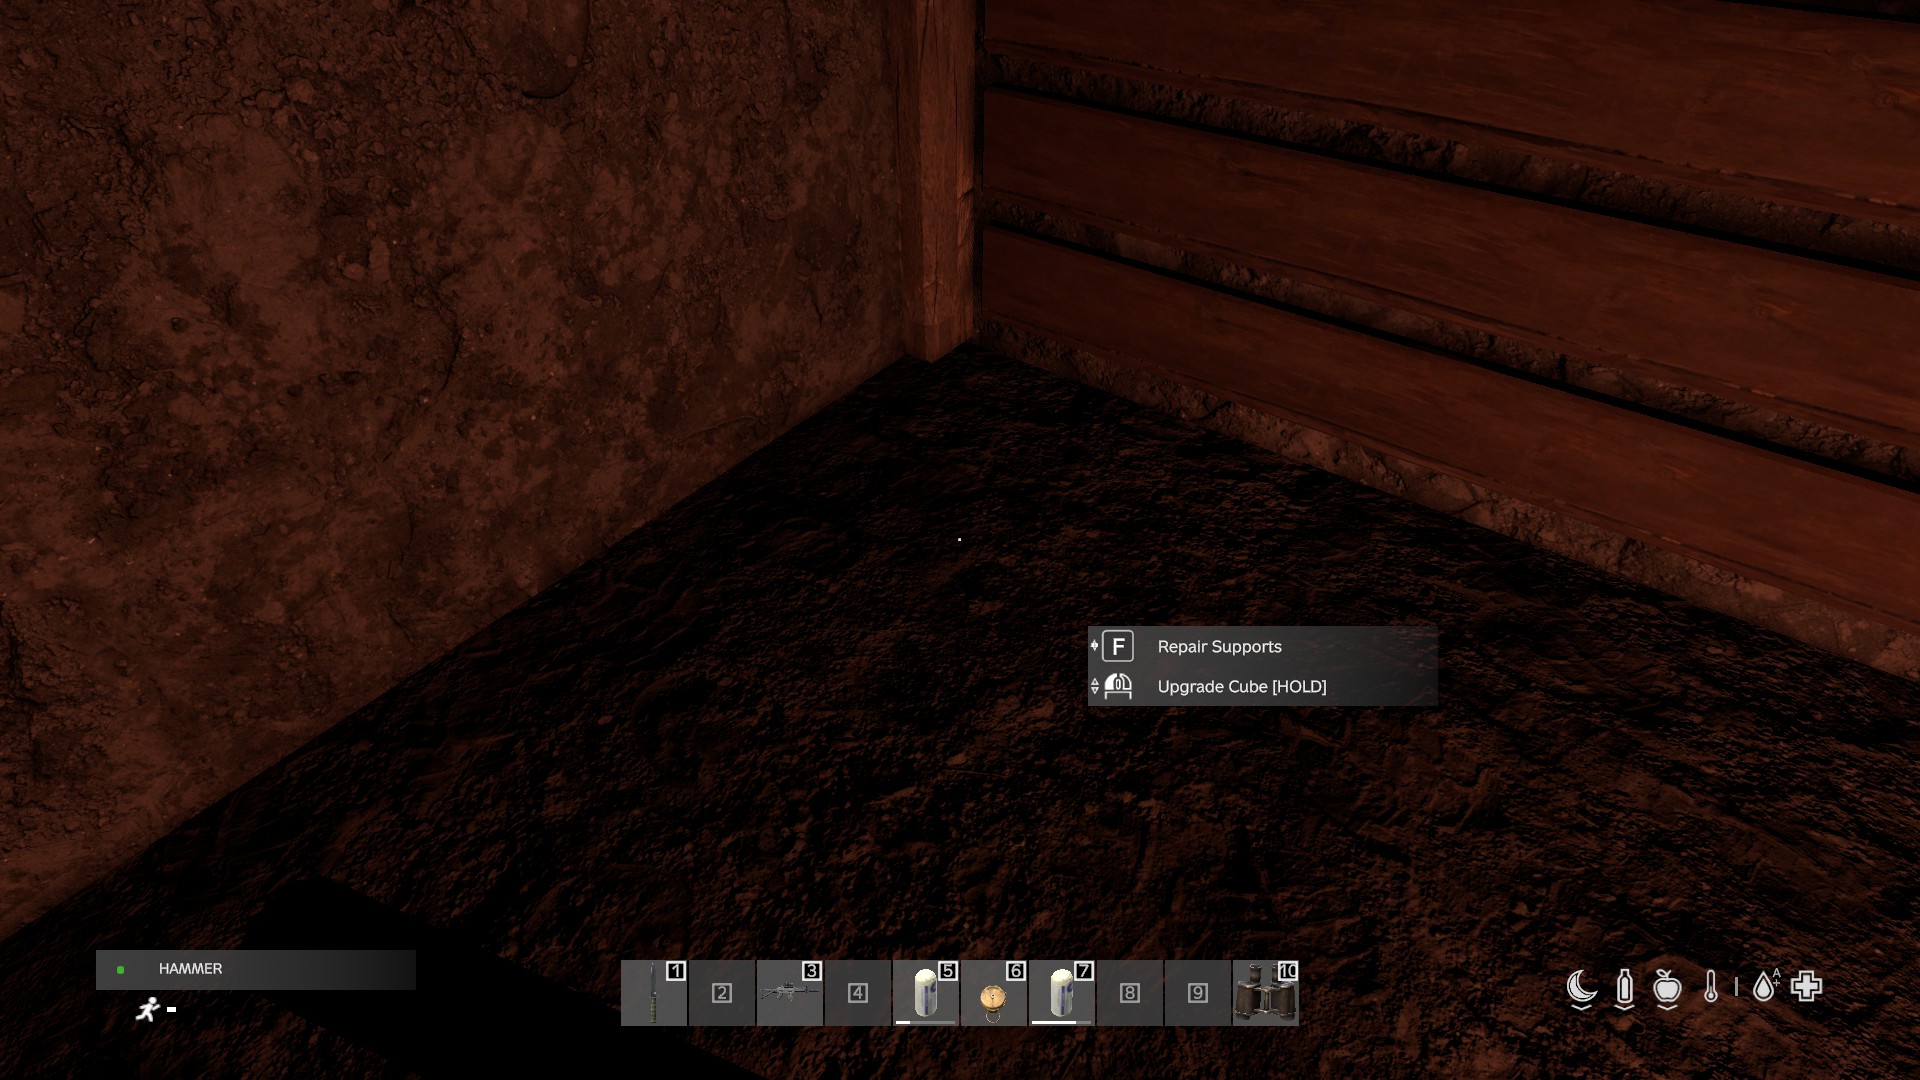
2. Look at the floor or core and scroll. When there's nothing to aim at — an open passage you want to wall off, for instance — look at the floor and mouse-scroll through the options. They're named by compass direction and tier, e.g. Build North T1 Wall, Build East T3 Wall, Build South Vault Door. Carrying a compass helps a lot with this method. The highest tier you can afford is shown first; scroll for the lower ones. Upgrade Cube sits at the top of the list when it's available.
You have to be standing inside the cube whose wall you're building, and the prompts hide if you're looking steeply up or down so you don't accidentally grab a wall across the room.
Which tool does what
Shovel / Field Shovel / Pickaxe / Farming Hoe   dig the entrance, dig tunnels, dig out collapses
Hammer / Hatchet / Meat Tenderiser              build the hatch, build & upgrade walls and cores,
                                                fit vault doors, repair
Any tool above, plus the Crowbar                dismantle walls, remove vault doors
Bare hands (no tool)                            slowly break a wall back down (T1-T3, and it hurts)
The hatchet is the one tool that builds, upgrades, repairs and dismantles — a good thing to keep on you underground. But for dismantling specifically, any of your tools will do (see below).
Dismantling
Any tool can break down a wall or remove a vault door — an axe, a shovel, a pickaxe, a hammer, even a crowbar. We opened this up on purpose: because you build your tunnels wall by wall, it's easy to seal the wrong face and accidentally wall yourself off from the way out. If dismantling needed one specific tool you might not be carrying, that mistake could leave you genuinely trapped. Letting whatever you're holding break a wall means you can always dig your way back out.
Break Down Wall takes longer for tougher walls — roughly 10 seconds for T1, 30 for T2, 60 for T3, and 2 minutes for a vault wall or vault door. Dismantling a T3 or T4 structure ruins the tool you're holding, so bring a spare. You can only dismantle from the inside of the cube the wall belongs to, and only if the cube is unclaimed or claimed by you or your group (see Ownership & Claiming). A wall that's been shot or blown up in the last hour can't be dismantled or repaired either.
No tool at all? You can still claw a wall down with your bare hands. Look at the wall with empty hands and you'll find Break Down Wall (Hands) at the bottom of the scroll options. It's a genuine last resort so you can never get permanently sealed in — if you build a wall across your own way out by mistake, you can always break back through. It's slow (about 90 seconds) and it hurts: it wears down your gloves, and on bare or ruined-glove hands it costs you health and can open a bleeding cut, with tougher walls doing more damage. Vault (T4) walls and vault doors are too tough to break by hand — those still need a proper tool.
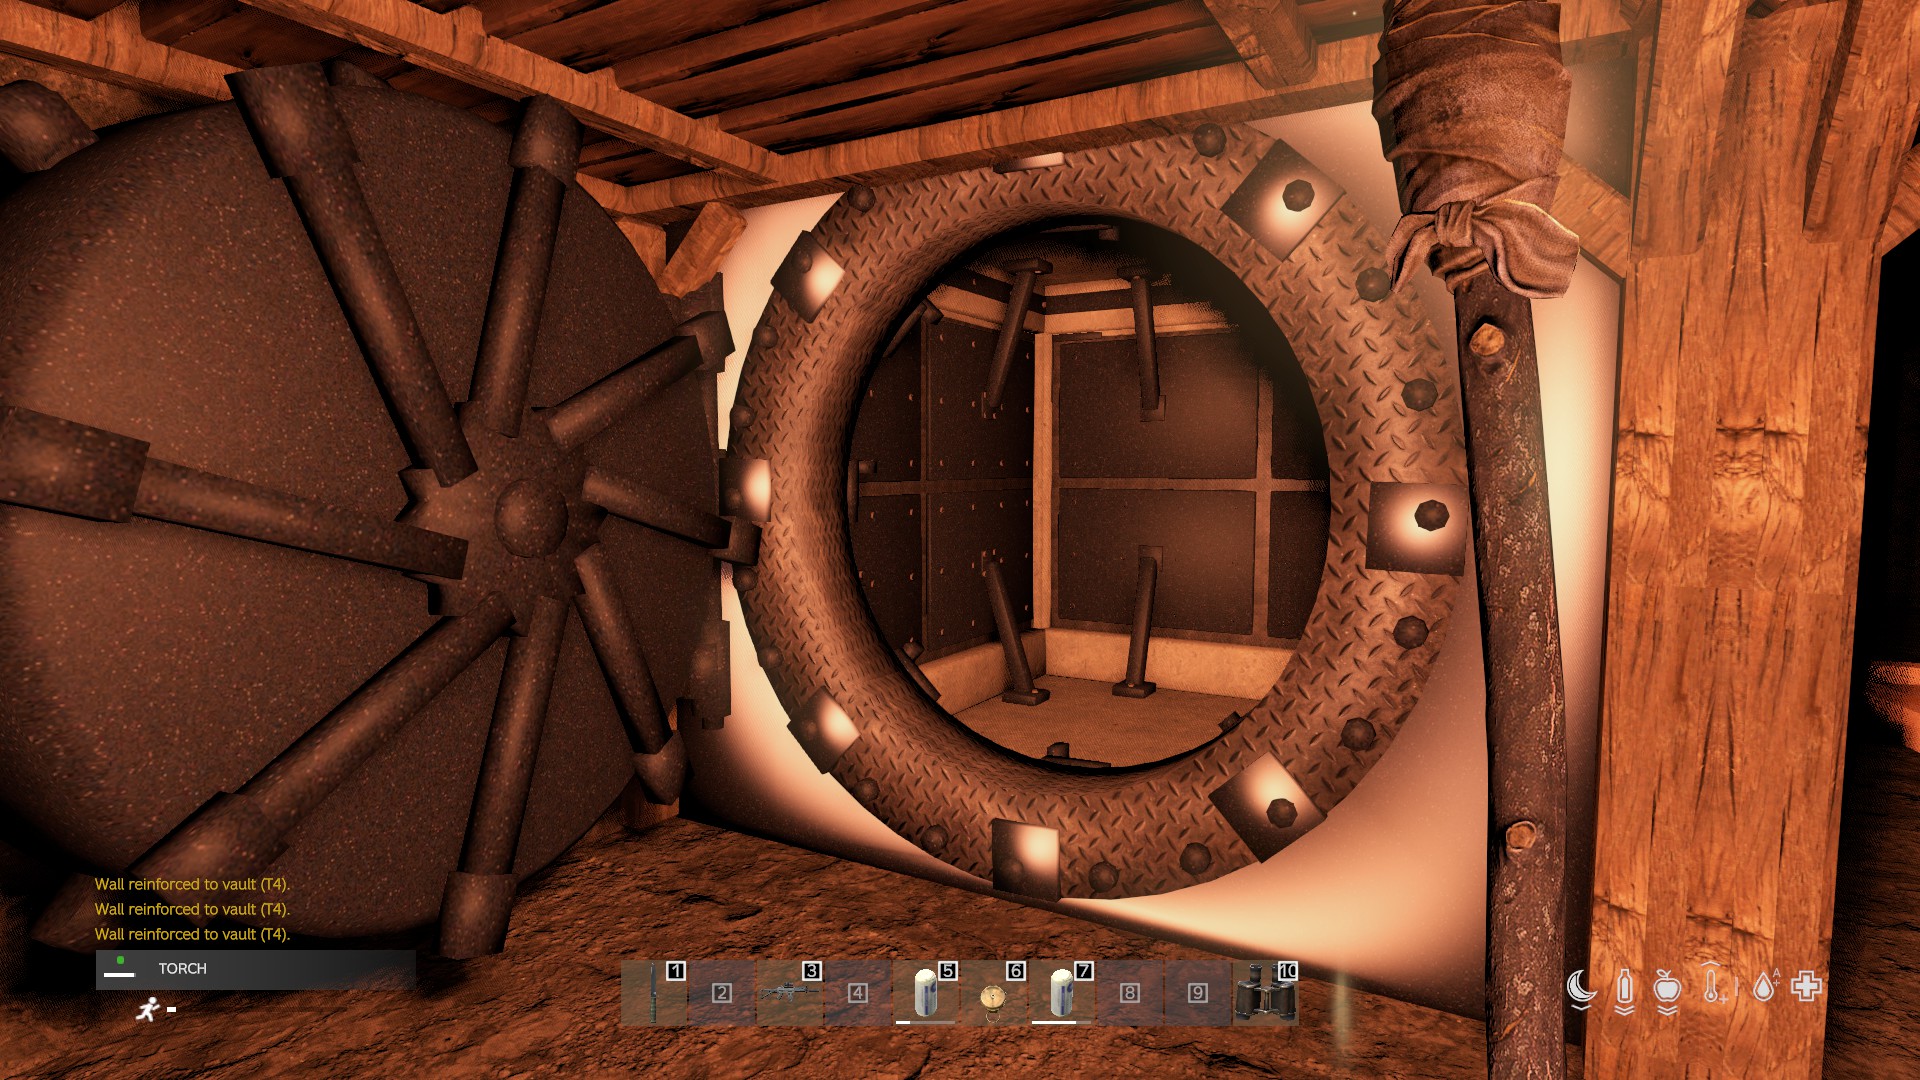
The vault door
The vault door is a Tier 4 structure that sits in an open passage between two cubes, in place of a wall. To fit one you need:
- a T3 (concrete) core in the cube you're standing in,
- an open side to put it in (you can't fit a door onto earth — dig the passage first),
- the parts listed above plus one BBP Build Permit.
Look at the floor with a build tool and pick Build [direction] Vault Door. Once fitted, look at it and use Open Vault / Close Vault. The door has its own codelock slot (again, codelock only): with no lock, anyone who reaches it can open it; with a lock and code set, only the lock's owner and guests can. It can be removed from the inside with any dismantle tool (2 minutes, ruins the tool), but if a codelock is fitted only the lock's owner can remove it.
Note that a collapse no longer destroys your walls, vault walls or vault doors — they survive the cave-in (a vault door even keeps its lock), rot faster while buried, and come back at whatever HP they had left when you dig the collapse out. Only a part whose HP actually reaches zero is lost. What a collapse does cost you is the core: it drops back to Tier 1, so you have to rebuild it up through the tiers again. Keep vault cubes well supported.
Repair
Each part of a cube is repaired on its own. Look at the wall, vault door or core you want to fix with a hammer, hatchet or meat tenderiser and press Repair. It restores that part's health and shores the whole cube's stability back to full — so a single repair does double duty.
The cost scales with how damaged the part is, measured against that part's own build cost. Light damage is cheap — the cost climbs only to about a quarter of the build cost as the part nears critical — but if you let it get critical it rises steeply toward the full build cost. In other words: patch early and it's cheap; leave it until it's falling apart and you pay almost as much as building it new. Walls and the core cost their usual build materials; vault walls and vault doors cost armour plates (no build permit needed to repair one).
You'll see "…is already sound" once a part is fully repaired. A cube that's been hit by explosives or gunfire is locked for an hour afterwards — no repairs or upgrades — so you can't patch a breach mid-raid. A vault wall or door can't be repaired while its core is below T3.
Without a tape measure you can still check on a cube: look at it with empty hands and choose Inspect Structure for a plain-English reading ("Looks stable", "Looks weakened", "We need to add supports", "It's about to fall down"). See Stability, Raiding & Collapse for the full readout.
Quick tips
- Wall two faces before you dig from a cube. It's the single most important habit.
- Keep a hatchet, a shovel and a screwdriver underground — build, dig, claim.
- Drop bulky materials (metal sheets, bricks) at your feet and build from the pile.
- Upgrade the core before you try to upgrade its walls.
- Decide your layout before you dig — you can't go up or down, only outwards.