🔥 XDC Underground — Lighting & Vault Materials
Two things you'll want to sort out once you've got a tunnel base: light, because there is none, and — if you're going for the strongest possible base — the cast steel parts that Tier 4 structures and the vault door are made from.
Part 1 — Lighting
It is very dark inside the tunnels, and there are no fixed lights in any tier of structure. Always bring a light source with you — a torch, a gas lamp, a flashlight, glow sticks, or NVGs.
To make life easier we've added a family of holders you can fix to walls and ceilings. A light seated in one of these lasts about 100 times longer than it would in your hands — a gas canister or battery that gives you an hour held will run for days mounted. (We plan to expand this later with lights you can wire up to a local power source.)
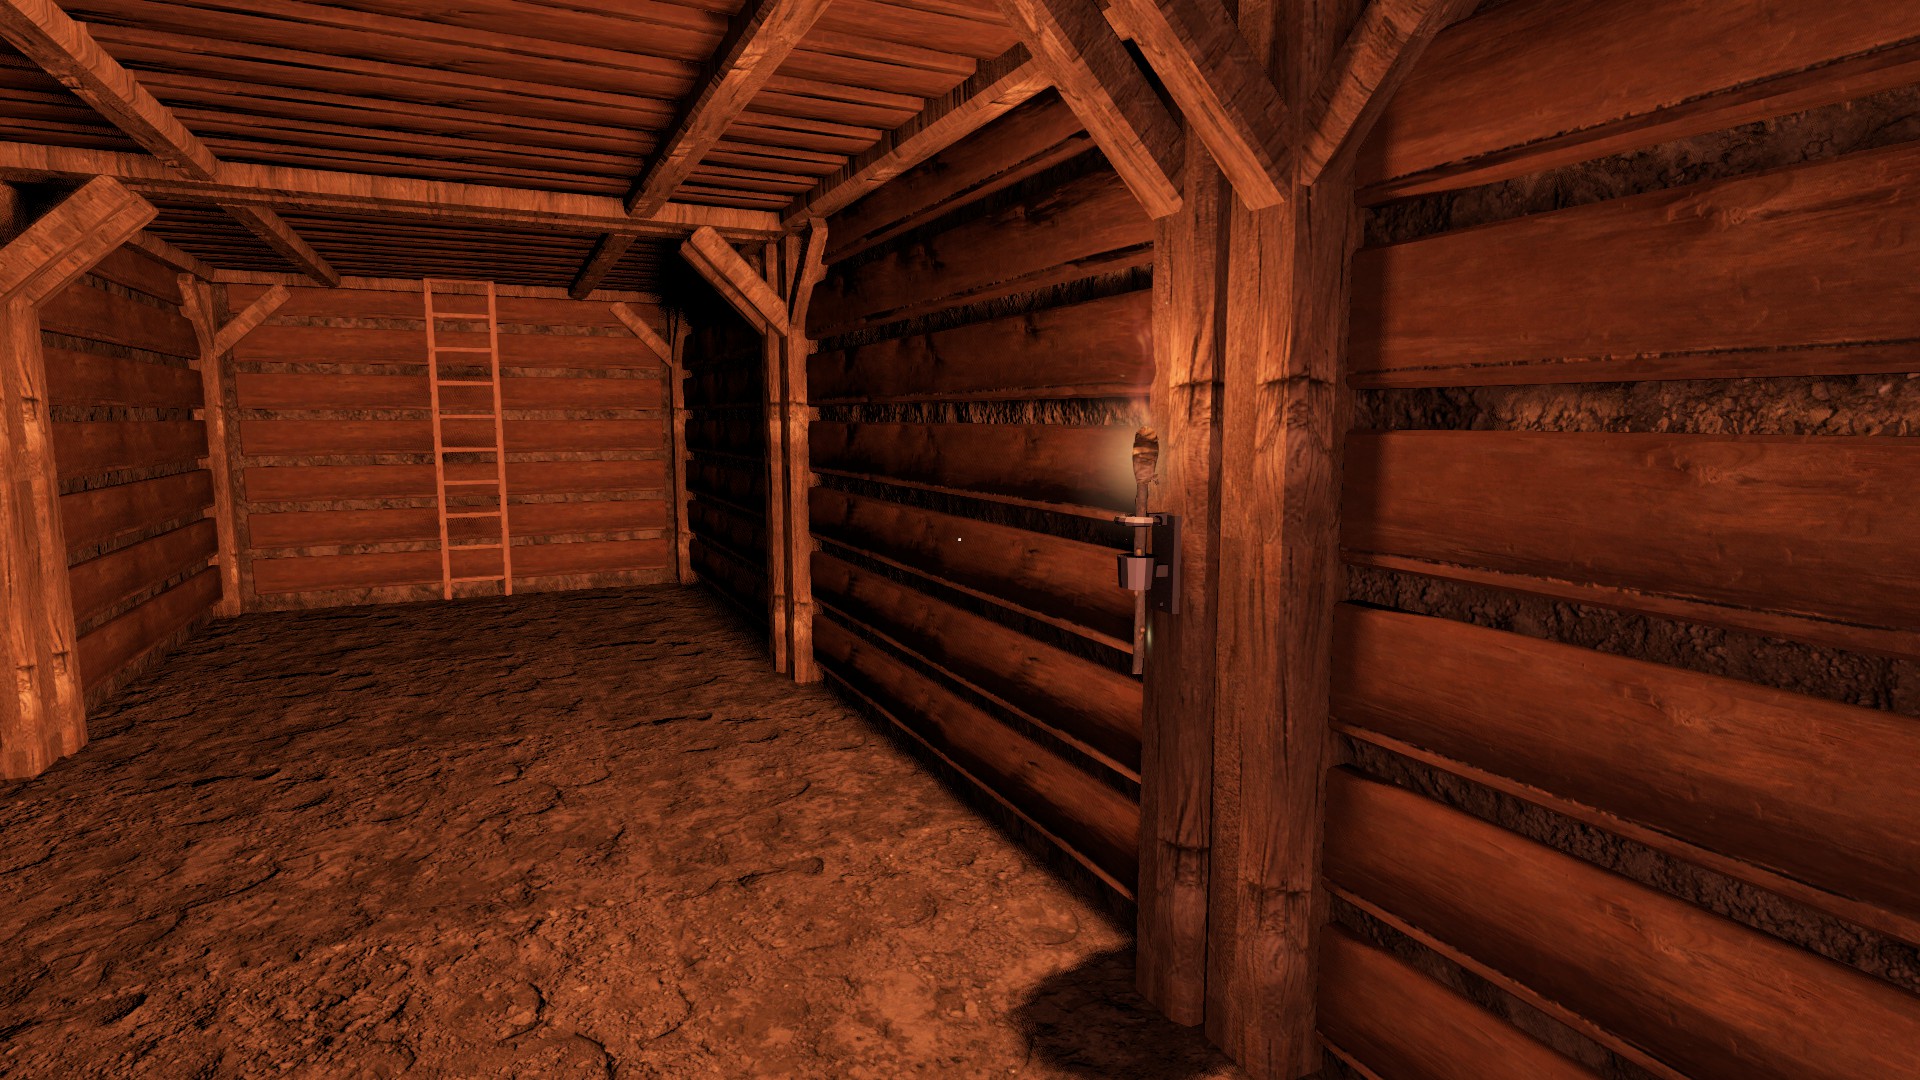
The holders
Torch Holder                 wall    takes 1 flaming torch or broom
Gas Lamp Wall Hook           wall    takes 1 portable gas lamp
Gas Lamp Ceiling Hook        ceiling takes 1 portable gas lamp
Flashlight Wall Light        wall    takes 1 flashlight, aimed up at the ceiling to light the room
Flashlight Ceiling Fixture   ceiling takes 3 flashlights on angled heads
Flashlights need a charged battery and gas lamps need a gas canister, exactly as they would in your hands.
Crafting them
Holders are forged from scrap metal with a blowtorch. Drop a stack of scrap on the ground, hold a lit blowtorch, look at the pile and pick the holder you want:
Forge Torch Holder               25 scrap
Forge Gas Lamp Wall Hook         25 scrap
Forge Gas Lamp Ceiling Hook      25 scrap
Forge Flashlight Wall Light      25 scrap
Forge Flashlight Ceiling Fixture 40 scrap
See the Scrap Metal guide for where scrap comes from. Each holder can also be made the ordinary way by combining 1 metal sheet with 3 nails if you don't have scrap to hand.
Using them
- Hold the holder and place it — it snaps flat against whatever surface you're aiming at. Wall types mount on walls; the two ceiling types hang from the ceiling.
- Torch Holder: attach a torch or broom (lit or unlit). If it's unlit, look at the holder with matches or a lighter in hand and light it in place. Use Take to hands to pull it out again, even while it's burning. You can't pick the holder up while a lit torch is in it.
- Gas lamp and flashlight holders: attach the light, then look at the holder and Switch On / Switch Off. One press on the three-head ceiling fixture switches all three flashlights at once. You can't pick a holder up while a light in it is on.
Holders work anywhere there's a surface, above ground too, but the 100× saving is the same wherever they are — it applies to any light seated in a holder.
Part 2 — Vault materials (Tier 4)
Tier 4 walls and the vault door are incredibly strong, but they need new materials you have to make yourself. The chain is:
Plate carrier → Armour Plates → molten steel in a crucible → clay mould → cast vault part.
This is a system we'll expand later with better tools. For now it deliberately takes a lot of plate carriers.
Step 1 — Cut out armour plates
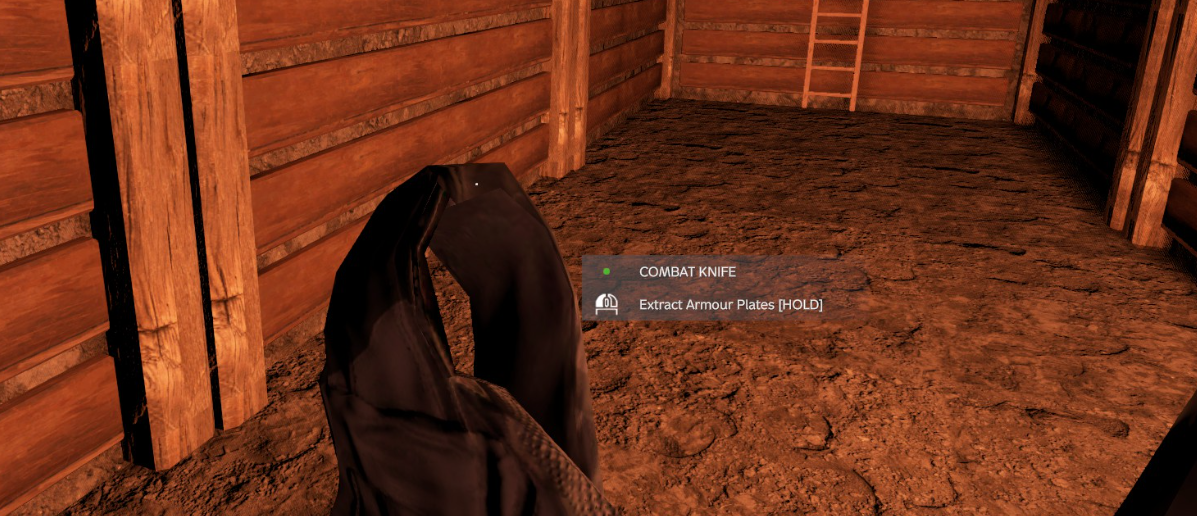
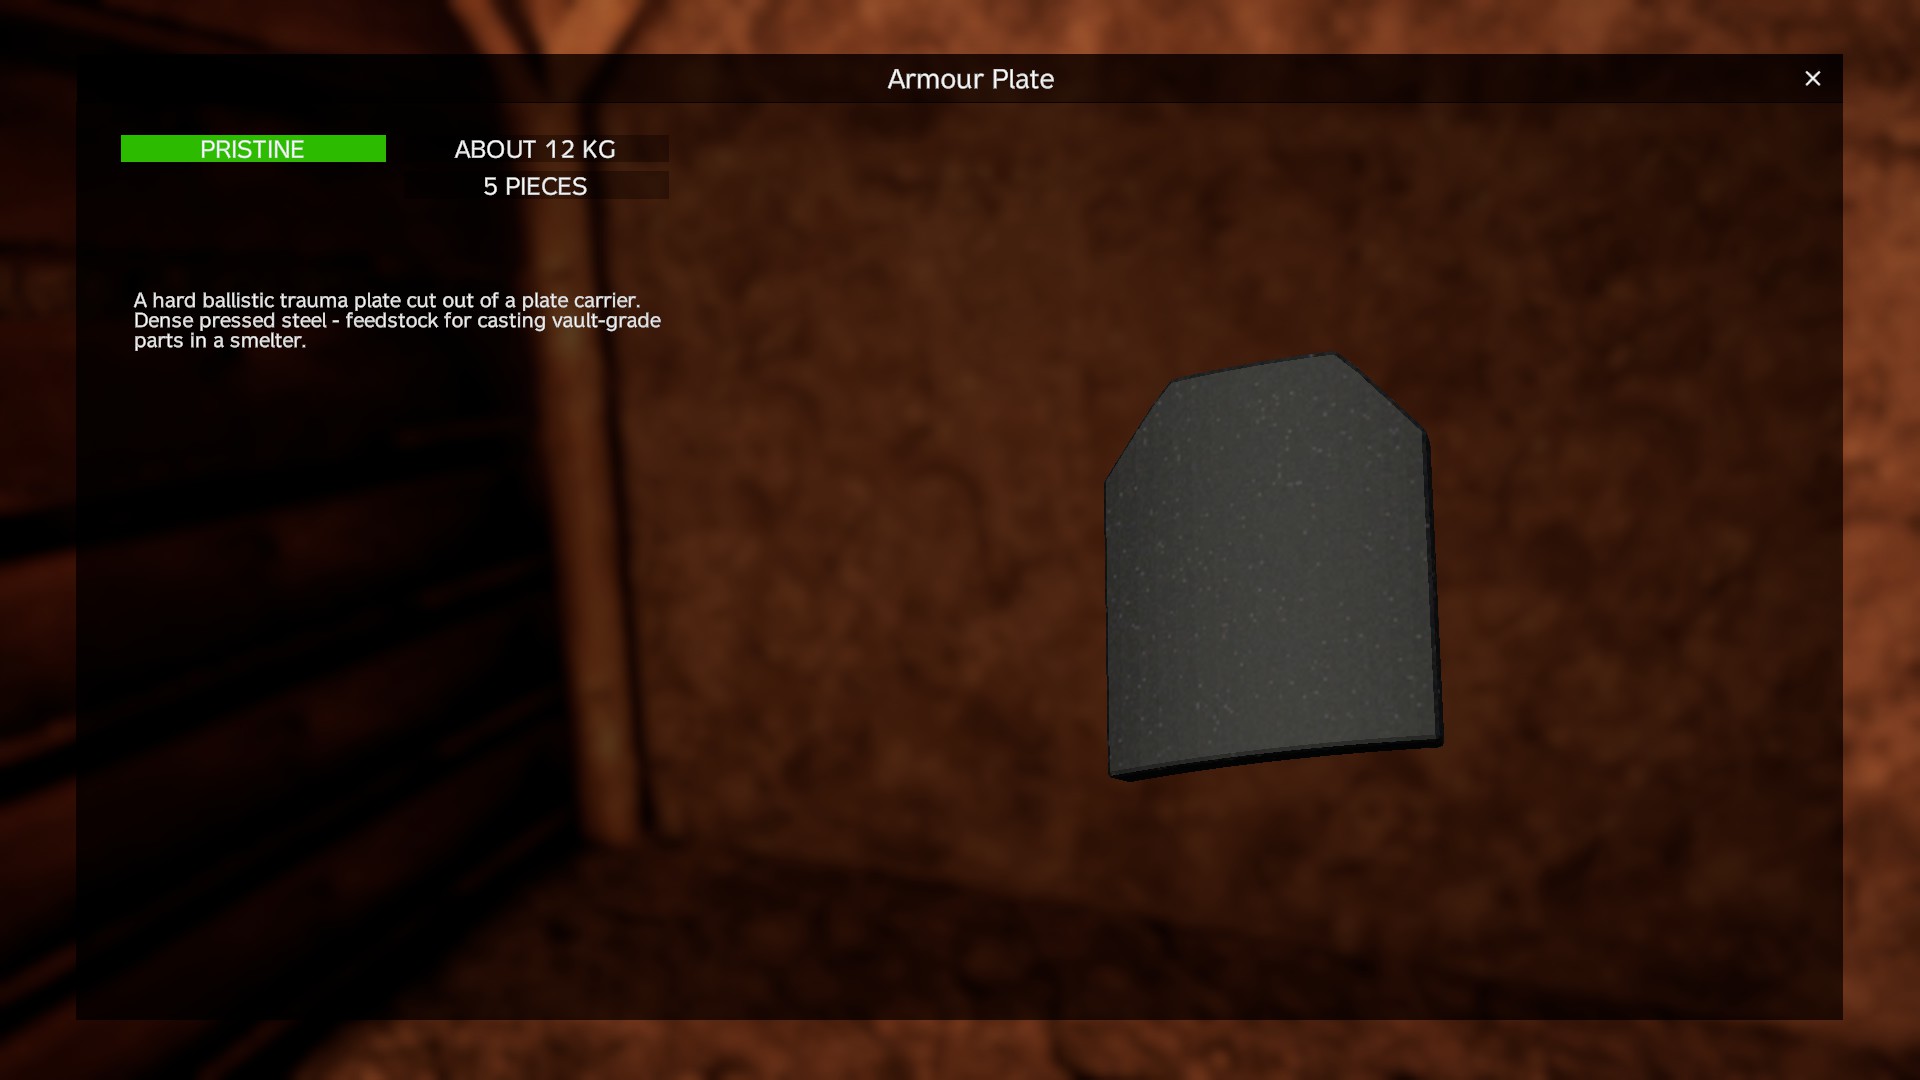
Take a plate carrier vest (any colour) that's completely empty — no pouches or holster attached — and combine it with a knife (most blades work: kitchen, hunting and combat knives, machetes, cleavers, bayonets, a hacksaw, even a screwdriver or hatchet). Choose Extract Armour Plates.
- Each carrier gives 2 Armour Plates.
- The carrier is destroyed.
- A ruined carrier can't be used; anything else is fine.
An Armour Plate is a dense pressed-steel trauma plate worth 50 units of steel.
Step 2 — Smelt the plates
You use the same Stand-Alone Smelter as the precious-metal system — see the Smelting guide for crafting the smelter (gas stove or gas lamp + 5 metal sheets) and the crucible (1 metal sheet + a hammer). The steel branch works like this:
1. Fit an empty crucible and a gas canister to the smelter.
2. Put your Armour Plates in the smelter's metal slot (the same slot the nuggets go in — you can't mix plates and precious metal in one batch).
3. Switch it on. When it finishes you have a Steel Crucible full of glowing molten steel.
Key numbers:
- 1 plate = 50 units. A crucible holds 800 units = 16 plates. Extra plates wait in the slot for the next batch.
- Steel is molten above 80 °C and solid below. You need gloves (any gloves) to pick up a hot crucible. A molten crucible can't go into storage.
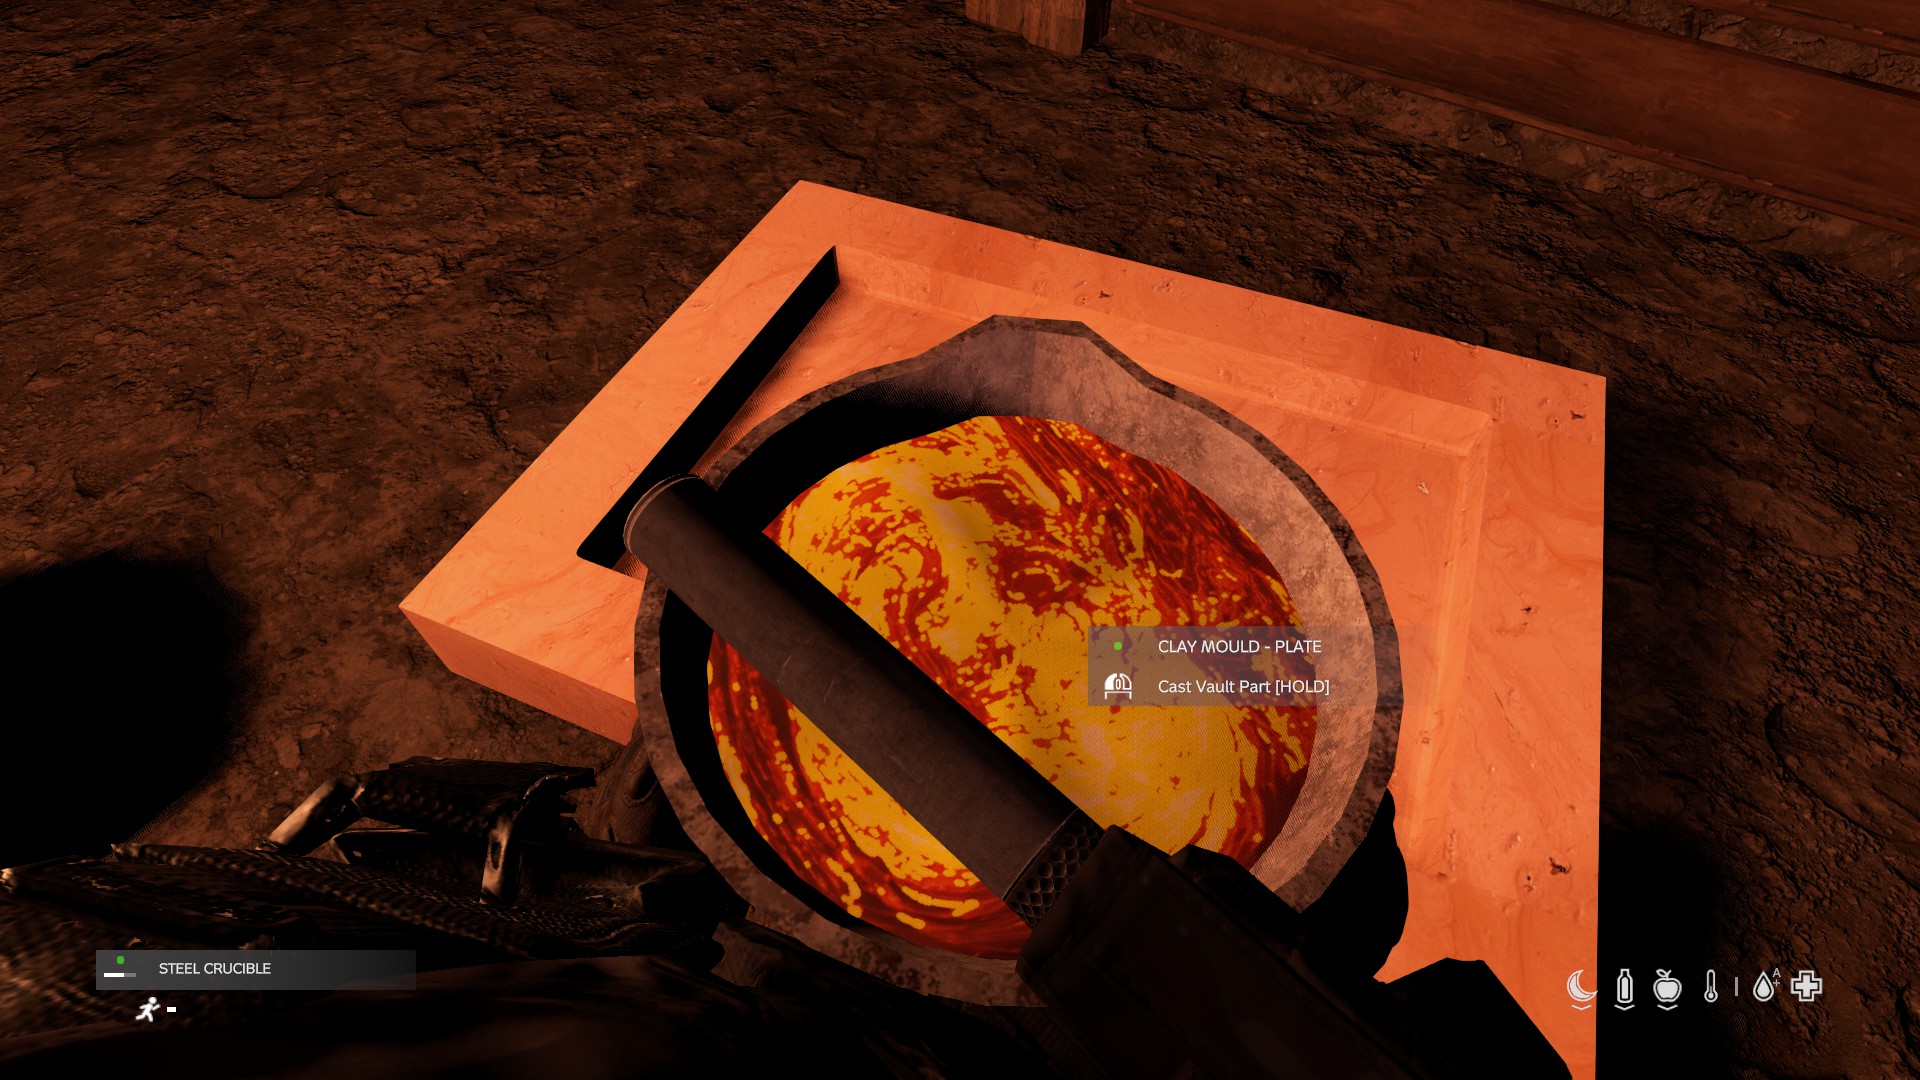
- Casting needs the steel hotter than 300 °C — freshly melted or reheated. Pouring crucible to crucible only needs it liquid, but casting a part needs it properly hot, so cast straight from the smelter.
- Switching the smelter off cools the crucible, so don't turn it off between pours.
Handling cooled steel:
- Empty Crucible on a solid (cooled) crucible turns the whole contents into a reusable Steel Lump and gives you back an empty crucible. Combine the lump with an empty crucible later (Put into crucible) and reheat it in a smelter to melt it again.
- Pour Molten Steel — hold one molten crucible, look at another molten crucible, and pour. It transfers exactly as much as fits; nothing is ever lost, and the remainder stays in the one you're holding. Both crucibles must be molten.
Step 3 — Make clay moulds
Each vault part needs its own mould, shaped from lumps of clay with a knife (clay is found in industrial, village, farm and military areas, and it's the same clay the bullion mould uses).
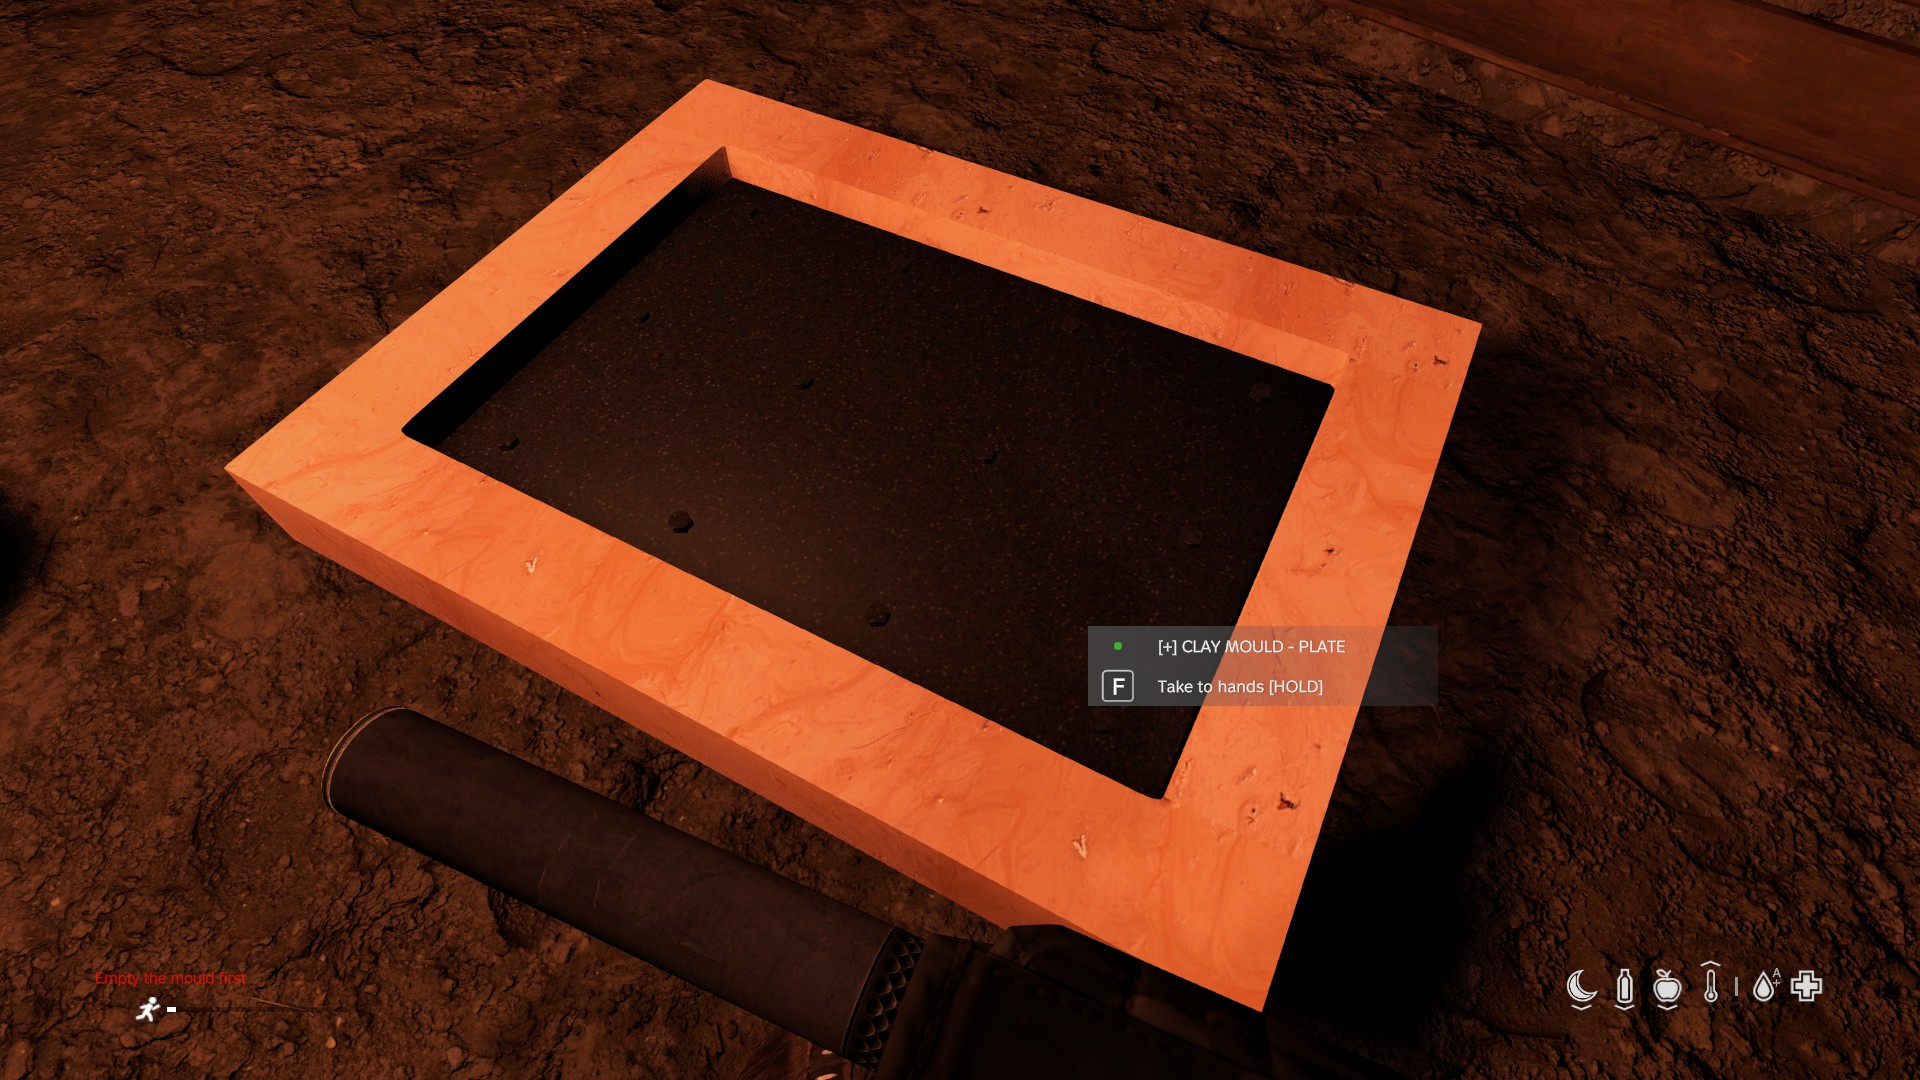
Clay Mould - Plate     40 clay   casts a Vault Plate Panel     (200 steel = 4 plates)
Clay Mould - Band      40 clay   casts a Vault Support Band    (150 steel = 3 plates)
Clay Mould - Brace     40 clay   casts a Vault Triangle Brace  (100 steel = 2 plates)
Clay Mould - Support   25 clay   casts a Vault Plate Support   (100 steel = 2 plates)
Clay Mould - Wheel     40 clay   casts a Vault Door Wheel      (150 steel = 3 plates)
Clay Mould - Hub       40 clay   casts a Vault Door Hub        (150 steel = 3 plates)
Clay Mould - Spoke     25 clay   casts a Vault Door Spoke      (100 steel = 2 plates)
- Every mould survives exactly 5 pours before it crumbles. If a mould crumbles in your hands mid-cast you'll drop it.
- Moulds are heavy, two-handed carries — you walk with one held in front of you like a metal plate, no sprinting or jumping. Make them where you'll use them.
Step 4 — Cast the parts
Hold a hot crucible of molten steel, look at the mould and choose Cast Vault Part. It draws the part's steel out of the crucible and the finished part appears. If it refuses, the message tells you why: "Not enough molten steel", "Not hot enough to pour", or "Empty the mould first".
What Tier 4 needs
One Tier 4 vault wall:   4 Plate Panels, 3 Support Bands, 4 Triangle Braces,
                         4 Plate Supports, 6 Metal Sheets
                         ≈ 41 armour plates of steel  (about 21 plate carriers)

One vault door:          16 Armour Plates (raw, not cast), 1 Door Wheel, 1 Door Hub,
                         8 Door Spokes, plus 1 BBP Build Permit
                         ≈ 38 armour plates of steel  (about 19 plate carriers)
The vault door's main body is built directly from 16 raw Armour Plates — only the wheel, hub and spokes are cast. Each vault door also needs a BBP permit at the moment, found in the same industrial and farm spots as nails, and consumed on build.
Armoured Bullion — storing steel compactly
If you're stockpiling, pour molten steel into the ordinary Bullion Mould (the one from the smelting guide) and choose Cast Armoured Bullion. One bullion is 500 units = 10 armour plates in a single 2×2 item.
- To melt it back, attach the bullion to the smelter's metal slot like a plate. It returns the full 500 units.
- Safety catch: a bullion only melts if the crucible has room for all 500 units. If there's less room it's simply left alone — you never lose part of one or overflow the crucible. Empty or consolidate the crucible first.
Quick tips
- Fit holders before you fill the base with storage — you'll want to see what you're doing.
- Keep gloves on when working the smelter.
- Cast from a freshly melted crucible; don't let it cool between pours.
- Shape moulds at the smelter — you can't run with them.
- Plan Tier 4 for the cubes that matter (your vault and its approach), not the whole base — every vault wall is roughly twenty plate carriers.