💥 XDC Underground — Stability, Raiding & Collapse
The tunnel system introduces a stability system that ties maintenance, raiding and cave-ins together. Understanding it is what separates a base that lasts from one that falls in on you.
How stability works
Every cube has a store of strength that comes from its core and from every built wall on its faces. The rules:
- Structures get weaker over time without maintenance.
- Unsupported structures get weaker faster. A cube with exposed earth faces drains far quicker than a sealed one — and the further an exposed face is from a solid wall or bedrock, the worse it is.
- Raid damage depletes stability further.
- When a cube reaches a critical stage it might collapse.
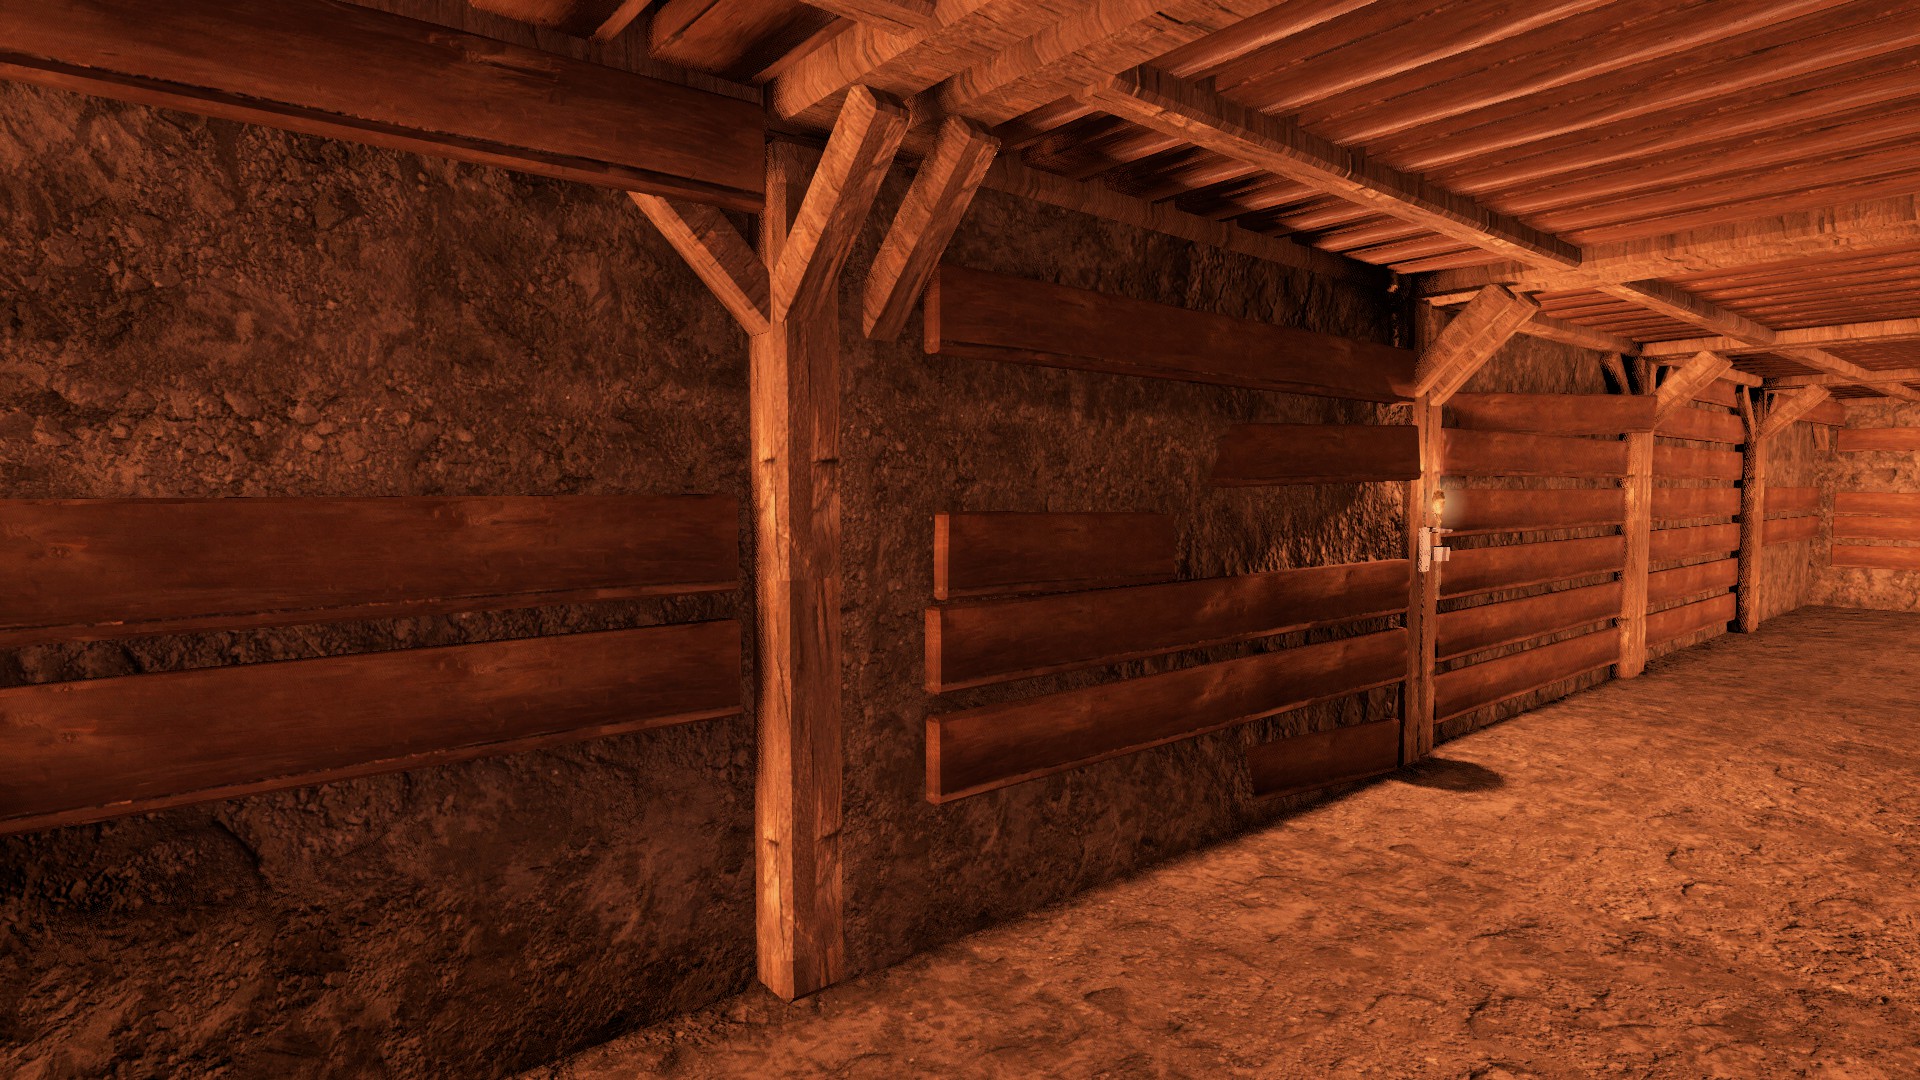
Sealing a cube up makes an enormous difference. Roughly, a fully walled cube left completely alone lasts about a week at T1, two weeks at T2, and four weeks at T3 (longer still with vault walls). A cube with open earth on several sides can go from healthy to collapsing in well under an hour. Wall your faces.
Individual walls also age. On top of the cube's overall lifespan, each built wall slowly loses condition on its own — lasting roughly 7 days at T1, 14 at T2, 28 at T3, and 90 days for a vault (T4) wall or vault door if it's never touched. As a wall ages it gets easier to raid and eventually crumbles to bare earth. Repairing a wall resets its clock, so a maintained base stays strong indefinitely while an abandoned one rots soft.
Higher tiers help twice over: a T3 core has far more strength than a T1 core, and a T3 wall contributes far more support than a T1 wall.
Reading stability
There are two ways to check a cube:
- Inspect Structure — empty hands, look at the core or a wall. A plain-language reading: "Looks stable", "Looks weakened", "A wall looks damaged", "We need to add supports" (there's exposed earth), "It's about to fall down".
- Measure Stability — with a BBP tape measure in hand. This gives the full numbers, per core and per wall, and the cube's current dig risk.
You can also just look: cores and walls visibly sag and crack as they weaken — healthy, damaged and badly-damaged models — and visibly recover when repaired. And listen: falling stones mean exposed earth nearby.
The tape measure gives a raw figure — the real number is dynamic
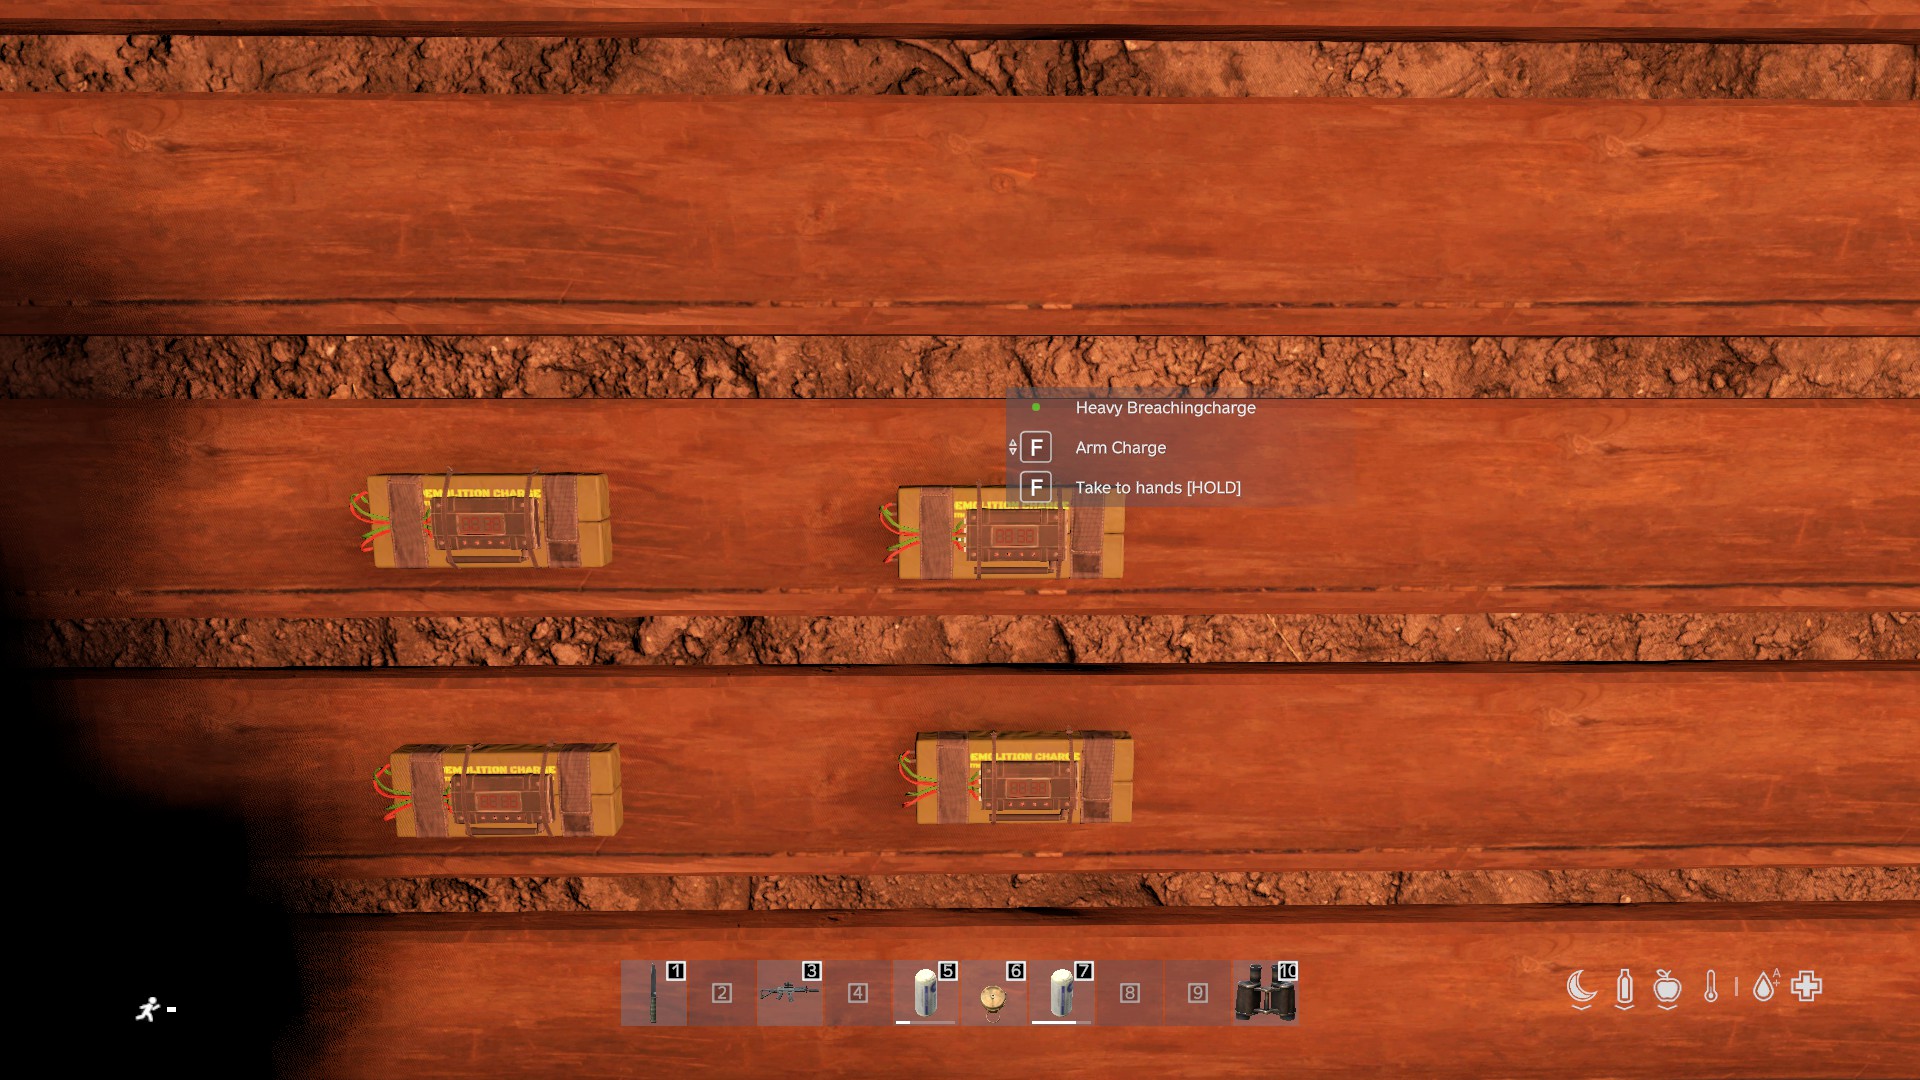
The tape measure shows an HP figure, but the system is dynamic: a C4 charge on a well-supported structure does less HP damage than the same charge on a weakened one. The tape measure shows the multiplier next to the HP (as A= — the higher it is, the more each charge is being absorbed), so read them together. The practical upshot: as you raid, things get weaker, and each successive C4 does more damage.
Maintenance
Repair is done per part: look at the wall, vault door or core with a hammer, hatchet or meat tenderiser and press Repair. Each repair restores that part's health and shores the whole cube's stability back to full. The cost scales with the damage, against that part's own build cost — cheap for light damage (up to about a quarter of the build cost as it nears critical), rising steeply toward the full build cost if you let it get critical, so patch early. Walls and cores cost build materials; vault walls and doors cost armour plates. Upgrading a core also restores its strength to full at the new tier.
⚠️ Any cube that's been hit by explosives or gunfire is locked for one hour afterwards: no repairs, no upgrades, no dismantling. Defenders can't patch a breach while a raid is in progress.
How stability changes raid cost
Stability doesn't just decide whether a cube falls down — it directly increases the strength of a structure. Every explosive or bullet hit is reduced according to how well the target is supported: by its core's health, by the tier and condition of the walls bracing it, and by how close it sits to solid ground.
- A T4 vault door on its own — dead core, no bracing walls — might cost about 8 C4 to breach.
- The same door with maximum support takes roughly twice as many — around 16.
- Weakening supports makes it easier to destroy something. Blow up, dig around or collapse the cubes and walls around a target and it loses its armour.
Support also holds up well while stability is high, then falls away quickly as a cube nears collapse — so the first few charges in a raid seem to do little, and later ones do a lot. How hard something is to raid depends mostly on its tier, then on how much it's supported when the raid starts.
For reference, the base strength of each part (before support is applied — a fully supported part effectively doubles these):
T1 wall          16,000    (BBP T1 parity — about 290 rifle rounds)
T2 wall          28,000
T3 wall          40,000
T4 vault wall    56,000    (8 charges unsupported)
Vault door       56,000    (identical to a vault wall — no soft spot)
Cores are far stronger than walls (80,000 at T1 up to 200,000 at T3, and 600,000 for any cube carrying vault structures), so a raider breaches a face, not the core. Explosives are the main tool as they are for BBP; bullets do half damage, and a vault door's structure can't simply be shot to bits.
Raiding a tunnel base
The key concept: you do not need to come through the original hatch. You can dig your own entrance 60 m or more away and tunnel into an enemy base — or into your own, to give yourself a second route. (You can't tunnel up to make a new hatch, so a second exit always means a second dug entrance.)
When you dig up to another tunnel system:
- If their side is open earth, you break straight through into their cube.
- If their side is built, you hit the outer face of their wall. You cannot dismantle a wall from the outside — it has to be broken through with C4 or bullets. Or you can build your own wall in its way and back off.
The same rule protects you: a raider who reaches your walls from the far side has to blow them, not unscrew them. Damage done to the outside face of a wall counts against the real wall in the owner's base, so they'll know something's up if they check it.
A few more raiding facts:
- You don't have to blow up BBP structures underground to get past them. Attackers can dig past a BBP wall in an adjacent cube, or trigger a collapse to weaken it — a full collapse does 20,000 damage to any base-building structure in the cube (two of them break a BBP T3; one breaks T1 or T2). Loot, containers and players aren't damaged by the collapse itself — but see Getting Buried.
- Raw earth can't be breached, only caved in. Explosives against an earth face don't blow a hole — every charge caves it in a little more, and no single charge can do it alone; it takes three or four. Sustained gunfire will eventually cave an earth face too (about the same as a BBP T1 wall). Melee does nothing to earth or collapsed fill.
- A collapse no longer destroys the walls or T4 parts. Walls, vault walls and vault doors survive the cave-in and are restored (at reduced HP) when the cube is dug out — only a part whose HP hits zero is lost. A collapse's real cost is the core, which drops to Tier 1 and must be rebuilt back up through the tiers.
- A collapse hits neighbouring cubes too — each adjoining cube loses some strength and the wall facing the collapse takes heavy damage (two collapses breach a full wall). Collapses can chain through open passages into cubes that are already weakened.
Collapse
A cube collapses when its stability runs out, when its core is destroyed by raiding, when a collapse next door chains into it, or when someone digs recklessly from it. Most collapses on you personally will be the last one — digging too far ahead of adequate supports — but they can also be triggered by PvP or raiding underground, and by lack of maintenance, and they can happen while you're offline.
When a cube collapses:
- The cube fills with earth. Anyone inside is buried (see Getting Buried).
- The cube's own core and walls take damage, so a dug-out cube comes back battered, not pristine, and needs repairing.
- Any vault door or vault wall in it is destroyed.
- If it's the entrance cube, the shaft is choked: nobody can enter until it's dug out from inside or the surface, and the codelock and camo net take damage each time (two collapses wreck them).
- A dust cloud fills the area for a minute and a half (see Getting Buried for its effects and how to protect against it).
A collapsed cube keeps decaying while it's buried, faster than a normal cube. Leave it long enough and its walls rot to nothing — when you dig it out you'll find bare earth instead of walls.
Digging out a collapse
From an adjoining cube, look at the earth fill with a shovel (or pickaxe, field shovel or hoe) and hold Dig Out Collapse. A shovel takes about 15–25 seconds of digging depending on how boxed-in the cube is; more people digging speeds it up. If there's a built wall between you and the fill you'll need to take that down first. Digging out carries a small risk of chaining a collapse into the cube you're standing in, so wall up before you start.
No tool? You can claw it out with bare hands. With empty hands, look at the fill and hold Dig Out Collapse (Hands). It feeds the same progress and reaches the same result as the shovel — just far slower (roughly three times the digging), and it hurts: each cycle wears your gloves, and on bare or ruined-glove hands it can open a bleeding cut and cost a little health. Good enough to free a buried teammate in a pinch, but bring a shovel if you can.
If the cube's core was destroyed by raiding, clearing it counts as a rebuild — but you can always dig it out, with a shovel or bare hands, whether or not you have materials. What you get depends on them: with 20 planks + 30 nails on you or at your feet the cube is permanently restored; without them the earth heaves into a temporary unstable mound you can scramble across before it re-collapses (dig it again once you've got the timber). If someone is buried in there, digging always frees them first — rescue comes before any rebuild.
Quick tips
- Never leave exposed earth. It's the number one cause of both collapses and easy raids.
- Repair on a schedule. A sealed T1 cube needs attention within a week; concrete buys you a month.
- Tier your approach cube, not just your vault. A vault door with a rotten core behind it is an 8-charge door.
- Raiders: kill the supports first. Collapse or dig out the cubes around a target and it stops absorbing charges.
- Check the tape measure's A= value — it tells you whether you're wasting C4.