🕳️ Underground Bases
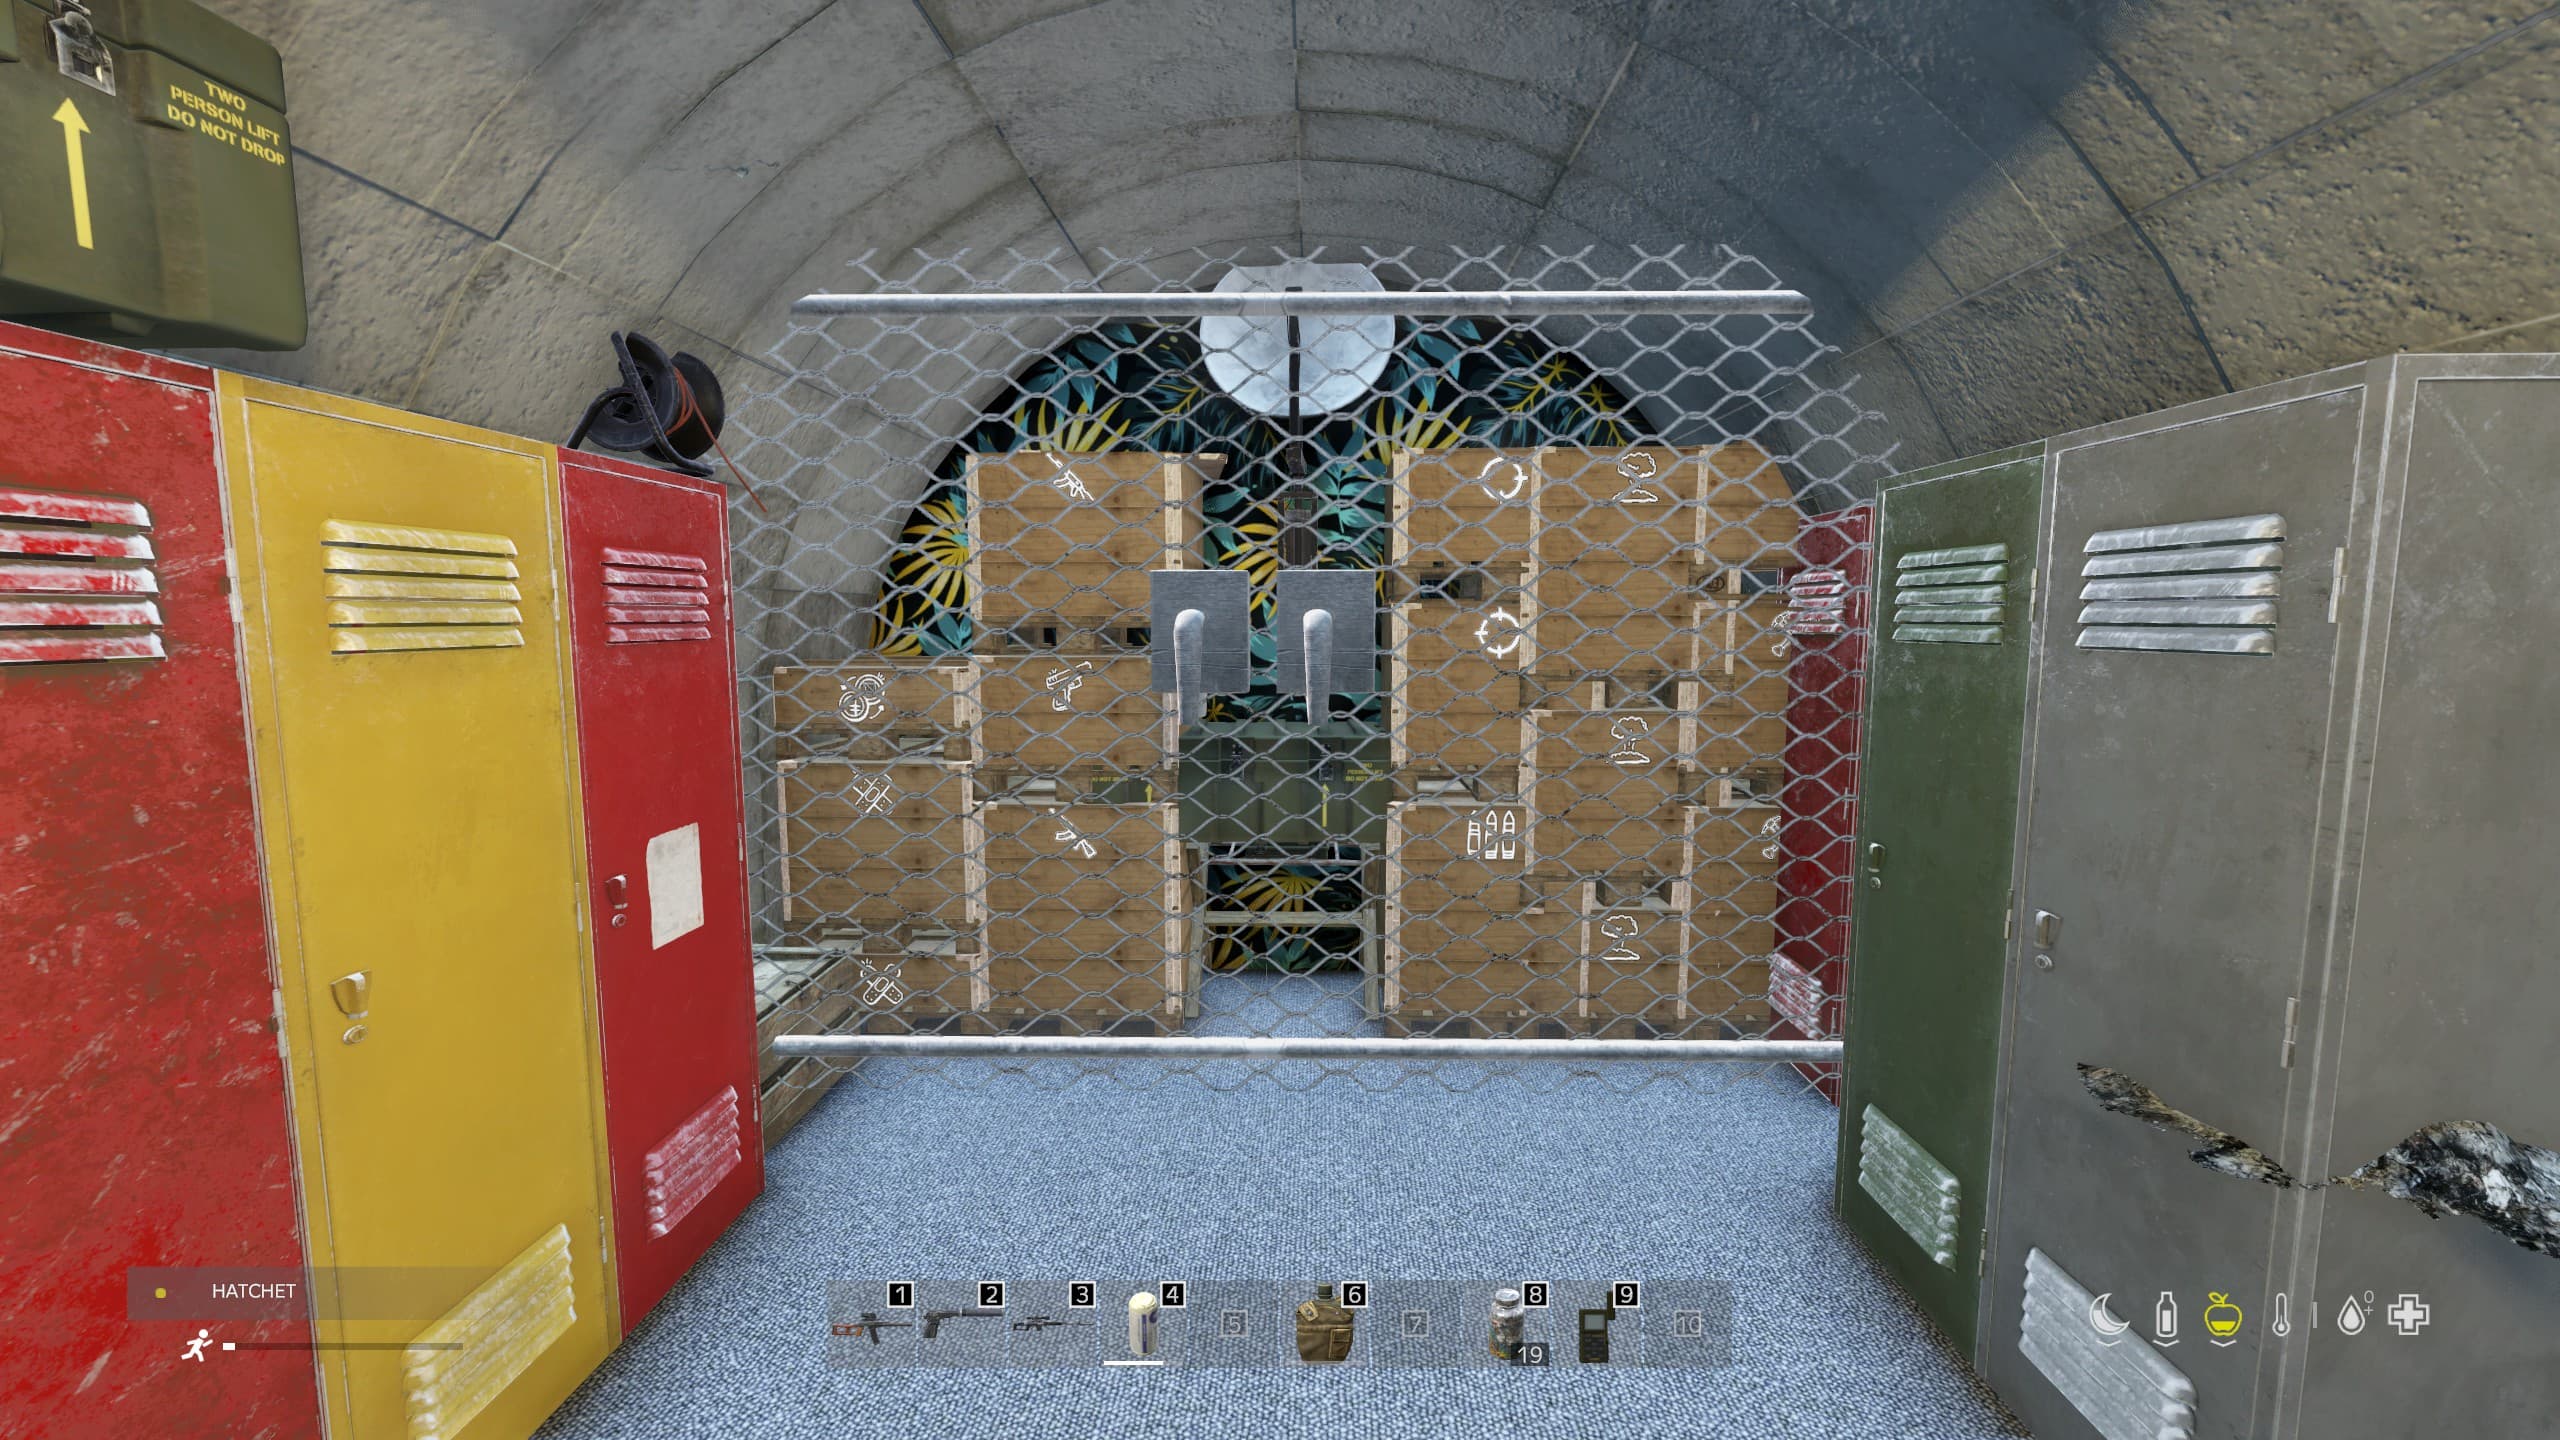
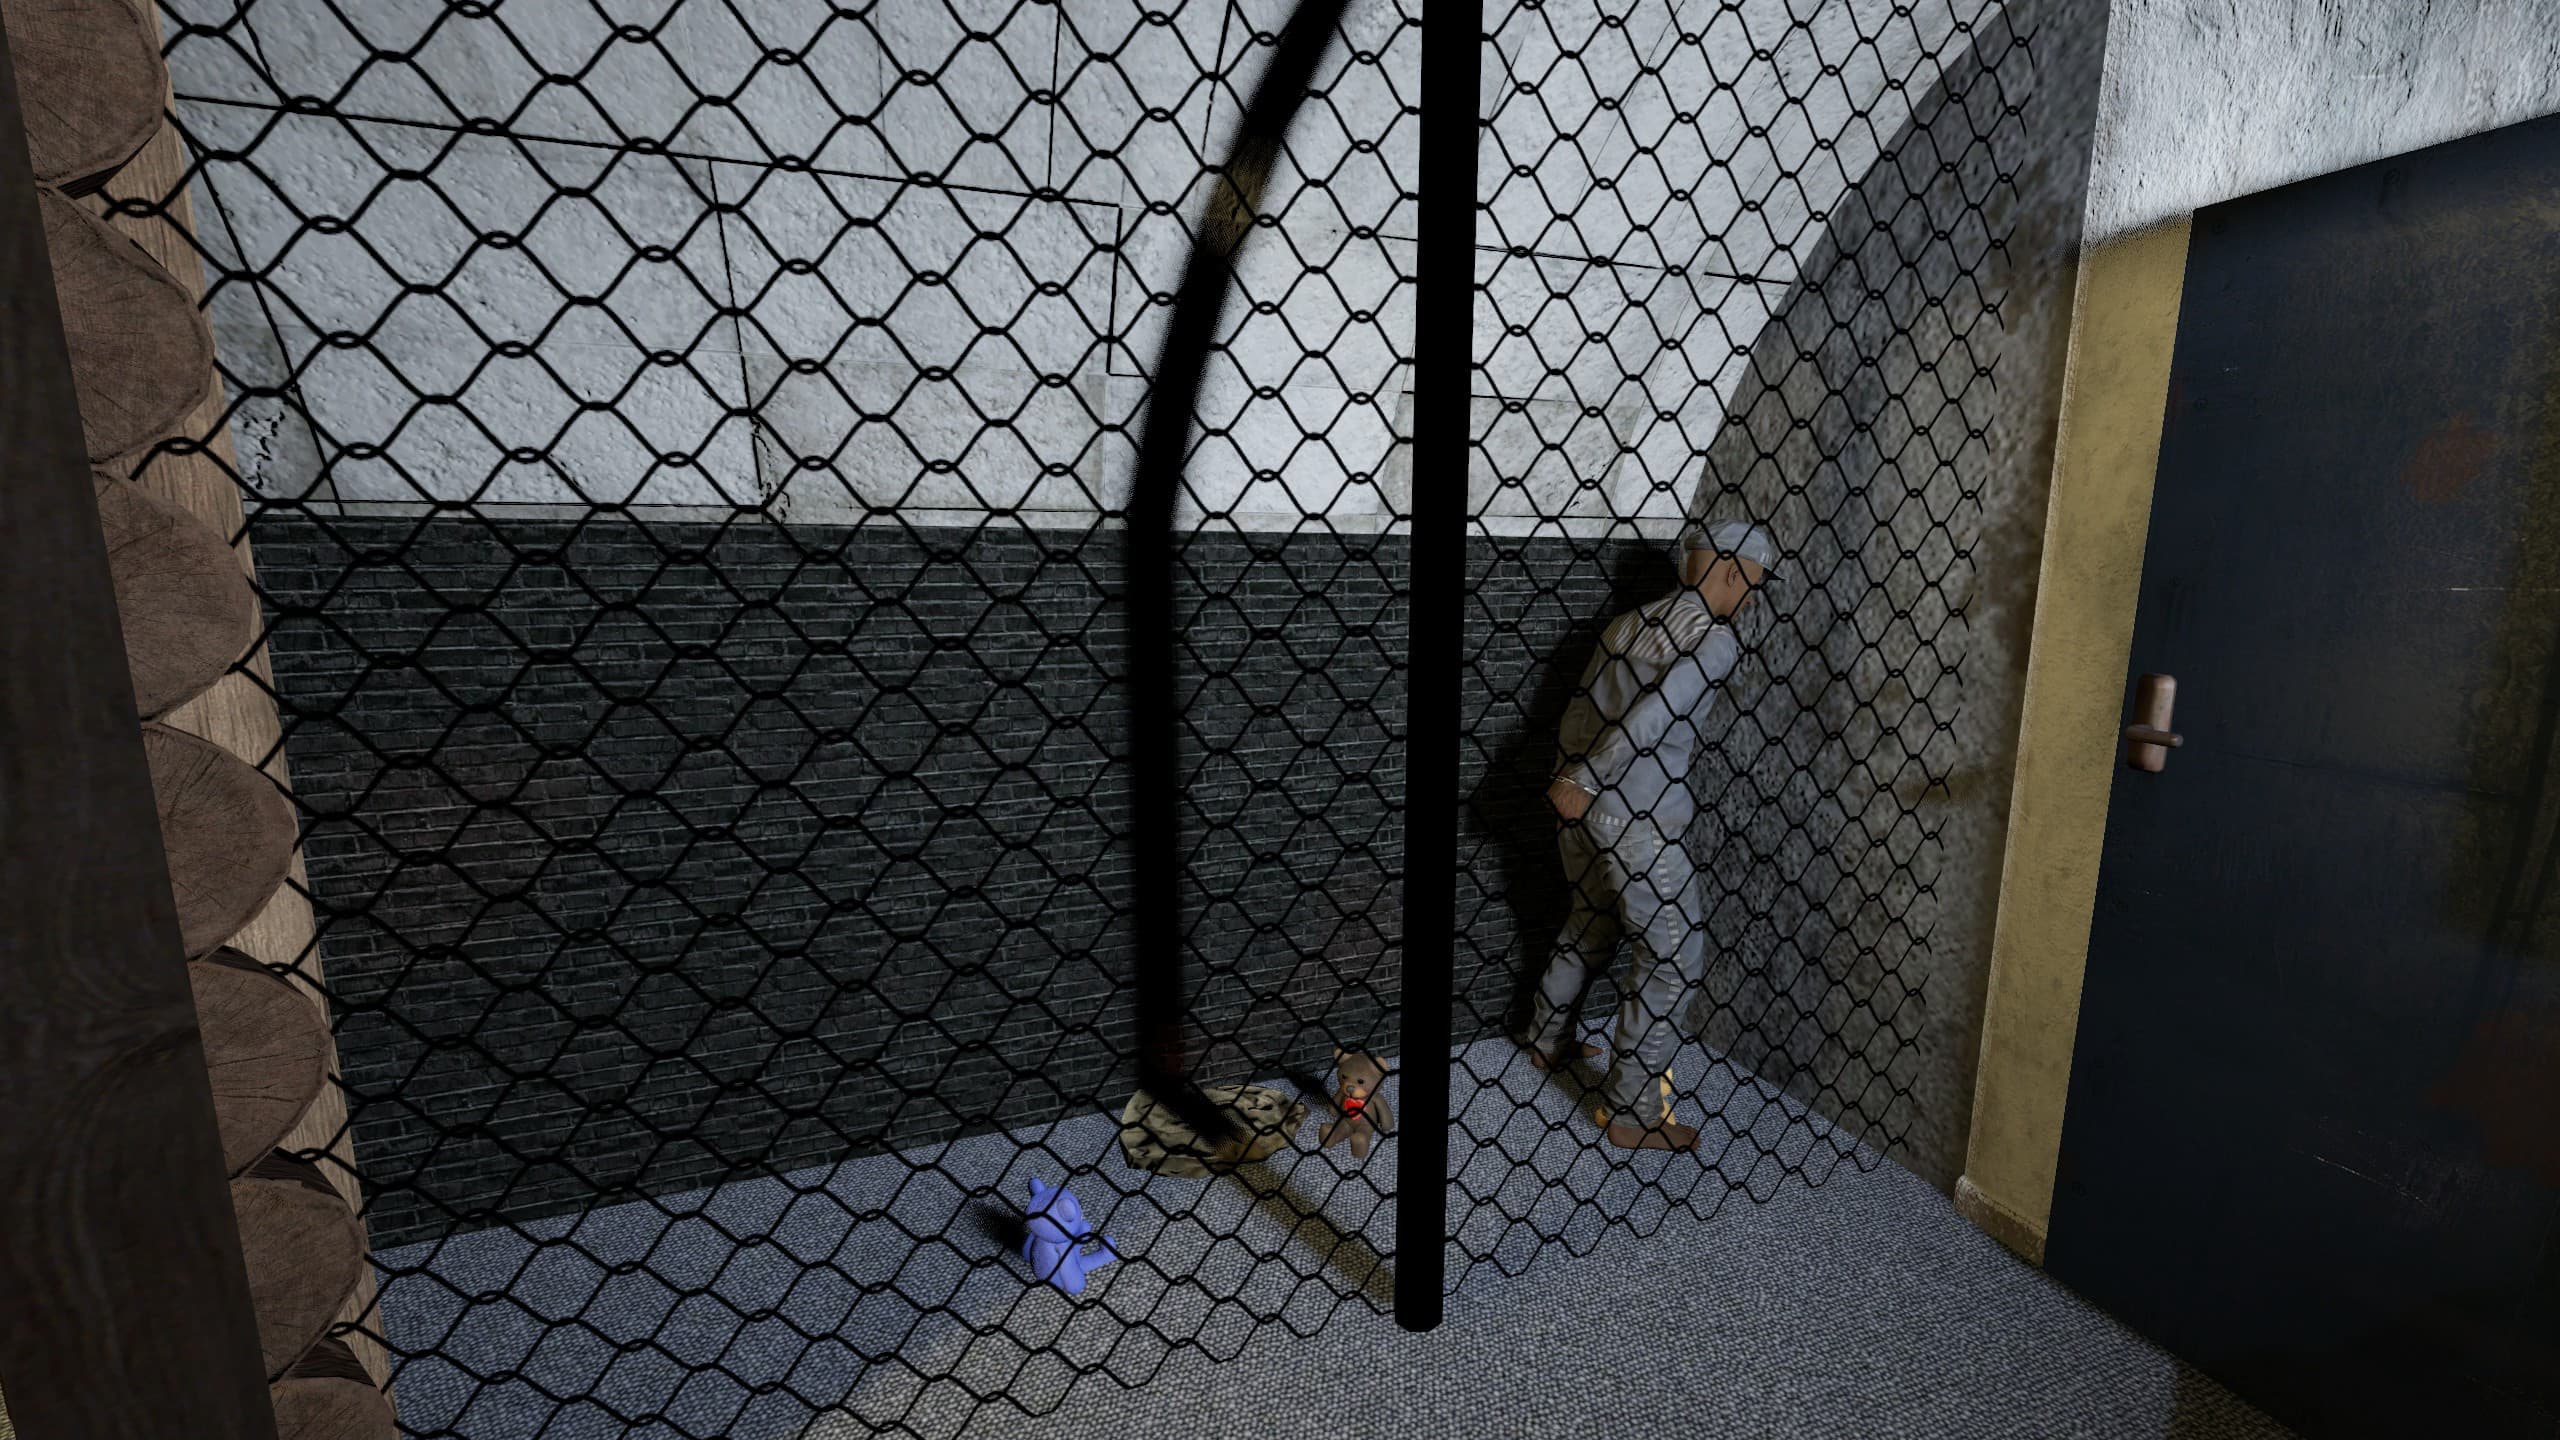
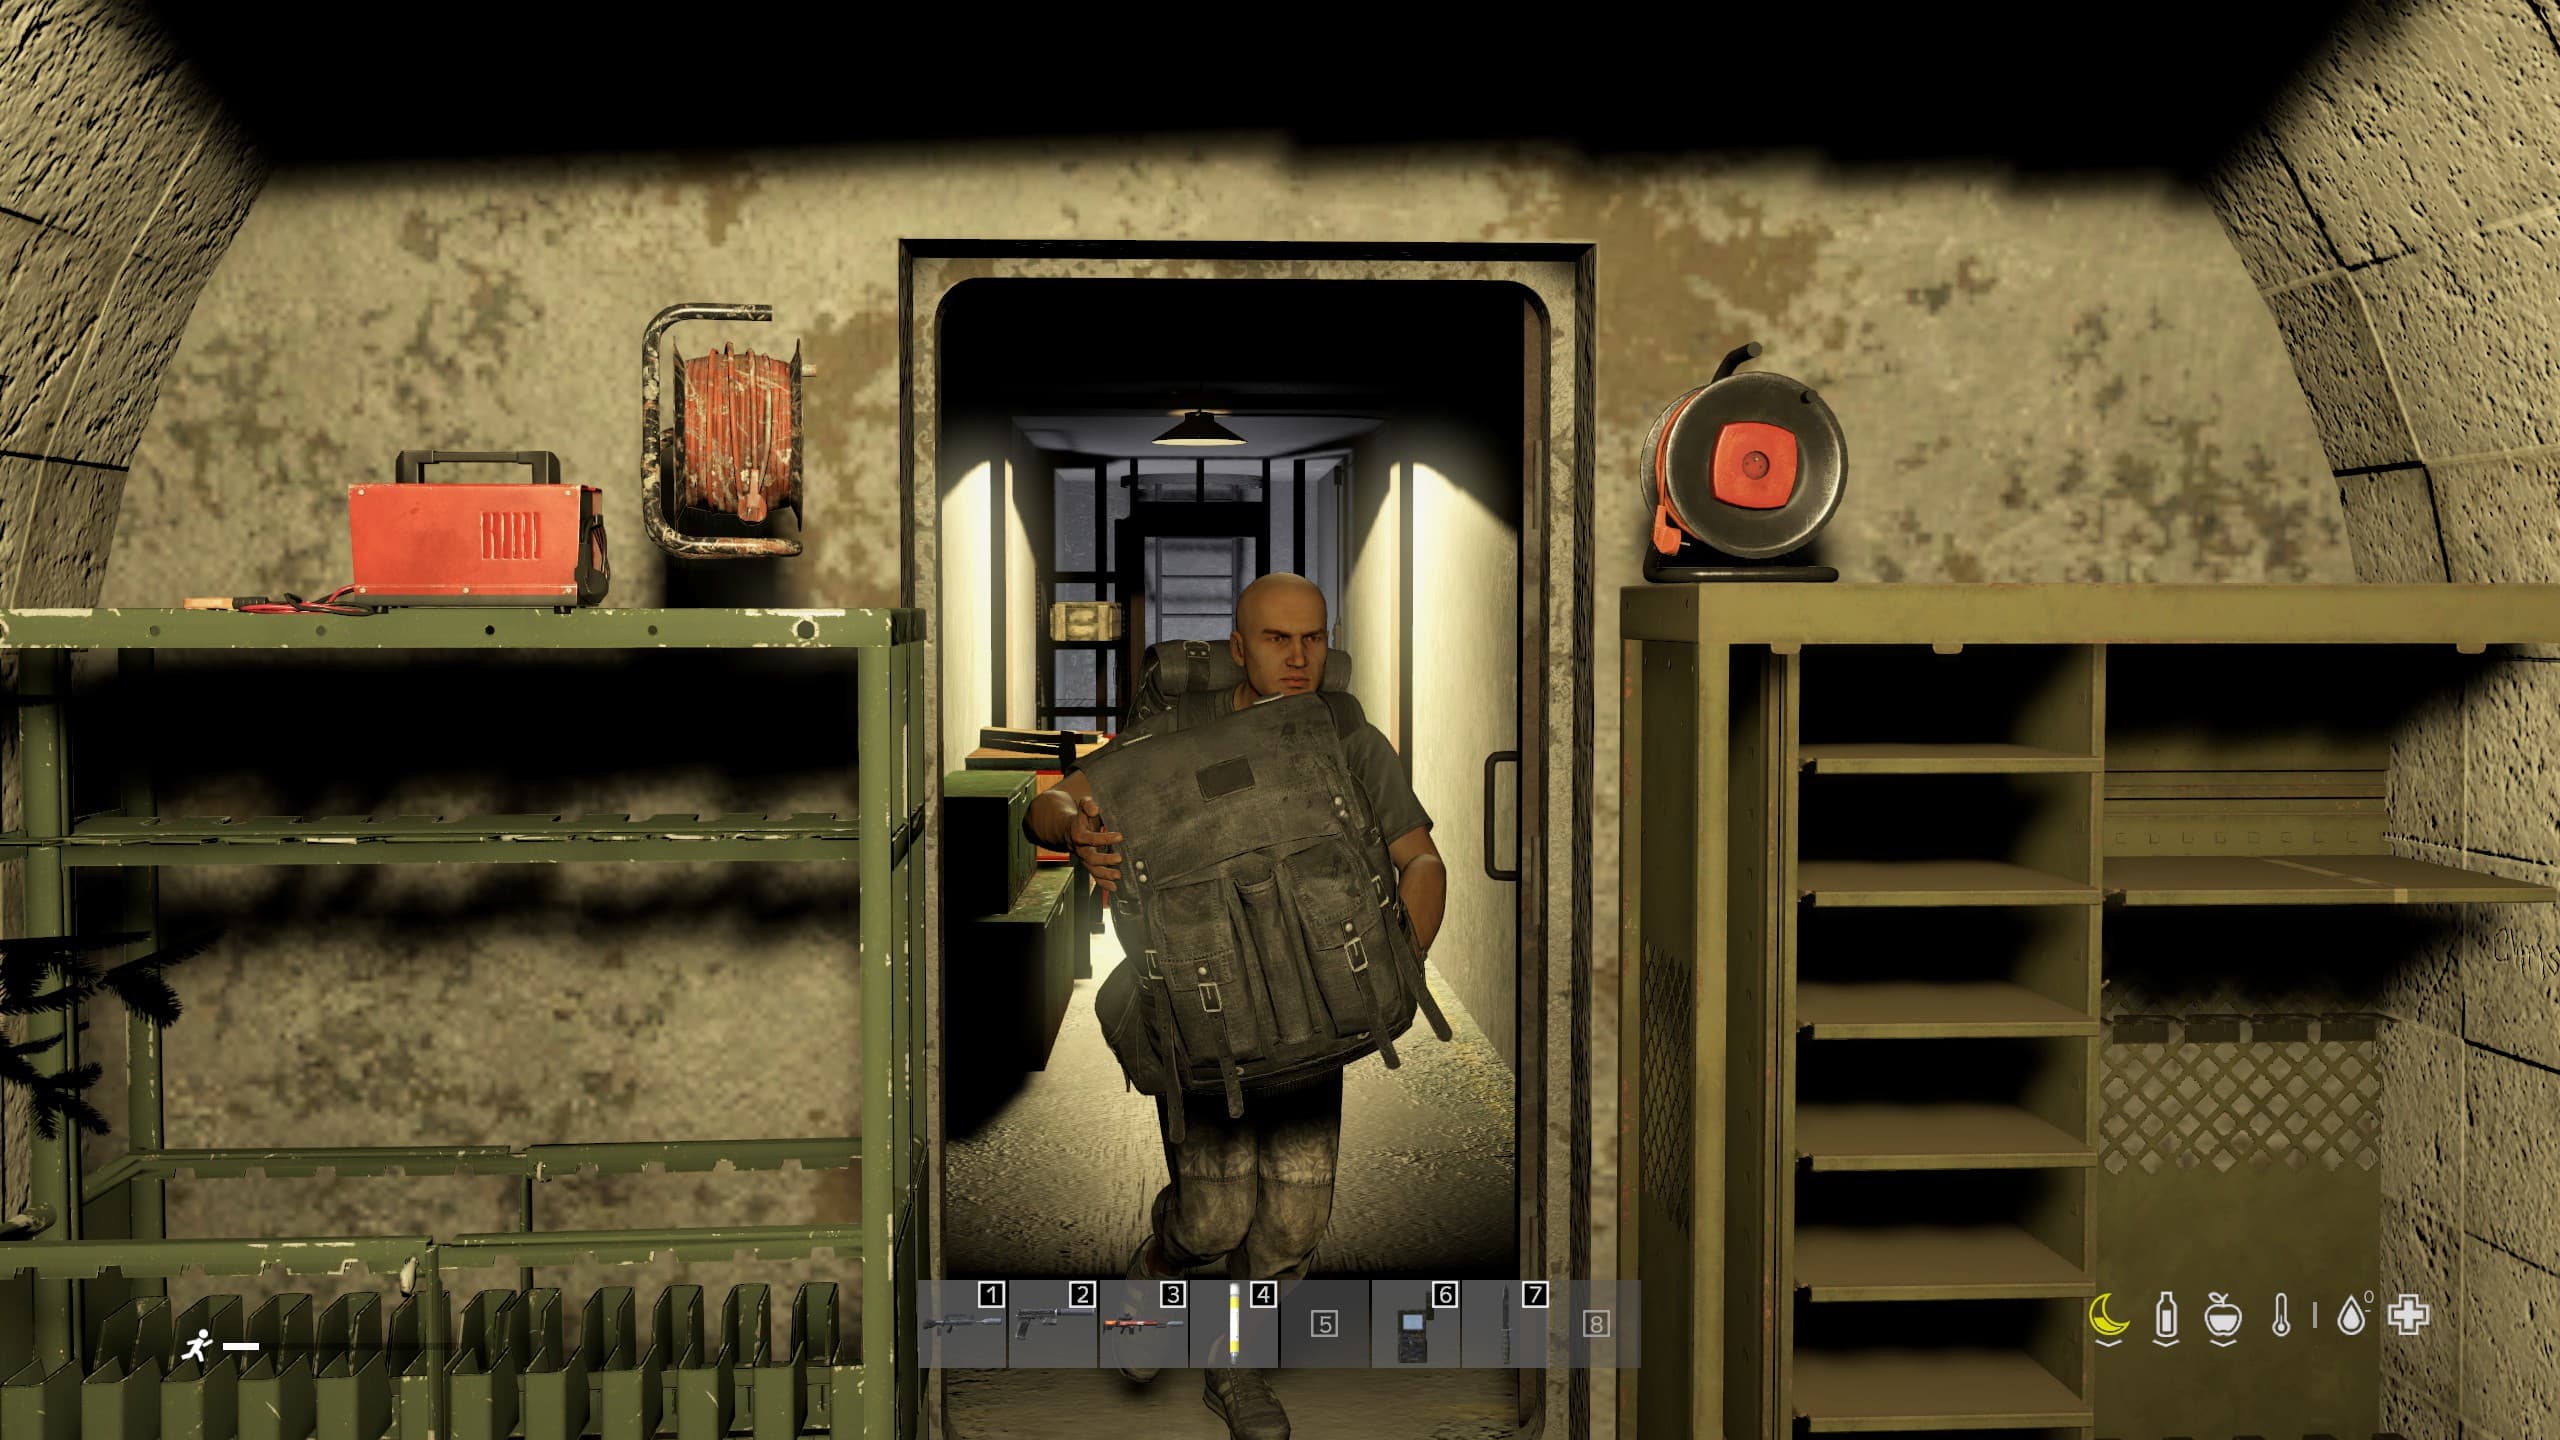
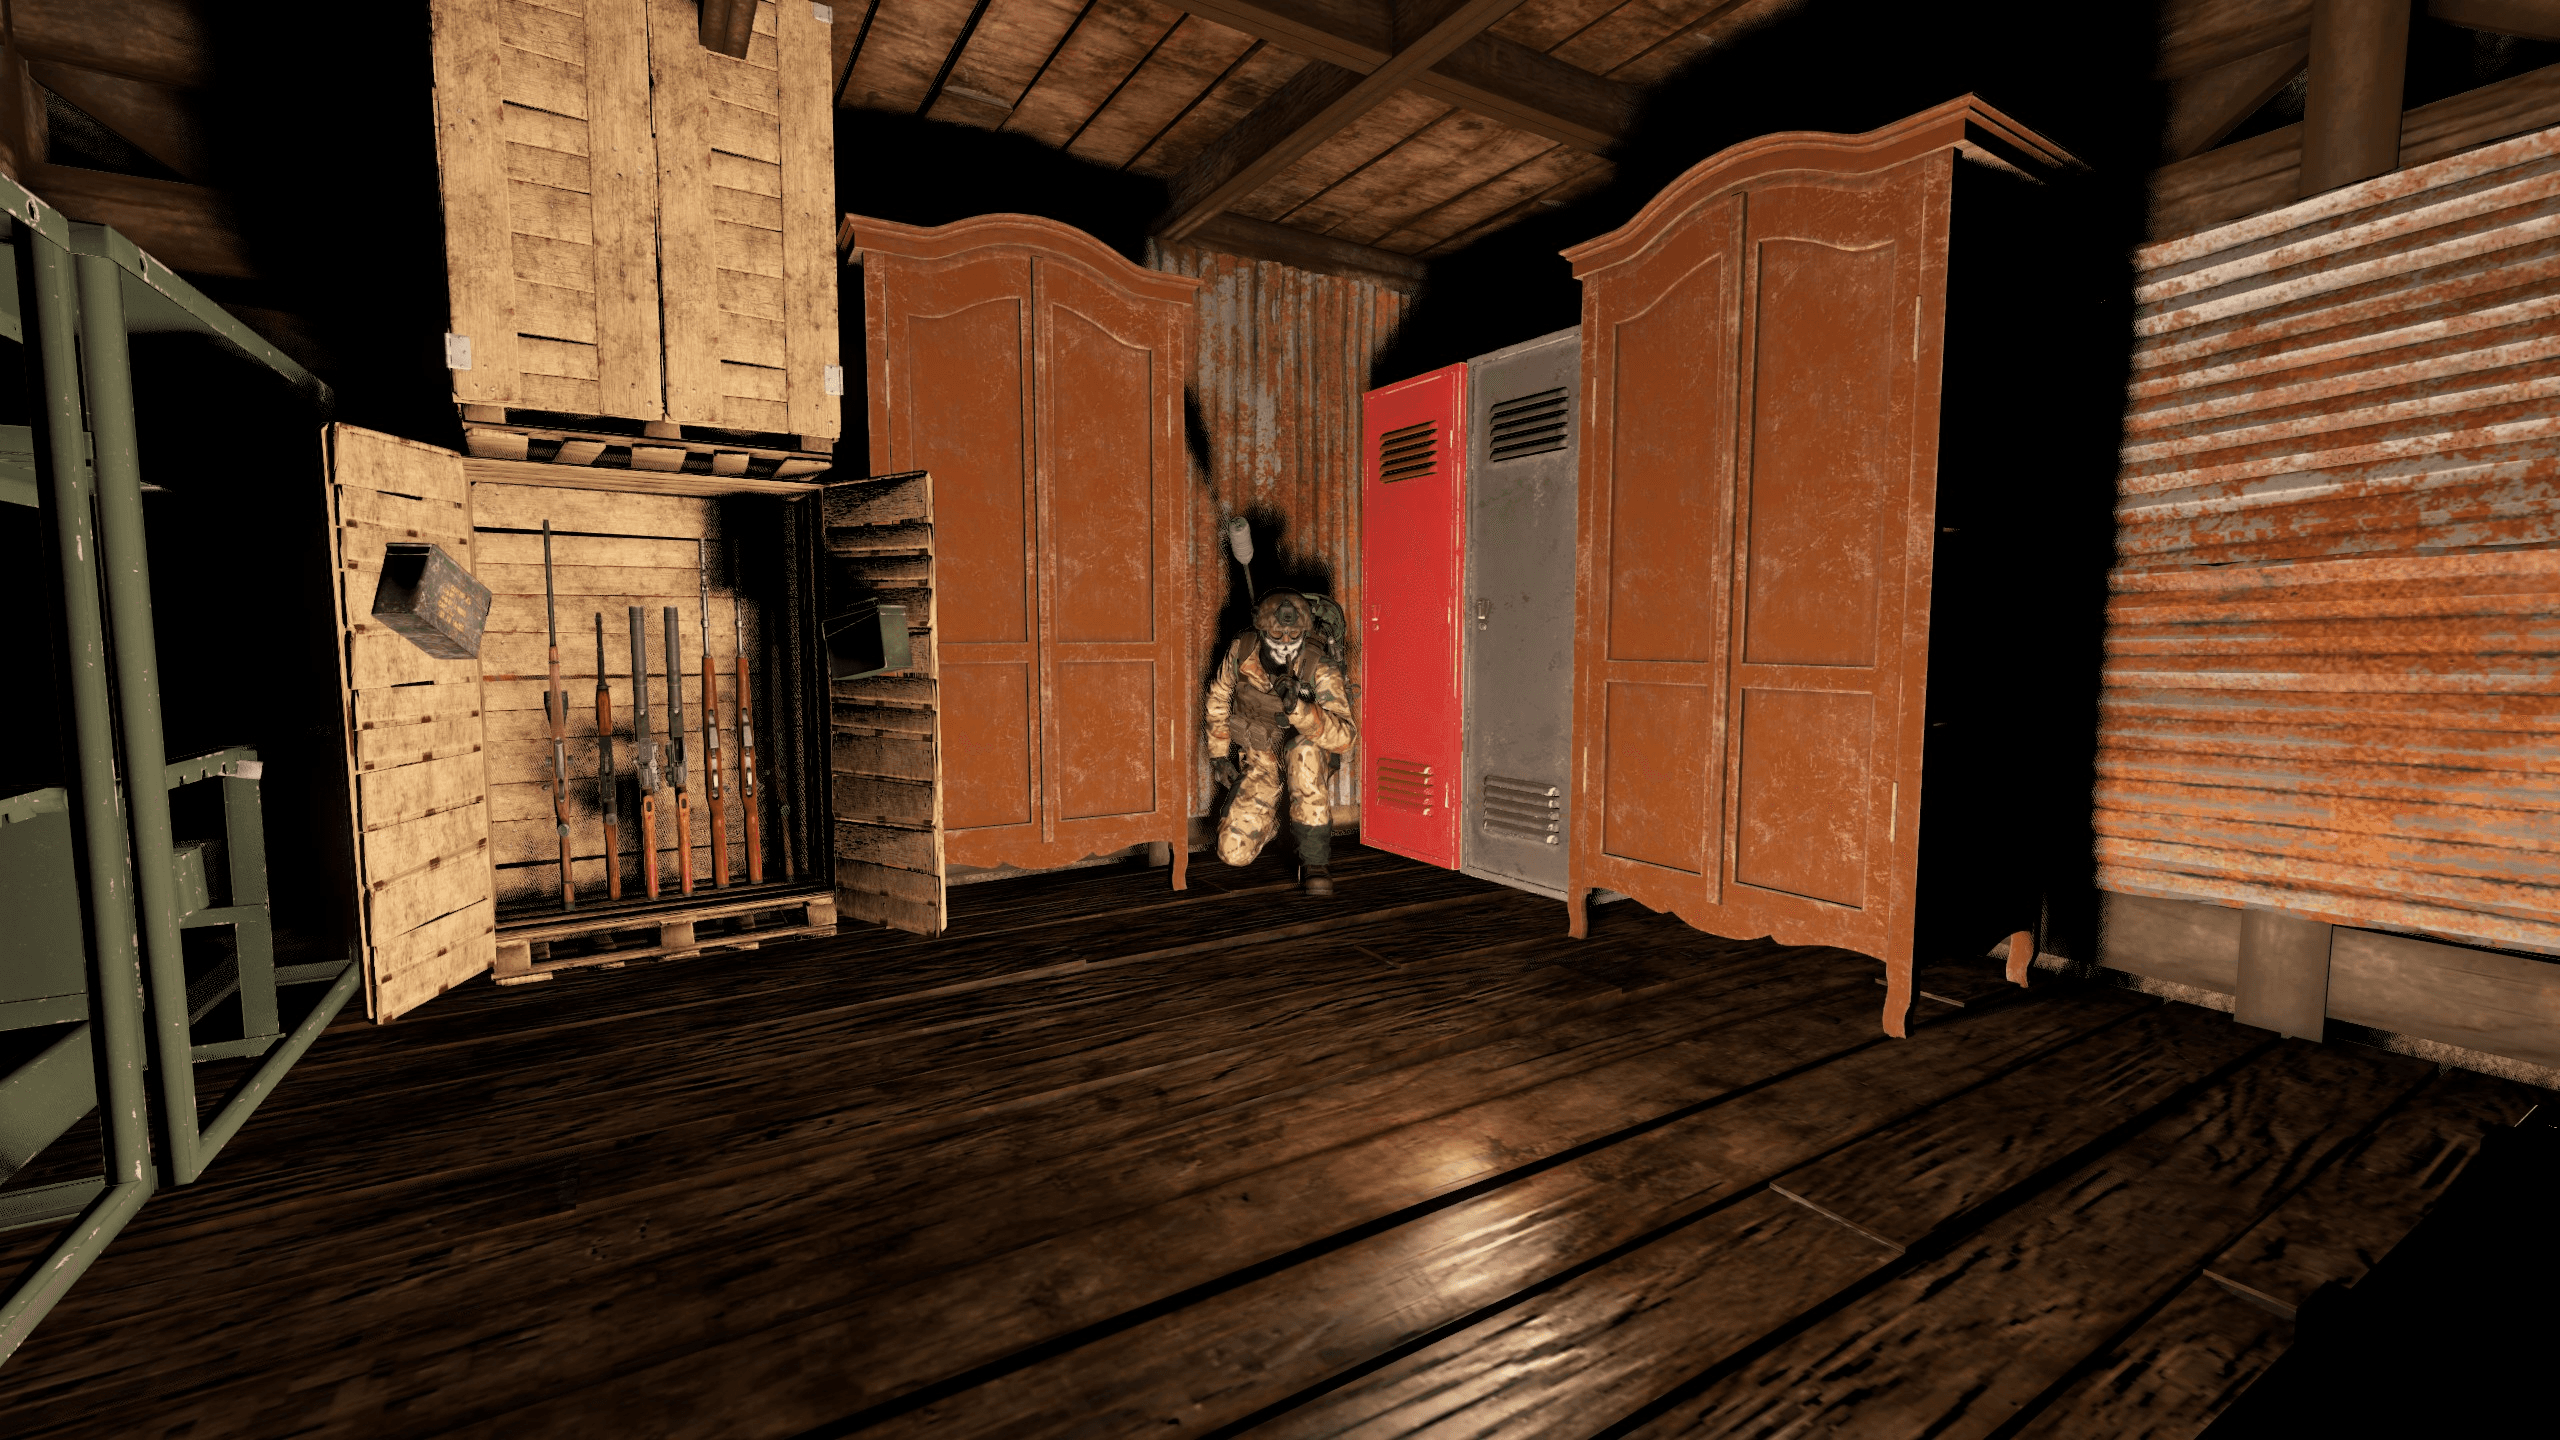
All of our servers run the excellent Underground Base mod, which lets you dig and build a hidden base beneath the map. There's a video guide on that page — it's a little long, but you can skip to the tutorial section here. Note that our material costs differ from the default mod (they're listed below), and be sure to read to the end for some important safety tips.
Material requirements
Build Tier 1:      99 nails, 60 planks, 6 logs
Upgrade to Tier 2: 1 Building Permit, 99 nails, 60 planks, 6 logs, 60 metal sheets
Upgrade to Tier 3: 1 Building Permit, 48 Concrete Bricks, 24 Mortar, 60 metal sheets
You don't really need to memorise these — the rule of thumb is simply to fill every available slot at each level.
How to build
Step 1 — Dig the base
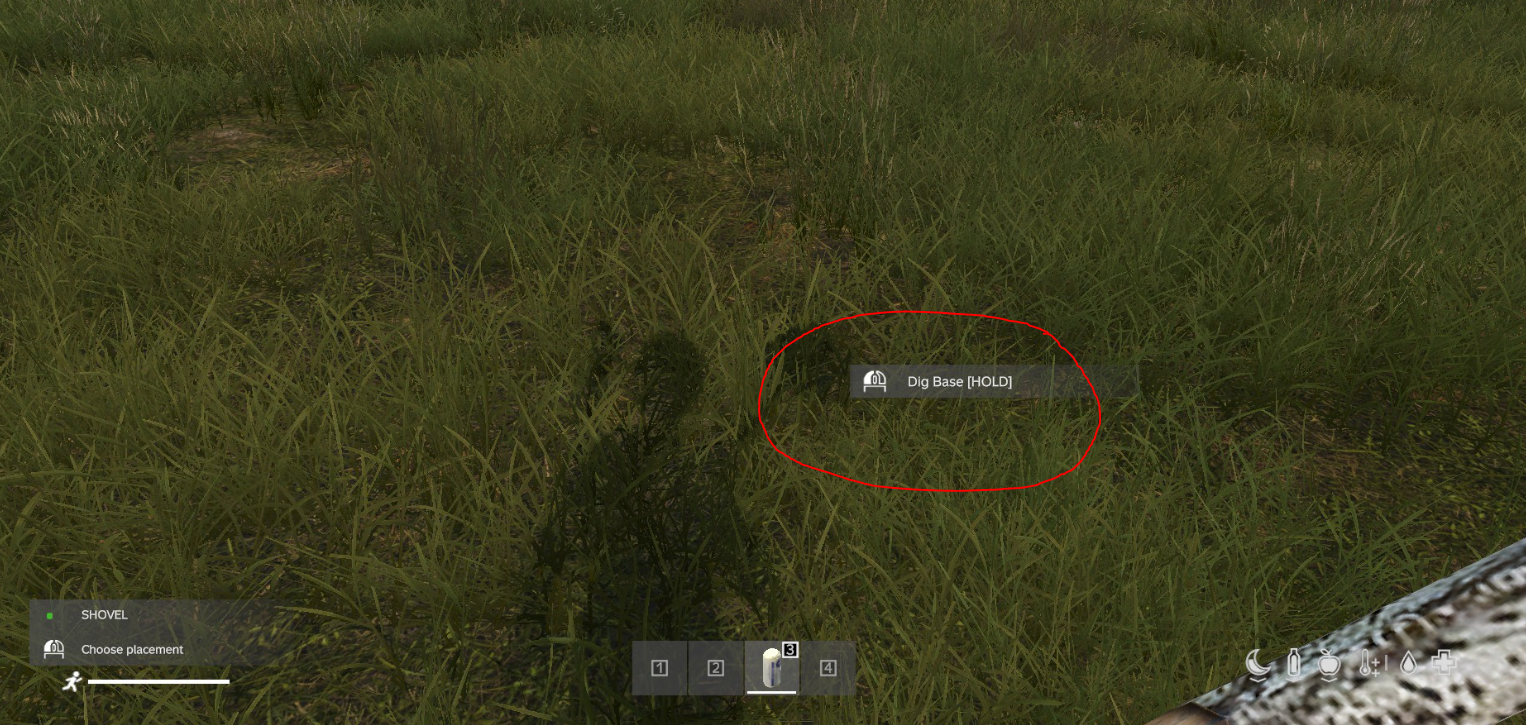
Point a shovel at the ground and select Dig Base. This option only appears when you're looking at a piece of ground the mod deems suitable. Digging takes a couple of minutes, and when it finishes you'll have what looks like a pile of dirt with attachment slots for building materials.
Once dug, it looks like this:
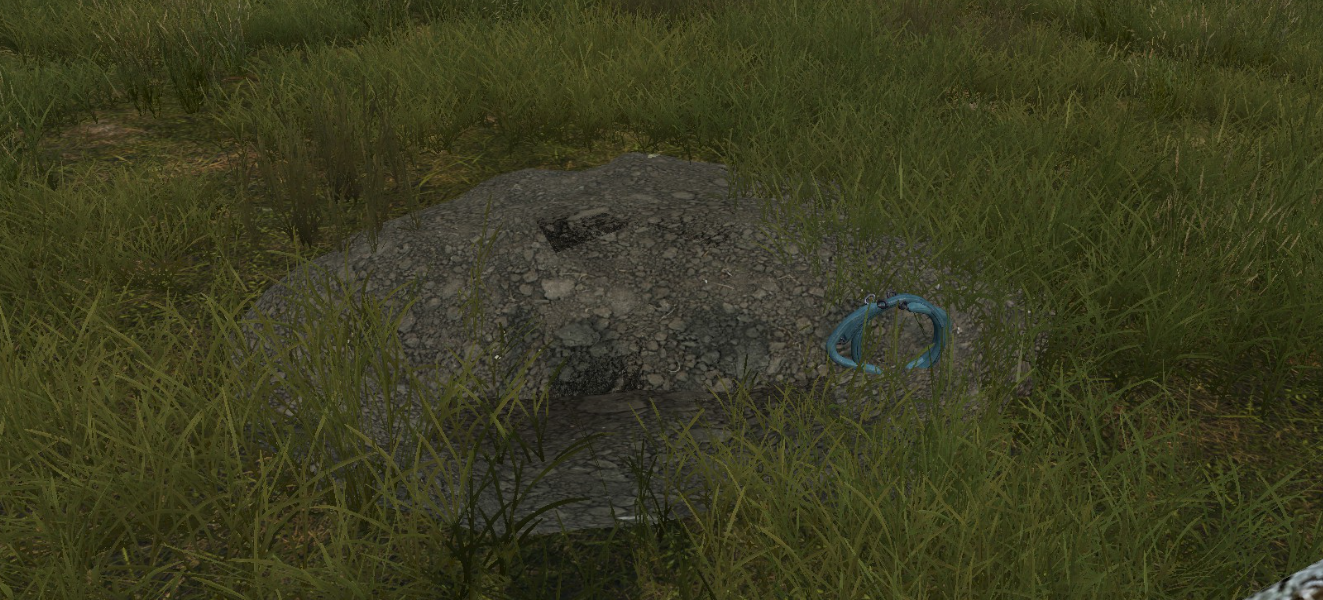
Stand on top of the dirt pile and press Tab to see the inventory slots:
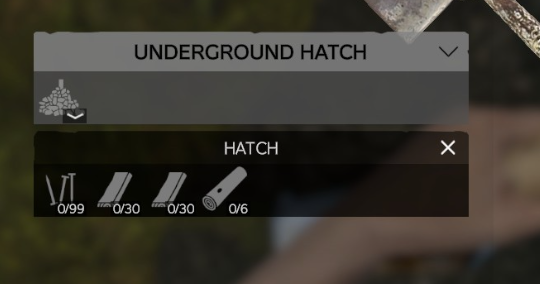
Fill each slot with the materials it asks for, then use a hammer or hatchet on the dirt pile to build the hatch.
Step 2 — Enter and upgrade to Tier 2
The first time you enter the hatch it's pitch black, so bring a light source. Pressing Tab inside reveals an attachment slot for a gas lamp you can turn on, but it runs out of gas eventually and floor clutter often blocks its light — so NVGs are preferable, or keep a stock of glow sticks for working inside.
A Tier 1 hatch is very cramped but will still hold a fair bit of storage, and that storage stays when you upgrade. With the build-anywhere setting you can push items slightly into the walls to make room — but be careful, as they can end up too far inside the wall to reach after an upgrade (this is especially a problem going from Tier 2 to Tier 3).
To upgrade, take a shovel and look at the floor — you'll see an Upgrade Base option:
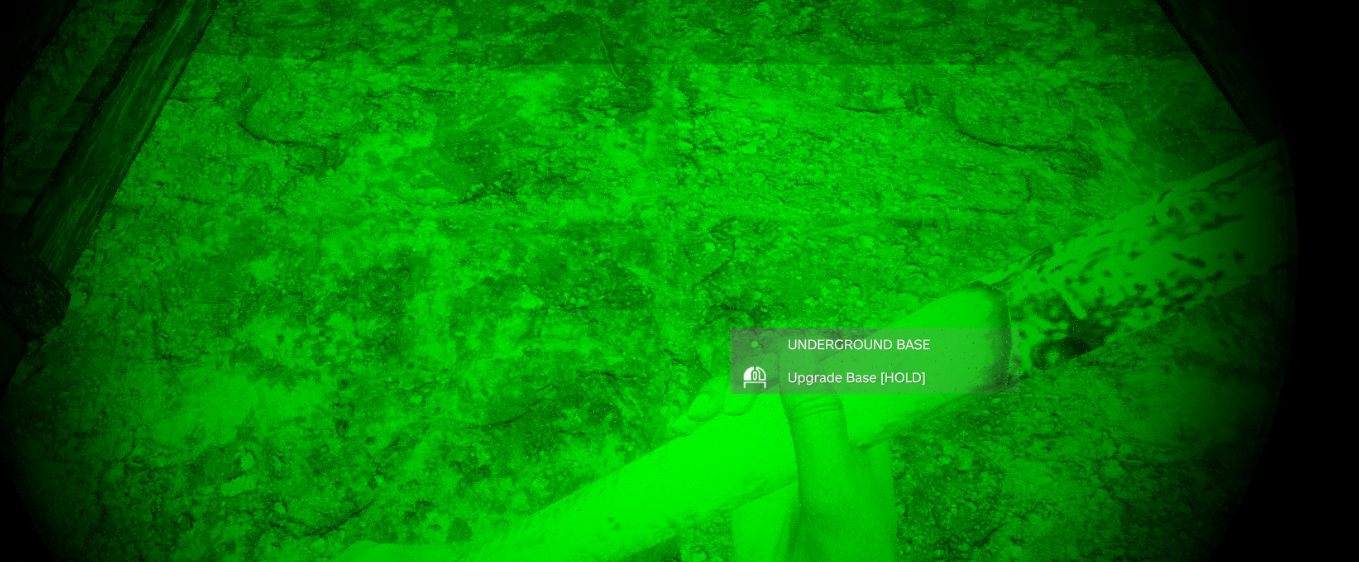
This takes a couple of minutes and simply reveals the attachment slots again, which you'll need to fill before completing the upgrade:
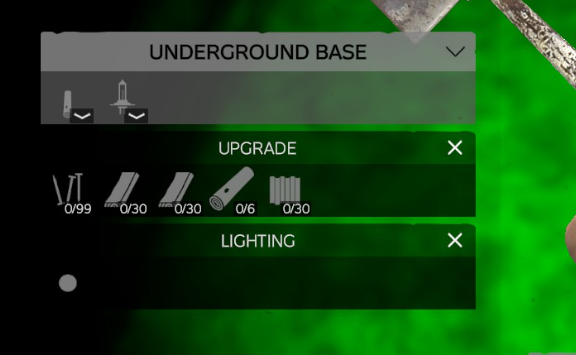
Once the slots are filled, point a hammer or hatchet at the floor or walls and follow the Complete Upgrade prompt:
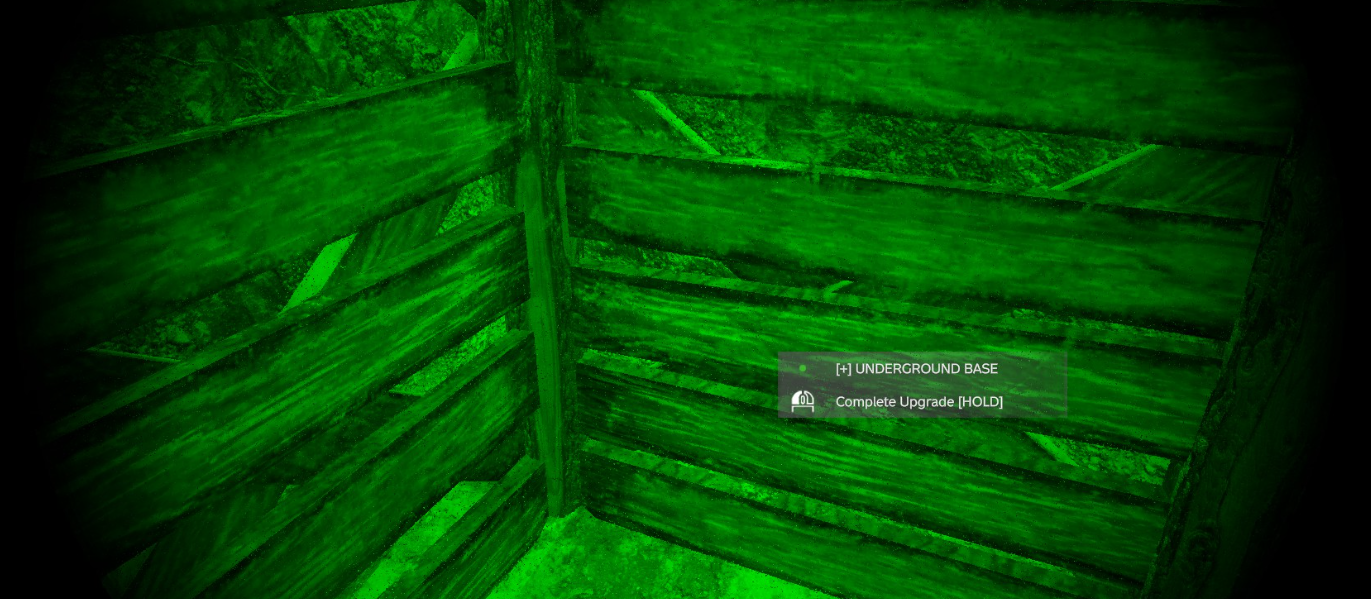
That completes the Tier 2 upgrade, roughly doubling the size of the basic hatch.
Step 3 — Upgrade to Tier 3
As before, look at the ground with a shovel to upgrade the base:
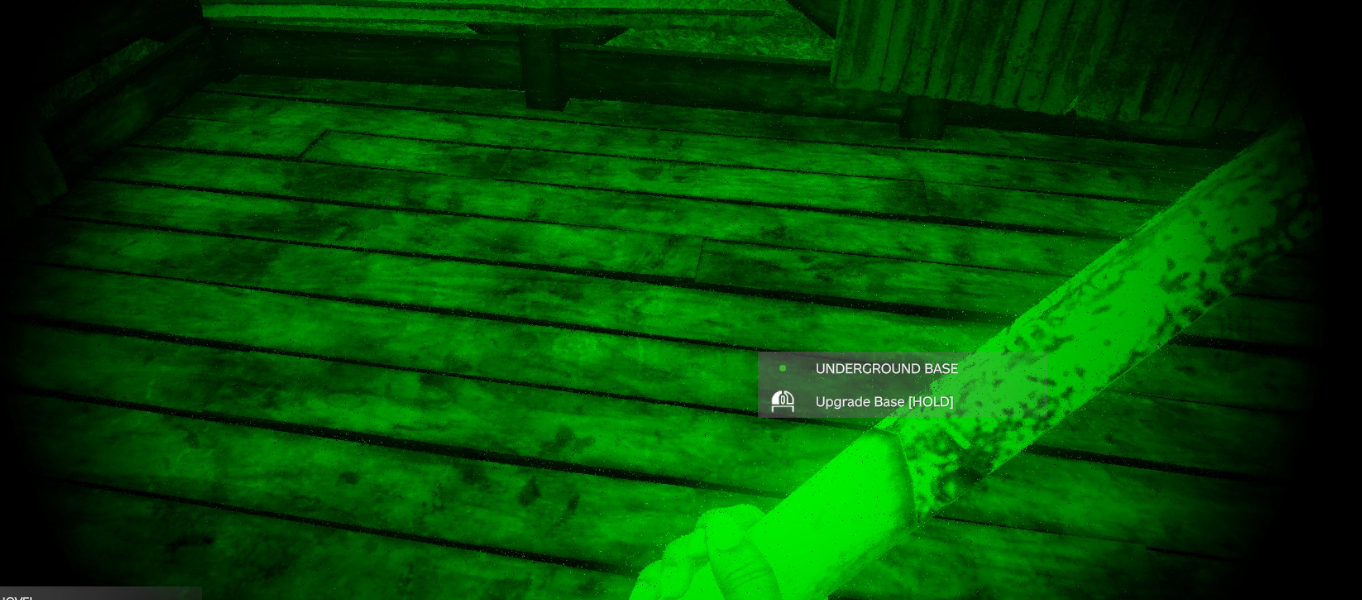
Fill the attachment slots:
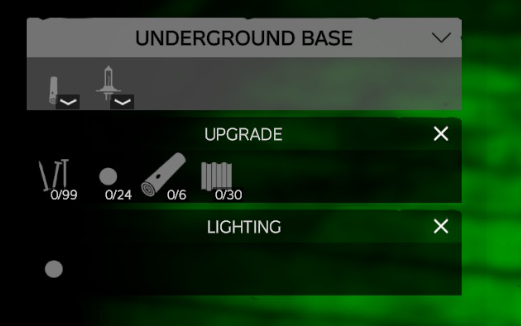
Then point a hammer or hatchet at the floor or wall and complete the upgrade:
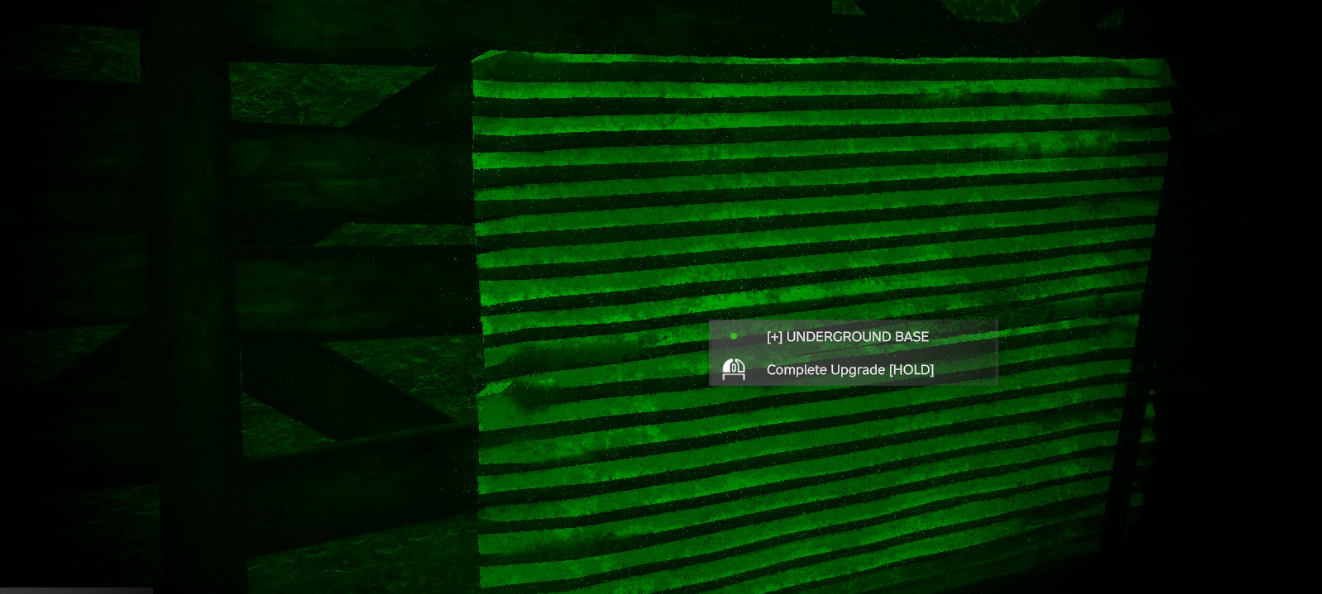
At Tier 3 you'll be in a concrete room with a door:
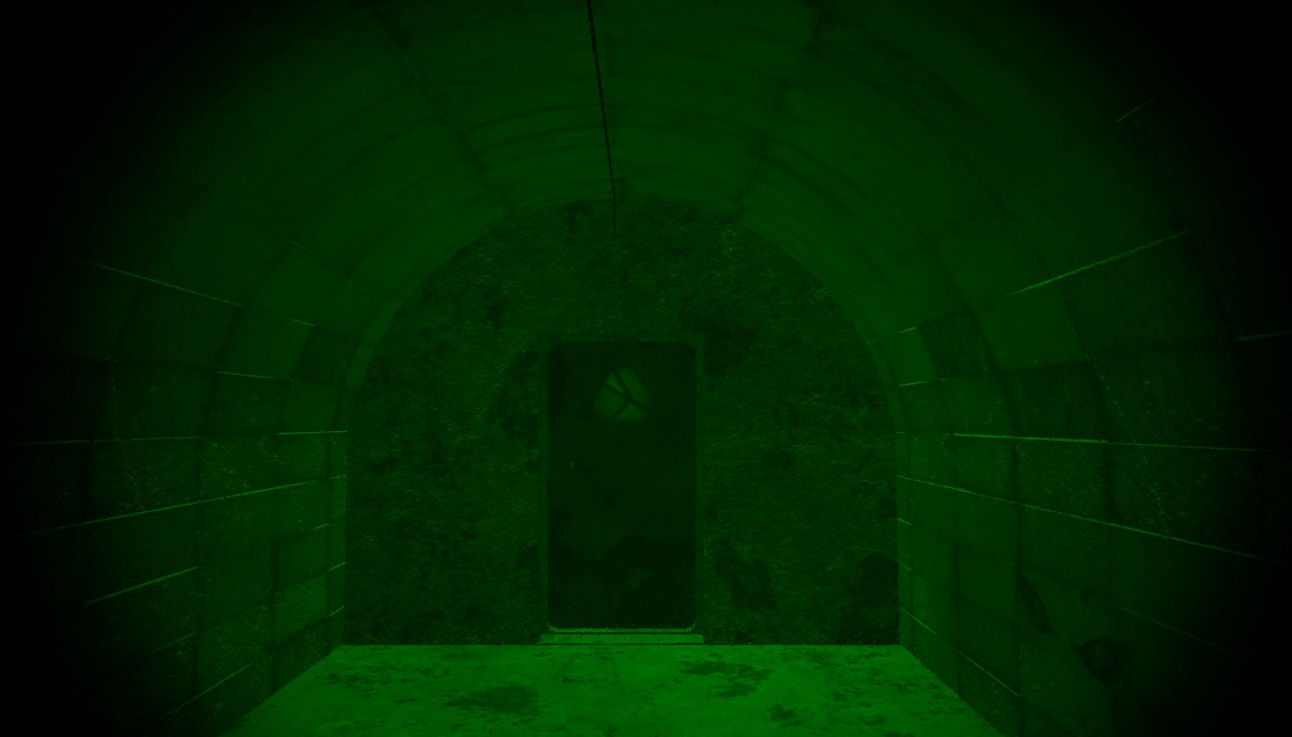
You can open and close this door but not lock it. Opening it reveals a corridor:
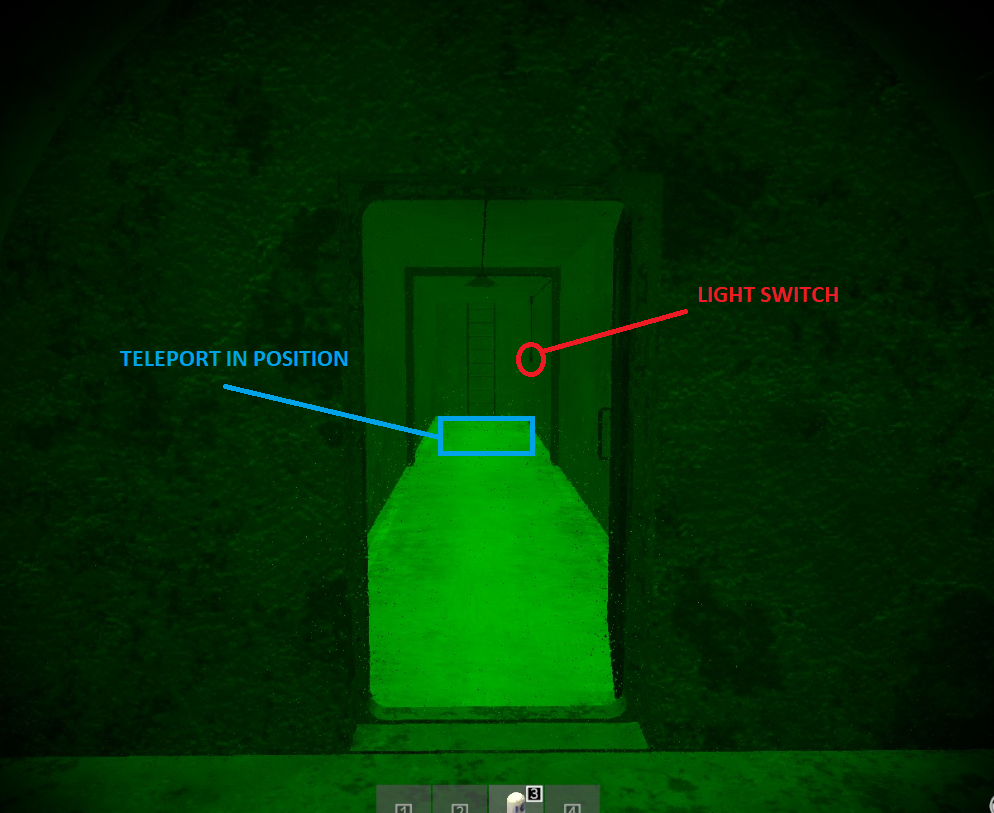
A light switch turns on electric lights in the tunnel and main room, so you won't need NVGs any more — though building in here can still block the light sources. The spot where you appear when entering from outside is the teleport-in position, which matters for the safety tip below. To leave, look at the ladder and follow the Exit Base prompt; expect a 10-second period of darkness on the way out.
Step 4 — Secure the base
On the outside of the hatch there's a slot that looks like it takes a combination lock or a codelock. Due to a limitation in the mod, only a codelock will actually attach and secure the base — a combination lock will not work.
⚠️ Important safety warning: base lag
When you enter an underground base holding a lot of storage, you'll get base lag. This can desync your client slightly and, in some cases, cause you to fall to your death. A parachute can save you, but what we strongly recommend is building a BBP floor at the teleport-in position. So far we've not heard of anyone dying from this desync when a floor is in place. If you fall to your death after ignoring this, admins will not help you — you'll simply be pointed back to this guide.
Build this floor near the ladder while the hatch is Tier 1; it stays put when you upgrade to Tier 2. When you upgrade to Tier 3, the ladder moves, so you'll need another floor at the new ladder position (the old one remains, but ends up beneath the main room).
Other tips
Falling to your death is rare, but nearly everyone hits the desync that briefly stops you moving when loading into a loot-heavy base. A BBP floor helps here too, but sometimes you need to jump to break the falling animation and force the scene to load. If you're low on stamina and can't jump, you can drop heavy items first — but drop them from your hands, not your inventory: items dropped from the inventory end up outside the hatch (often underneath it, where you can't retrieve them), whereas items dropped from your hands land on the floor inside. So if you're heavy on the way in, move your heaviest item to your hands, then drop it and jump if you desync. Worst case, log out and back in — if it lets you, don't worry about any on-screen animation, you'll be safe. If you can see yourself falling all the way to the ground you're genuinely falling; a small dip is usually fine.
Be careful where you place the hatch: if it glitches into the terrain, you can be teleported into the terrain yourself on exit, which can kill you.
Finally, the dig that reveals the upgrade slots inside the hatch is reversed by a server restart. Don't panic — any attached items are still there, you just have to dig the upgrade again to reveal the slots.
Persistence
The hatch and underground base are persistent and last the entire wipe cycle. However, the storage items and any doors or gates you build inside still need a flag, or they'll despawn eventually. There's just about room to fit a flag in Tier 1 and Tier 2, but it's best to build one in Tier 3.
Raiding
To raid an underground hatch, attackers must use 4 vertical breaching charges to destroy the codelock before they can enter.
If you protect your hatch with a raid alarm, note the coverage rules: an alarm placed on the ground outside the hatch will not detect a raid on doors or gates inside, and vice versa. For full protection you need an alarm both inside and outside — though bear in mind that an alarm outside a hatch you're trying to keep hidden may give its position away.
Rules
For rules specific to underground bases, see the rules channel.