💥 How Raiding Works
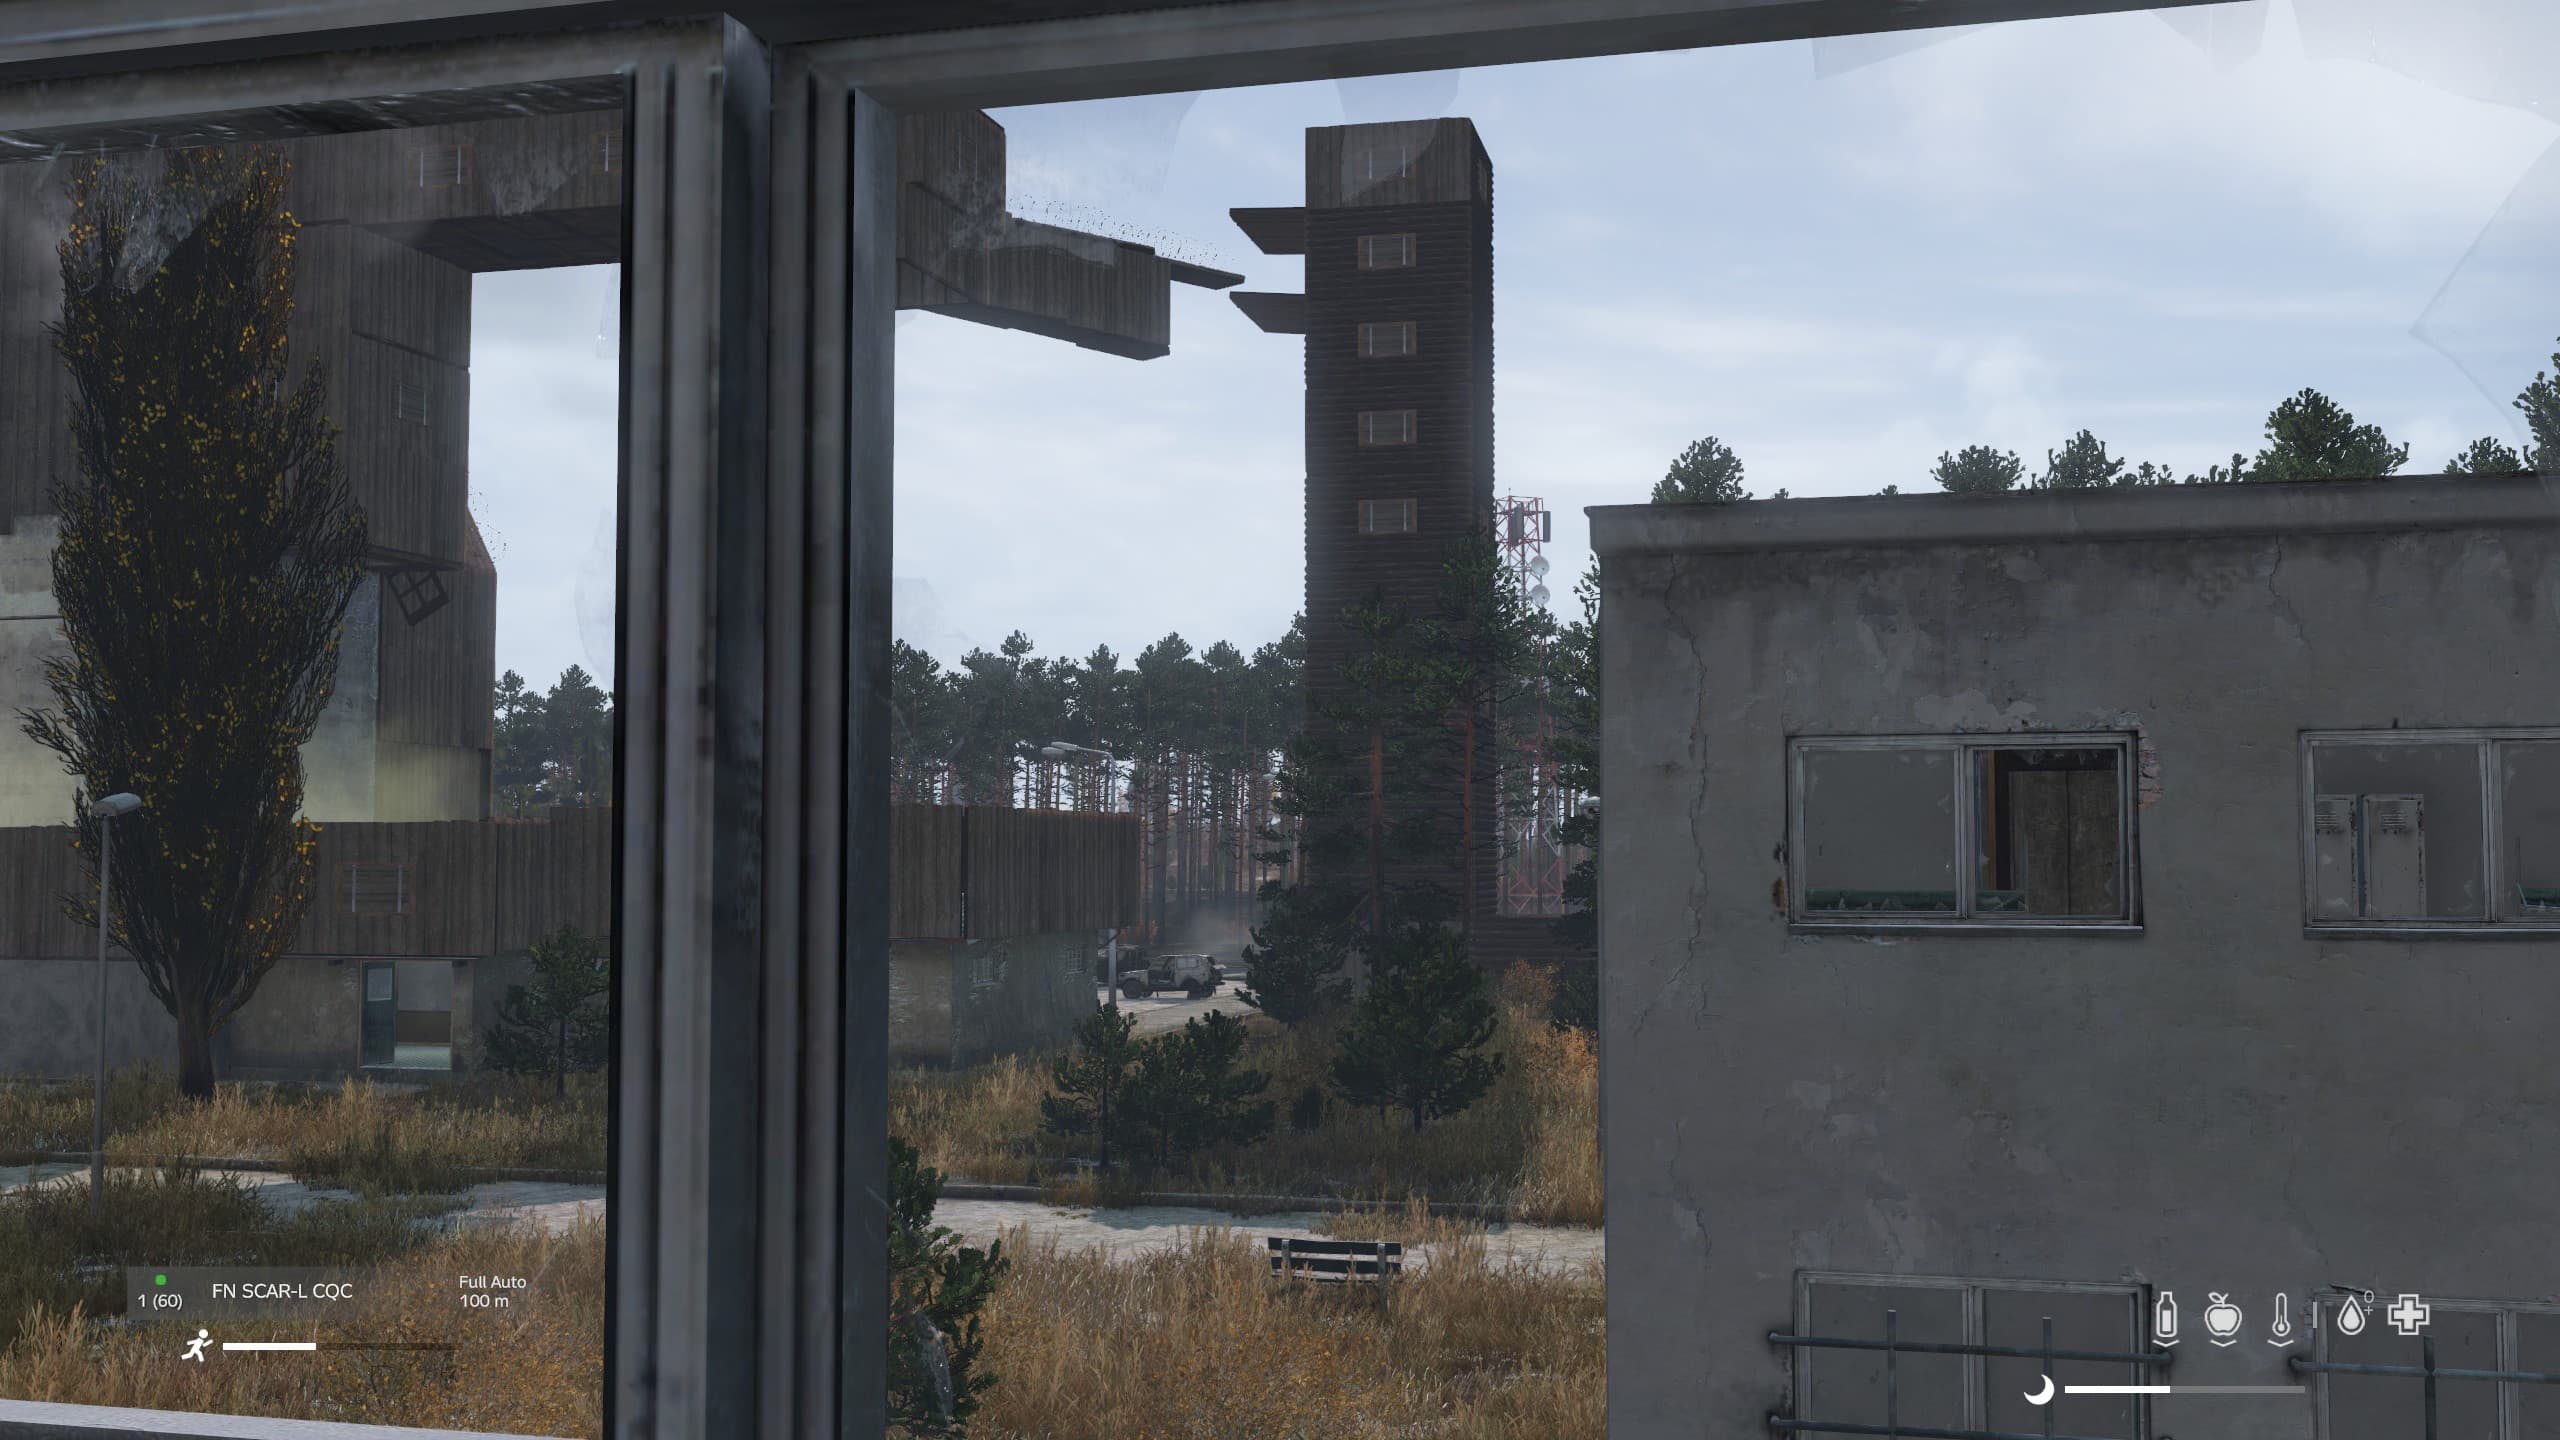
As of the wipe on 2nd May 2026, our Chernarus server runs vanilla raiding on both vanilla bases and Base Building Plus (BBP) bases. To our knowledge we're the only server in the world with this working — or at least with bullet damage working on BBP — so it's worth explaining exactly how it behaves and where the quirks are.
What is vanilla raiding?
Vanilla raiding means you can damage base structures using vanilla sources of damage — bullets and explosives. On vanilla fences and watchtowers you shoot the walls or drop grenades and they break in stages: roughly 167 bullets from an M4 breaks the upper or lower section of a wooden vanilla fence, and about 12 grenades will blow up an entire wooden (or metal) fence. Vanilla raiding technically includes melee too, but we have not enabled melee on BBP, mostly due to limitations in the mod.
BBP structures aren't built the same way as vanilla ones, which makes them hard to balance perfectly against vanilla. We've stayed as close to vanilla as we can while keeping the system easy to understand. The practical upshot: explosives are your primary raiding tool — including breaching charges — but reach for bullets to finish off a structure once it's down to a small amount of HP.
Breaching charges
We use several models of breaching charge, and they now deal explosive damage with splash — stand too close when one goes off and the blast will kill you. Unlike the old system, these charges can be placed on any surface, dropped, or even detonated from your hands or backpack. You can set the timer to anything from 10 seconds to 5 minutes (type it in or use the mousewheel on the timer screen).
The recipes are mostly the same as our old system — only the models look different:
2x C4 + Duct Tape          = C4 Sticks
C4 Sticks + Detonator      = C4 (no wiring)
C4 (no wiring) + Elec. Repair Kit = Heavy Breaching Charge
1 Sulphur Powder + 1 Charcoal Powder = 1 Gunpowder
5 Gunpowder + Burlap Sack            = Explosive Sack
Explosive Sack + Handheld Transceiver = Homemade Explosive
Homemade explosives, heavy breaching charges, and vanilla plastic explosives all do exactly the same amount of damage.
Vertical breaching charges
Vertical charges are a special charge for destroying the locks on the various hatches — roof, floor, and underground. They exist because when a BBP hatch is destroyed the whole structure vanishes, stairs included, which would stop raiders getting up a tower. A vertical charge destroys the lock only, leaving the stairs intact so you can continue the raid. Underground hatches are invulnerable to vanilla damage, so you must use vertical charges to break their lock before entering.
Crafting: Heavy Breaching Charge + a screwdriver = a vertical breaching charge. You can convert it back to a heavy charge with a screwdriver as well.
How it works: a vertical charge does no splash damage. Instead, each tier of hatch absorbs a set number of charges:
Tier 1 hatch        = 2 vertical charges
Tier 2 hatch        = 4 vertical charges
Tier 3 hatch        = 6 vertical charges
Underground hatch   = 4 vertical charges
Sometimes a hatch isn't fully upgraded — say a metal hatch on a wooden floor. Treat these as a half-tier (1.5, 2.5): one more charge than the lower tier, one fewer than the next tier up (so a Tier 1.5 needs three). If it's only a frame around a hatch door, it takes one charge.
⚠️ Important: if you've used vertical charges on a hatch but haven't destroyed the lock before a server restart, the health effectively resets — you'll need the full number of charges again.
Tier fallback
"Tier fallback" is the reverse of building a BBP structure. Building goes frame → T1 → T2, or frame → T3. Destroying runs in reverse, and we automatically destroy the frame in any raid scenario, so:
- T1 wall — just breaks.
- T2 wall — the T2 layer breaks down to a T1 wall, which then has to be destroyed separately.
- T3 wall — just breaks; there's no fallback to T2, it goes from intact to gone in a single phase.
A note on frames: not all frame models can take bullet damage (a limitation in models we don't have permission to fix). Frames therefore have very little resistance to explosives and are destroyed easily if grenades go off nearby.
Structure HP by tier
Each tier has the following total HP, with the same resistance to both explosive and projectile damage:
Tier      Total HP
T1        16,000
T2        28,000   (16k + 12k)
T3        40,000
How many charges to raid
Heavy and homemade breaching charges apply the same vanilla explosive payload. A charge placed in direct contact does about 8,000 damage on every tier — the further it sits from the surface, the less it lands (even ~1.5 m away it drops to roughly 5,000). With charges pressed right up against the target, the tiers take:
Tier   Total HP   Charges to break   Approx HP left one charge short
T1     16,000     2                  ~8,000
T2     28,000     4  (3.5 exact)     ~4,000   (metal shell 1.5 + wood 2)
T3     40,000     5                  ~8,000   (single phase, no fallback)
Important: unlike the old system, you can say how much each charge does — a direct hit is about 8,000 on every tier. The figures above are how many charges it takes to break a structure from full health with charges placed directly on it; that's the efficient count, not a guarantee for every situation. Because each charge does a fixed chunk, a tier whose HP isn't a clean multiple leaves a remainder — the "HP left one charge short" column above — so the final charge is often needed for only a sliver of HP.
For example, a Tier 2 wall (28,000 HP) is down to about 4,000 after 3 direct charges, so a 4th is mostly overkill — finish it with grenades (~3) or bullets (~73) instead. And charges that aren't in contact do far less: in a live raid, five charges set roughly 1.5 m back from a Tier 3 door left it still standing with ~14,000 HP.
Don't forget the tape measure tells you how much HP is left on a structure while raiding (found in industrial areas). This matters a lot if you've already used charges nearby, since splash may have damaged neighbouring structures.
Grenades and bullets
Grenades, approximately:
Tier   Per phase       Total to raid
T1     ~14             ~14
T2     ~10 + ~14       ~24
T3     ~34             ~34
These are approximate because explosive damage is inconsistent — even a small structure on the ground near a grenade can block some of the blast. Treat these as theoretical, ideal-condition figures and expect to need a little more.
⚠️ Drop charges flush against the part you want to break. Misplaced charges — no line of sight, buried in collision geometry, or stuck on terrain instead of the wall — can register as 0 damage.
Bullets, using 5.56 rifle rounds (M4) as the reference:
Tier   Per phase        Total to raid
T1     ~291             ~291
T2     ~218 + ~291      ~509
T3     ~727             ~727
Bullet counts scale with the round's base damage: bigger calibres (.308, 7.62×54, etc.) take fewer shots; pistol and SMG rounds take many more. Buckshot hits walls at full damage — roughly 1 shell ≈ 2.5 rifle rounds, so you're looking at about 115 shells for a T1 wall, 200 for T2, and 285 for T3.
Tips and warnings
This is still a new system and we're learning its quirks all the time. A few to be aware of:
- BBP doors sometimes let C4 splash damage pass through them, where other BBP structures don't — so bear this in mind when planning your layout. Doors are particularly vulnerable from behind.
- Hatches are vulnerable to splash and may be destroyed during a raid. We added a rule about territory-flag placement so that when attacking a base you can always reach the flag without going through a hatch — letting you build a way up or use step ladders.
- Vanilla damage to BBP structures lowers their health, and that change persists across restarts.
⚠️ Chain detonation: because the new C4 produces splash damage, it will damage any other charges you've placed nearby. Our modification forces other C4 to explode when damaged, but only if they were armed first. So when placing multiple charges, set the timers carefully so none goes off before the others are armed.
Logging in and restarts during a raid
Normally, if you log in inside a territory you're not a member of, you're teleported just outside its boundary. During a raid that ejection is switched off:
- Once a base is under raid, nobody is ejected from its territory — attackers can log in and stay inside the base while the raid is running.
- This survives server restarts. If the server reboots part-way through a raid, the raid state is remembered on the flag, so you won't be thrown out when you reconnect.
- The protection lasts a 6-hour window that refreshes every time another structure is destroyed. Keep breaching and it stays open; if six hours pass with nothing destroyed, the window closes and you'll be ejected on your next login.
Getting in: step ladders and stairs
What you can place inside an enemy territory depends on the flag and whether a raid is currently active:
- Flag up — the territory is protected and only members can build, so attackers can't place anything. Lower or destroy the flag first.
- Flag down, raid active — the base is build-locked so defenders can't re-seal what you've breached. The only things anyone can place are step ladders and stairs — your climbing tools for getting over walls or up to another floor.
- Flag down, no raid active — the territory is no longer protected, so anyone can place anything again.
So the step-ladder/stairs limit is purely a raid-active rule: while the raid is running it stops the base being re-sealed but still lets attackers climb in. Once the raid-active window lapses (with the flag still down), normal building opens back up for everyone.