🧱 Base Building

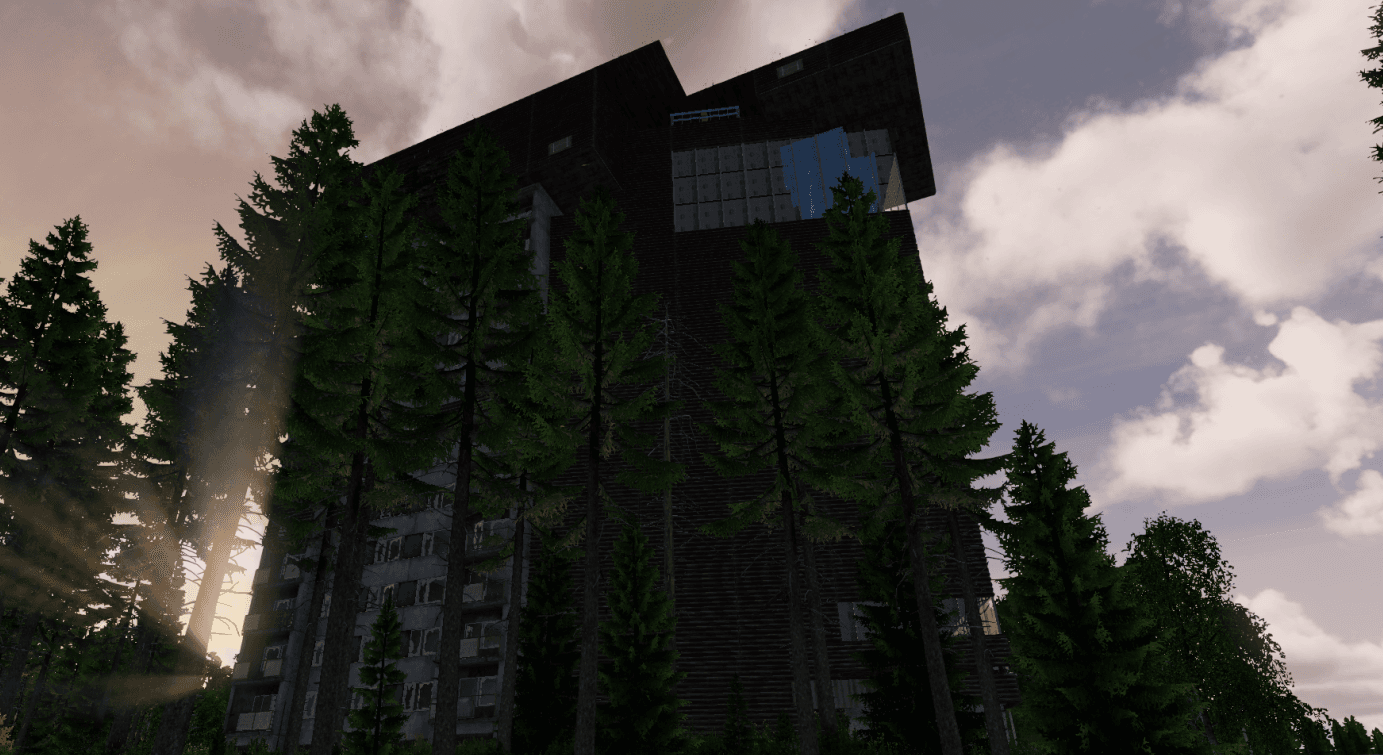
On the XDC servers you can build your base using either vanilla base building or the Base Building Plus (BBP) mod. BBP hugely expands what you can build — with it you can put together some genuinely impressive, great-looking bases — and it's what this guide focuses on. If you're completely new to the game and just want a quick overview of vanilla base building first, this video is a nice concise introduction: https://youtu.be/Ri1RHdEuTMI
The rest of this guide walks you through BBP, from your first workbench to a finished Tier 3 wall.
One important thing before you start: we felt the material costs in the current version of BBP were far too low, so we have heavily rebalanced them ourselves to keep base building in line with our near-vanilla economy. Because of that, the official BBP wiki costs do not apply on our servers — don't use them. Instead, check our own numbers in the Building Costs guide, which lists exactly what every structure costs here.
Before you start
It pays to know what you're building before you sink materials into it. Each structure can be taken to a different tier, and the tier decides how much protection it gives you against raiders. Have a read of the Building Costs guide first so you know both the cost and the strength of what you're about to build.
Getting started: the workbench
Just like vanilla base building, BBP requires you to craft a kit before you can place any structure. To craft those kits, though, you first need a workbench of your own.
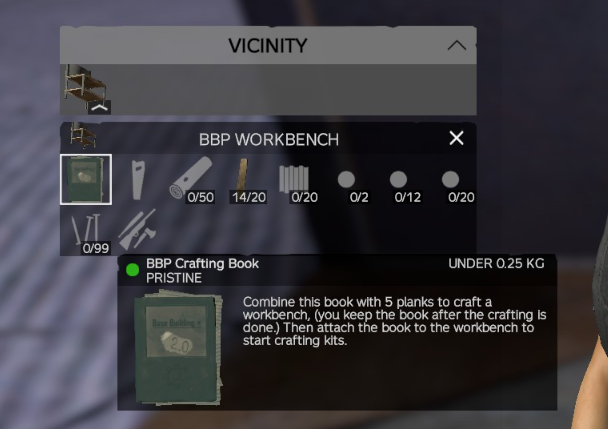
To make one, find a BBP Crafting Book — these spawn in industrial areas — and combine it with 5 planks to create a workbench kit. The crafting book is returned to you when you do this, so make sure to pick it back up; you'll need it again.
Place the workbench kit to build the workbench, then attach the crafting book to the slot on it, as shown here:
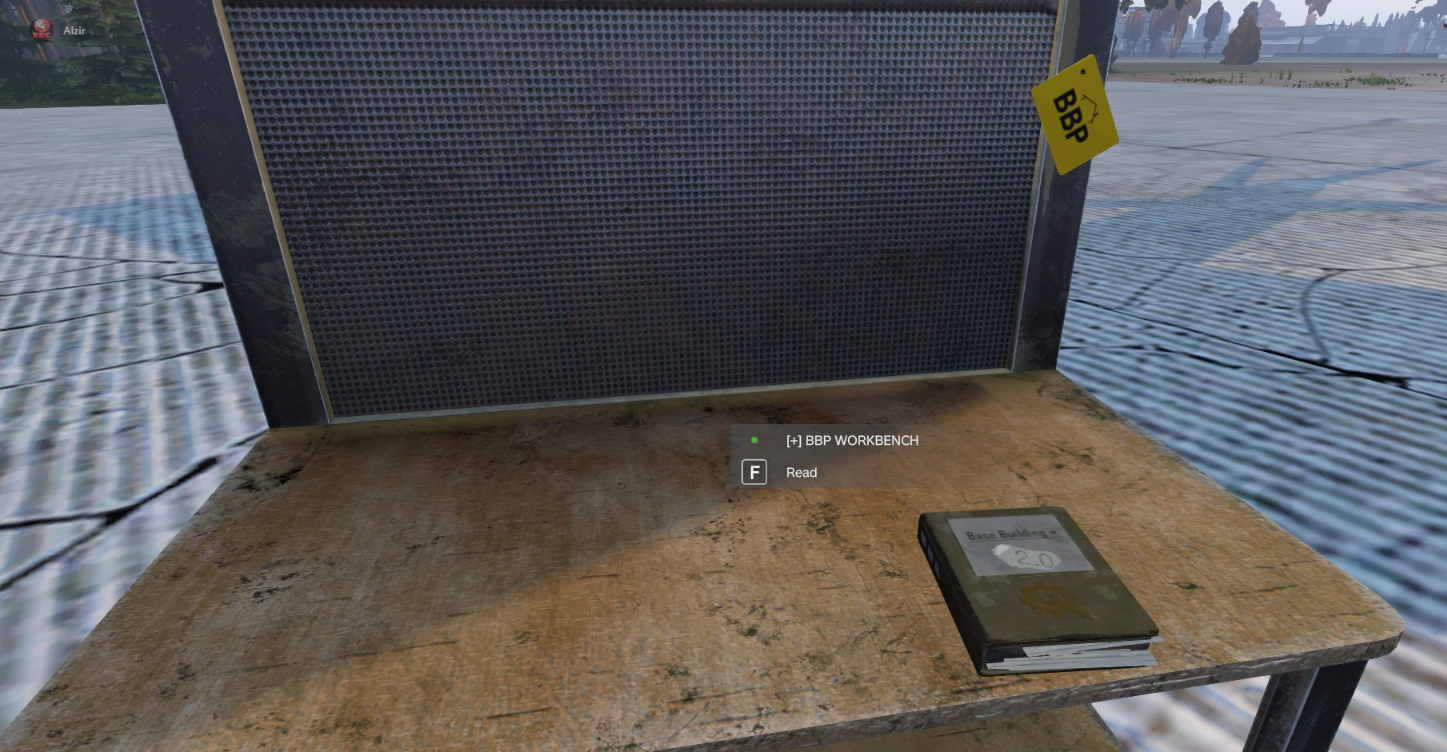
To use the workbench, look at it and press F to read it:
From here you can attach materials and craft kits. Select the item you want from the list on the left, then click the large Craft Kit button on the right. As long as you have enough materials attached, the kit spawns on the ground next to you.
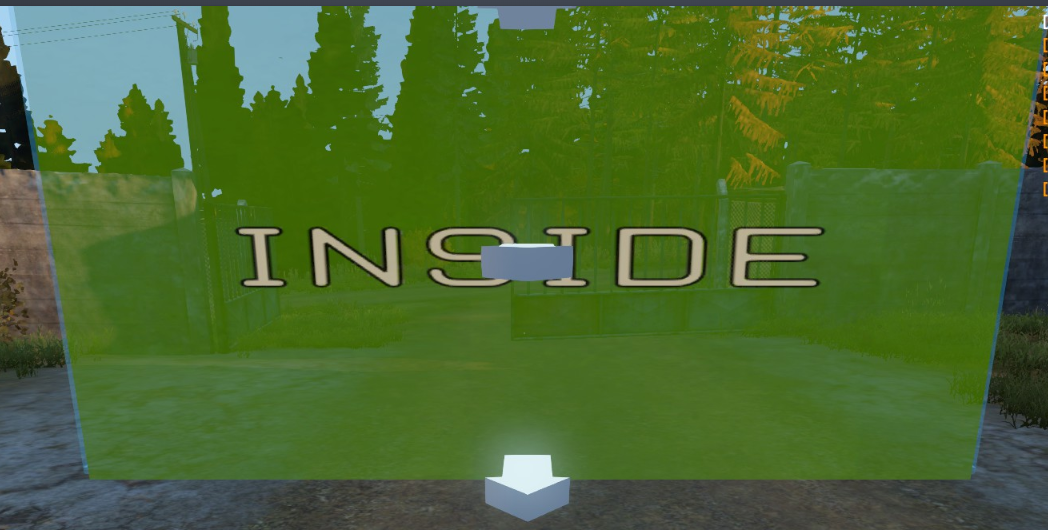
Building and cycling kit types
With a kit in hand, glance at the top-right of your screen — the BBP keybinds are listed there:
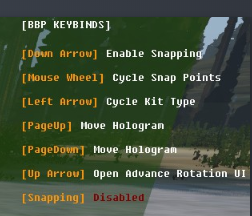
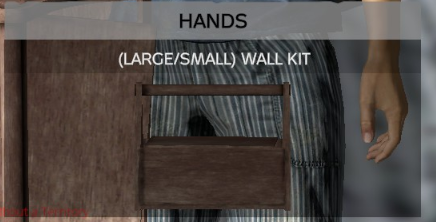
Most of these are self-explanatory. The one worth explaining is Cycle Kit Type: a single kit can often build more than one structure. A wall kit, for example, builds either a small or a large wall; a sloped-wall kit builds a left or a right slope. Press the left arrow to cycle between the options. The kit's own description tells you which variants are available, as with the wall kit below:
Upgrading through the tiers
In BBP you always begin with a frame and upgrade from there. There are two routes: frame → Tier 1 → Tier 2, or frame → Tier 3. In general it works like this:
- You always start by building a frame.
- Tier 1 — fill the frame in with logs or planks to make a wooden structure.
- Tier 2 — a direct upgrade to Tier 1 that adds metal panels over the wood.
- Tier 3 — build (or dismantle back to) the frame, then fill it in with concrete or concrete bricks. You cannot upgrade a Tier 2 structure straight to Tier 3.
- Building Tier 3 always needs a shovel for one of the stages. For a plain wall you shovel up from the frame; for a door you use a hammer or hatchet to build the door itself, but you still need a shovel for the wall around it.
Tier 3 gates, doors and permits
Building any Tier 3 entrance — a gate, door, hatch, or hangar gate — requires a Tier 3 permit. These are deliberately rare to make Tier 3 entrances a real commitment. You'll find them in the same sorts of places as nails, i.e. industrial and farm areas, and the permit is consumed as you build.
Making concrete: cement mixers
Tier 3 needs concrete bricks, and those are made at a cement mixer. To use one, attach a power source with a cable or wire, add 2 cement/concrete bags, and switch it on — the bricks are ready in about 4 minutes. A car or truck battery with a metal wire is the most reliable setup, but a power generator with a cable reel works just as well.
Cement mixer locations — Chernarus
Electro:                         10054.9 / 1824.8
The Factory West of Orlovets:    11452.8 / 7521.0
Berezino:                        12760.5 / 9666.5
Gorka:                            9855.3 / 8726.2
Mogilevka:                        7632.3 / 5189.0
West of Lopatino industrial yard: 2037.9 / 9872.1
Prigorodki:                       8025.9 / 3112.5
Solnichny:                       13320.8 / 6120.3
Zaprudnoe Lumbermill:             5088.6 / 12737.6
Lopatino:                         2877.5 / 9716.8
Kamensk Military:                 7763.5 / 14834.3
Stary Sober Military:             6293.2 / 7833.6
Tri Kresta:                        329.5 / 9410.6
Novodmitrovsk:                   11916.3 / 14286.3
Topolniki:                        2958.9 / 12636.5
North West Airfield:              5331.2 / 9875.4
Zelenogorsk:                      2259.9 / 5228.3
Cement mixer locations — Sakhal
Aniva:                             13025.0 / 7650.1
Rudnogorsk:                        13526.9 / 12252.0
Sovetskoe Lumberyard:               7263.1 / 12383.0
Petropavlovsk-Sachalsky Military:   5402.6 / 10214.9
Yasnaya Polyana Industrial:         8024.2 / 9629.8
Zvezdny Nikel Quarry:              11930.6 / 10236.9
Nogovo Industrial:                  7440.6 / 7739.0
Burukan Harbor:                     3119.1 / 7195.7
Cement mixer locations — Deer Isle
Stonington Industrial:      6792.5 / 2395.3
Westbrook (North East):     3613.1 / 6649.6
Crab Island Industrial:      977.7 / 13625.9
Portland Industrial (North): 5836.2 / 15182.5
The Mine:                  11000.6 / 2296.1
Waldoboro Crane:            8816.1 / 8665.8
Camp Bear:                  8811.4 / 6082.6
Base persistence
Base structures on our servers last 45 days without a flag or without interaction. "Interaction" here means adding something to an attachment slot — a nail, or some wooden planks, for example — so a quick visit keeps the timer topped up.
The exception is the underground hatch, which lasts for the entire wipe cycle. Note that any storage kept inside the hatch still needs a flag to stop those items despawning.
Server rules worth knowing
- Advanced Rotation is not permitted on Hangar Doors (called Hangar Roof in game). Using it there is against our rules.
- The sledgehammer is a raid tool in the default BBP settings, but we have that turned off — so don't expect it to work as one here.
Video guides
With the essentials covered, these videos are handy for the finer points. Just remember that our material costs are rebalanced, so ignore any costs shown in them:
- Every structure available in BBP 2.0: https://youtu.be/hsRKQBC6feo
- Snapping structures together: https://youtu.be/egTzXkTMzvA
- Building a wall (costs differ on our servers): https://youtu.be/cakhwcELr8U
- How dismantling works (he uses a sledgehammer at one point — that's disabled here): https://youtu.be/d71ajG6EIkc
- Using Advanced Rotation: https://youtu.be/w0BHVhS3FuY